
Introduction
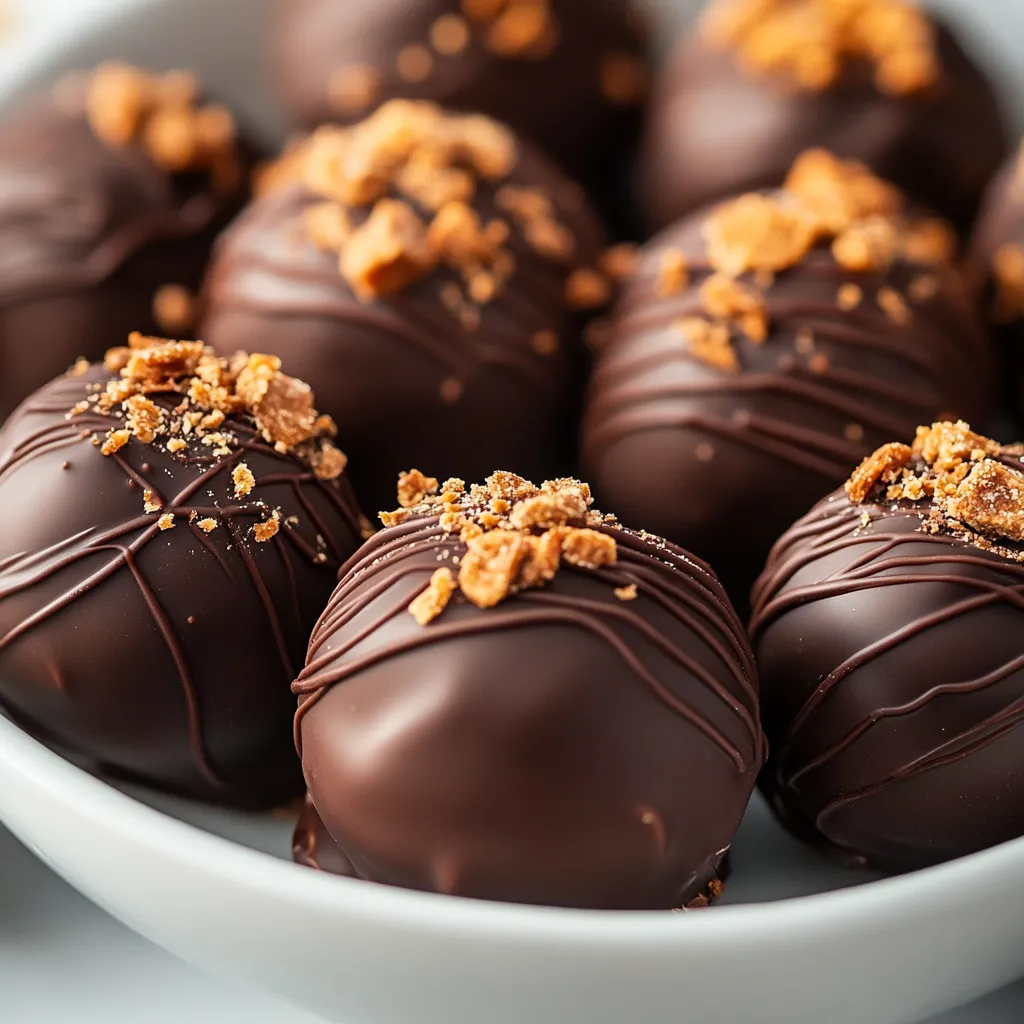
Introducing Butterfinger Bliss Bites, an indulgent treat combining the irresistible flavors of smooth peanut butter, crunchy Butterfinger candy, and rich chocolate. These bite-sized confections offer a delightful blend of sweet and salty, perfect for satisfying your sweet tooth or impressing guests at gatherings. With an easy preparation method and minimal ingredients, they are a fantastic addition to any dessert table.
Perfectly suited for a variety of occasions, from casual get-togethers to festive celebrations, Butterfinger Bliss Bites are a fuss-free treat. The simplicity of this no-bake recipe makes it an inviting option for both novice cooks and seasoned bakers. As you prepare these delicious bites, you’ll find that the combination of smooth peanut butter and crunchy candy creates a textured experience that is as delightful to eat as it is to make.
Not only are these blissful bites quick to assemble, but they also require common ingredients that are easy to find, ensuring that you can whip them up whenever the craving strikes. Serve them chilled for the best taste experience, and watch them disappear from the platter as your family and friends indulge in these delightful confections.
Recipe Overview
– Prep Time: Not specified in the recipe
– Cook Time: Not specified in the recipe
– Total Time: Not specified in the recipe
– Course: Not specified in the recipe
– Cuisine: Not specified in the recipe
– Servings: Not specified in the recipe
– Calories: Not specified in the recipe
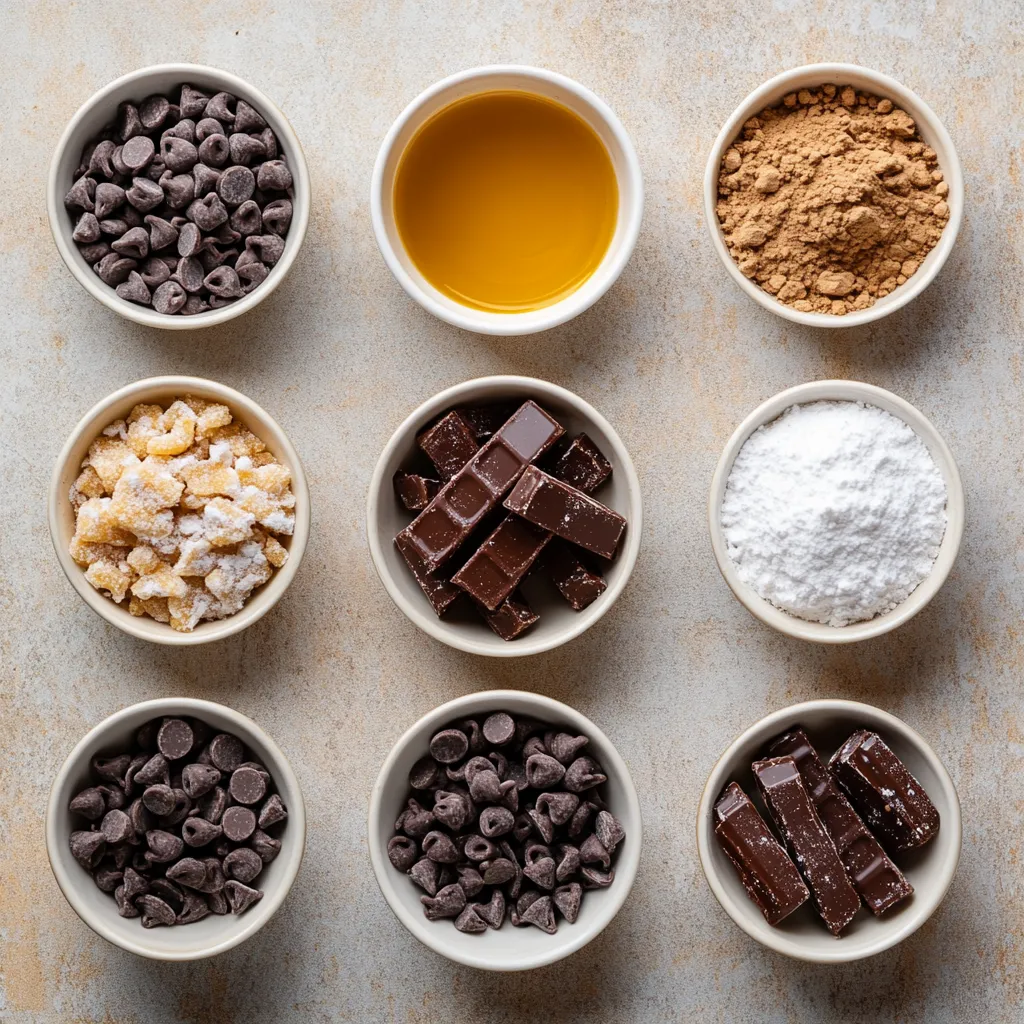
Ingredients
– Smooth peanut butter
– Confectioners’ sugar
– Crushed Butterfinger candy bars
– Semi-sweet chocolate chips
– Coconut oil
Instructions
1. In a large mixing bowl, thoroughly combine the smooth peanut butter and confectioners’ sugar until the mixture is well incorporated and forms a thick dough.
2. Gently fold in the crushed Butterfinger candy bars, ensuring they are evenly distributed throughout the peanut butter mixture.
3. Using your hands, roll the mixture into small balls, each about 1 inch in diameter. Place these balls on a baking sheet lined with parchment paper to prevent sticking.
4. Transfer the baking sheet to the freezer and allow the balls to chill for approximately 30 minutes, which will help firm them up.
5. While the balls are chilling, prepare the chocolate coating by melting the semi-sweet chocolate chips and coconut oil together in a microwave-safe bowl. Heat in 30-second intervals, stirring after each, until the mixture is completely smooth and melted.
6. Once the peanut butter balls are firm, dip each one into the melted chocolate, ensuring they are completely coated. Return the chocolate-covered balls to the parchment-lined baking sheet.
7. After all the balls have been dipped, place the baking sheet back in the refrigerator for another 30 minutes to allow the chocolate to fully set.
8. Once set, serve your Butterfinger Bliss Bites chilled and enjoy these delightful treats!
Mixing the Peanut Butter Base
Combining Peanut Butter and Sugar
A crucial first step in making Butterfinger Bliss Bites is the thorough mixing of smooth peanut butter and confectioners’ sugar. This combination creates a rich, sticky dough that forms the foundation of your bites. Be sure to use a large mixing bowl for ample space, which will help you combine both ingredients effectively without making a mess. You’ll want to mix until the peanut butter and sugar are fully incorporated, achieving a consistency that is thick enough to hold its shape but still pliable for rolling into balls.
Incorporating the right amount of confectioners’ sugar not only enhances the sweetness of the bites but also provides a slightly grainy texture that contrasts beautifully with the smooth peanut butter. If you’d like to introduce your unique twist to the recipe, consider adding a pinch of salt to balance the sweetness, elevating the flavor profile even further!
Tips for Achieving the Right Texture
Texture plays a significant role in the success of your Butterfinger Bliss Bites. By selecting smooth peanut butter, you ensure a seamless mixing experience, leading to a more cohesive dough. Avoid using chunky peanut butter, as it can result in uneven dough and affect the overall bite.
Additionally, pay attention to the amount of confectioners’ sugar you use. Too little will leave the mixture too soft, making it difficult to shape, while too much can create an overly sweet dough. Striking the right balance not only contributes to the flavor but also to the firmness of the final product. A well-mixed bowl of dough should hold together nicely when shaped into balls and retain its firmness without cracking.
Incorporating the Butterfinger
Folding in the Candy
Next comes the delightful addition of crushed Butterfinger candy bars, which provide a crunch that contrasts with the creamy texture of the peanut butter base. When folding in the candy, do so gently. The goal is to evenly distribute the chunks throughout the dough without breaking them down too much.
Using a spatula can be helpful here; gently cut through the mixture and lift the dough to fold in the Butterfinger pieces. This technique minimizes the risk of over-mixing, ensuring that you maintain some larger fragments of candy that will add delightful pockets of flavor in each bite. Their toffee-like crunch paired with the peanut butter will create a delightful mix of textures that elevates your bliss bites.
Adjusting Sweetness
As Butterfinger candy is inherently sweet, it’s essential to consider how it interacts with the sweetness of the peanut butter and sugar mix. You might find that you want to adjust the overall sweetness of your bites based on your personal preference or that of your guests. If you’re aiming for a more balanced flavor, reducing the amount of confectioners’ sugar slightly can allow the caramel notes of the Butterfinger to shine through.
To experiment with different tastes, think about incorporating unsweetened cocoa powder or crushed nuts instead. This approach would bring an interesting twist to the standard recipe while allowing you to customize the treats to your liking, maintaining the spirit of blissful indulgence.
Shaping the Bliss Bites
Rolling Techniques
The process of rolling the mixture into small balls is vital for uniformity in your Butterfinger Bliss Bites. Each ball should be approximately one inch in diameter for consistent cooking and presentation. To achieve this, start by using a tablespoon to scoop portions of the mixture. Then, roll them between your hands to form smooth, even spheres.
It’s important to keep your hands slightly damp while rolling to prevent the mixture from sticking. This technique will help you create beautifully shaped bites without the frustration of residue sticking to your palms. Uniform sizing is essential not only for visual appeal but also for ensuring even freezing and chocolate coating.
Storage Options Before Freezing
If you’re not quite ready to freeze the balls, it’s advisable to store the dough properly. Shape the mixture into a disc, wrap it tightly in plastic wrap, and refrigerate. This method will keep the dough fresh while maintaining its integrity, allowing you to return to it whenever you’re ready to shape and freeze.
Alternatively, if you manage to make a larger batch than intended, you can easily store the formed balls in an airtight container in the refrigerator for a short time before transferring them to the freezer. Understanding how to store the dough ensures that you can prepare these treats ahead of time, offering convenience when planning a gathering or satisfying a sudden craving.
Chilling for Firmness
Importance of Chilling
Chilling the formed balls before coating them in chocolate is crucial for maintaining their shape during the dipping process. This step ensures that the mixture firms up, preventing the bites from falling apart when submerged in melted chocolate. An adequate chill allows the candies to hold their shape, making the subsequent chocolate coating smooth and manageable.
This waiting period may seem inconvenient, but it’s essential for achieving the perfect texture of your Butterfinger Bliss Bites. By allowing the dough to become firmer, you ensure a more enjoyable experience for yourself and your guests when indulging in these sweet creations.
Duration and Temperature
The recommended chilling duration is approximately 30 minutes in the freezer. This timeframe is sufficient to ensure the balls are adequately firm for easy handling. If you fear that they may harden too much, consider checking after 20 minutes to see if they have reached the desired firmness for chocolate dipping.
The temperature plays a crucial role during this step as well. A standard freezer temperature will work nicely; however, if your freezer is particularly cold, keep an eye on the timing to avoid overly stiff bites that lose their delightful chewy nature.
Preparing the Chocolate Coating
The final and perhaps most satisfying step in creating Butterfinger Bliss Bites is preparing the chocolate coating. Start by melting semi-sweet chocolate chips alongside coconut oil in a microwave-safe bowl. Coconut oil adds a delightful richness and sheen to the chocolate, enhancing the overall finish of your bites.
Using short, 30-second intervals in the microwave allows you to maintain control over the melting process, preventing the chocolate from burning. Stir after each interval until the mixture is completely smooth. Achieving the perfect melt ensures that your Bliss Bites get a beautiful and even chocolate coating, which is visually appealing and enhances the flavor.
With your chocolate prepared, you’re ready to bring everything together. Each step, from mixing the ingredients to chilling and finally dipping, works harmoniously to create these beautiful treats that promise to delight anyone who tastes them.
Melting Chocolate with Coconut Oil
Melting chocolate combined with coconut oil is a technique that ensures a smooth coating and glossy finish for your Butterfinger Bliss Bites. Coconut oil not only helps the chocolate melt uniformly but also adds a subtle flavor that can enhance the overall taste of your treats.
For the best results when melting chocolate and coconut oil, choose a microwave-safe bowl and follow a few simple steps. Begin by measuring out your chocolate chips and coconut oil—using a ratio of about one tablespoon of coconut oil per cup of chocolate chips is typically ideal. Heat the mixture in the microwave in 30-second intervals, stirring well after each interval. This method prevents overheating, which can cause the chocolate to seize. Listen for the soft sounds as the chips begin to melt, and watch closely to catch the moment when the chocolate is fully melted but not bubbling, creating a silky consistency.
Ensuring a Smooth Consistency
Achieving a perfectly smooth melted chocolate is essential for an even coating on your Bliss Bites. Once you’ve melted your chocolate chips with coconut oil, use a whisk or spatula to stir until the texture is completely velvety and all chunks are dissolved. If you notice any lumps, you can add a tiny bit more coconut oil to loosen the mixture.
Another pro tip is to pre-chop your chocolate if you’re starting with bars rather than chips. Smaller pieces will melt more evenly, reducing the risk of scorching. The goal here is to create a pourable chocolate that will easily envelop your peanut butter balls, keeping them looking as delectable as they taste.
Dipping the Bliss Bites
Proper Dipping Techniques
Dipping your Butterfinger Bliss Bites can at times become a messy endeavor, but with some handy techniques, you can achieve a clean and seamless coating. To begin, hold a peanut butter ball by its base—using a fork can help in this regard. Submerge the ball into the melted chocolate, allowing it to rest for a second to soak in the rich coating. Gently lift the Bliss Bite from the chocolate, allowing any excess to drip off back into the bowl. You may want to give it a light shake to remove any pooling that can occur underneath.
As you place the dipped bites back on the parchment paper, use a toothpick or a skewer to help maneuver them without your fingers touching the chocolate, ensuring a clean presentation. A proper dip should leave a thin, even layer of chocolate that looks appetizing while still showcasing the delicious ingredients beneath.
Cooling After Dipping
Once each Bliss Bite has been dipped, cooling is essential for the chocolate to set properly. To maximize the quality of your treats, place the baking sheet into the refrigerator for about 30 minutes. During this time, the chocolate cools down and hardens, creating a protective shell around the softer peanut buttery core.
It’s important to keep an eye on the candies during cooling, especially if your kitchen is warm. A controlled environment will help ensure that the chocolate sets firmly without becoming smeared or droopy, preserving the beautiful appearance you’ve created.
Setting the Chocolate
Timing for Perfectly Set Chocolates
Timing is crucial when setting your chocolate-covered Bliss Bites. Although a typical cooling time is about 30 minutes, the actual setting can vary based on the temperature and humidity of your kitchen. It’s best to allow them to remain undisturbed in the fridge for this period. After this time, check the consistency; the chocolate should feel firm and resistant when touched.
To ensure quality, consider setting a timer or using a visual cue from similar recipes to gauge when your treats are properly set. If needed, you can always pop them back in for an additional 10 minutes if you feel they aren’t completely firm yet.
Evaluating the Chocolate Setting Process
Understanding how to tell if the chocolate has set correctly is essential for presenting your Butterfinger Bliss Bites. A properly set chocolate layer will have a slight sheen and will not feel tacky to the touch. Carefully touch or gently press a chocolate-covered Bite. If it holds its form without leaving a fingerprint or smudge, you’ve done everything right! Perfectly set chocolates create an appealing look that’s both professional and inviting.
Presentation Ideas
Creative Serving Suggestions
After your Bliss Bites are set and ready to be enjoyed, consider how you’d like to showcase them. For a simple yet effective presentation, arrange them on a decorative plate with space in between each to draw attention to their unique shapes. If you want to elevate the visual appeal further, stack them in a pyramid or use a cake stand to add height to your dessert table.
You can also create themed presentations based on your occasion or season. For instance, during holidays, they can be arranged in festive colors and garnished accordingly to match the celebration.
Garnishing Techniques
Garnishing can add the finishing touch to your Butterfinger Bliss Bites, enhancing not just their appearance but also their flavor profile. Sprinkling crushed Butterfinger on top creates a visual connection to the flavor they contain, while drizzling extra melted chocolate across the tops can add an indulgent layer of richness.
Consider using a piping bag fitted with a small nozzle for controlled chocolate drizzling, or a fork for a more rustic effect. You might also experiment with different garnishes, like a light dusting of cocoa powder or a sprinkle of sea salt for added contrast, creating a delightful balance of sweet and savory.
Flavor Pairings
Complementary Ingredients
Butterfinger Bliss Bites can be complemented with other flavors to enhance the overall dessert experience. For instance, serving them with freshly sliced apples or bananas can introduce a fruity contrast to the rich sweetness of the bites. Additionally, a side of whipped cream or a dollop of vanilla ice cream can add creaminess that balances the bites’ textures.
Another approach is to introduce different types of nuts—like lightly salted peanuts or almond slivers—which can further accentuate the crunchy aspect of the Butterfinger pieces while adding a savory note to your dessert table.
Beverage Pairings
Choosing the perfect beverage to accompany your Butterfinger Bliss Bites can elevate the tasting experience. A warm cup of coffee or espresso pairs beautifully, balancing the sweetness with its rich, bitter profile. Alternatively, a glass of cold milk can enhance the treat’s comforting qualities, making it a delightful pairing for both kids and adults.
For a more adventurous option, consider decaffeinated iced tea with lemon or a light sparkling drink, which can help cleanse the palate between bites, amplifying the enjoyment of each blissful confection.
Storing Leftovers
Ideal Storage Conditions
To preserve the freshness and taste of your uneaten Butterfinger Bliss Bites, proper storage is key. Store them in an airtight container in the refrigerator for best results, particularly if you have garnished them. If you keep them sealed well, they will last longer and avoid absorbing odors from other items in your fridge.
Alternatively, if you wish to stockpile them for future cravings, freezing is an option as well. Just ensure that you wrap them tightly or put them in a freezer-safe container to prevent freezer burn.
Shelf Life and Quality
The expected shelf life for Butterfinger Bliss Bites can typically range around one week in the refrigerator. If you freeze them, they can maintain their quality for up to three months. To ensure they remain delicious, always check for signs of freezer burn or alterations in texture before consumption. Following these storage guidelines will help keep your treats as delightful as the day they were made.
Conclusion
Butterfinger Bliss Bites are a delightful combination of creamy peanut butter, crunchy candy, and rich chocolate, resulting in a blissful treat that’s hard to resist. With their rich texture and sweet flavor, they make for a sensational dessert that can be whipped up in little time yet offers a satisfying indulgence. Enjoy them chilled for a refreshing bite of sweetness any time.

Easy Butterfinger Bliss Bites Recipe
Ingredients
- 1 cup smooth peanut butter
- 2 cups confectioners' sugar
- 1 cup crushed Butterfinger candy bars
- 1 cup semi-sweet chocolate chips
- 1 tablespoon coconut oil
Instructions
- In a large mixing bowl, combine the peanut butter and confectioners' sugar until well incorporated.
- Fold in the crushed Butterfinger candy bars evenly.
- Roll the mixture into small balls, about 1 inch in diameter, and place on a parchment-lined baking sheet.
- Freeze the balls for approximately 30 minutes to firm them up.
- Melt the chocolate chips and coconut oil together in a microwave-safe bowl, stirring until smooth.
- Dip each firm peanut butter ball into the melted chocolate until fully coated.
- Return the chocolate-covered balls to the parchment-lined baking sheet.
- Refrigerate for another 30 minutes to allow the chocolate to set.
- Serve chilled and enjoy your Butterfinger Balls!