
Introduction
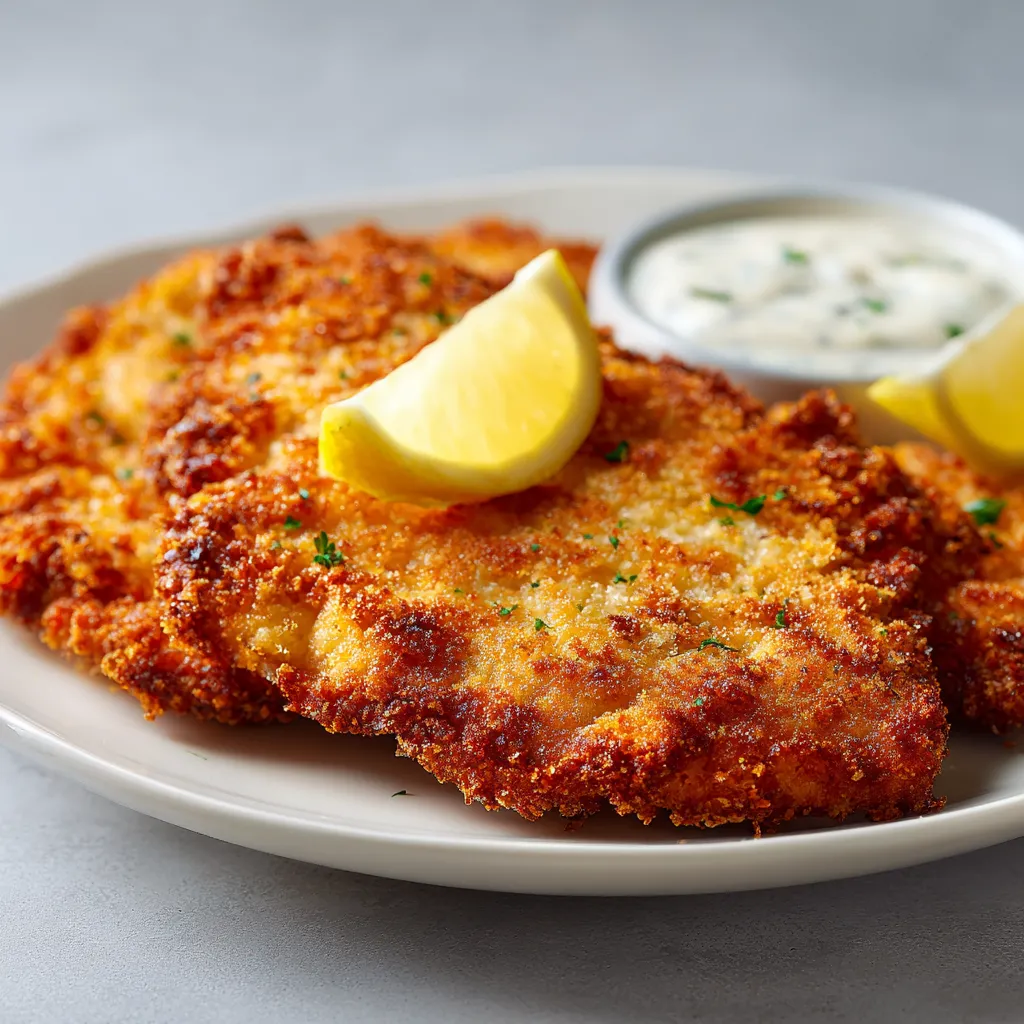
Crispy chicken cutlets have a universal appeal that transcends age and taste preferences. The allure of a crispy exterior combined with tender, juicy chicken makes this dish a favorite among many. Whether served as a main course for a family dinner or showcased at a special gathering, these chicken cutlets promise satisfaction with each savory bite. The perfectly balanced blend of spices and the use of panko breadcrumbs really elevates the crunch factor, making them irresistible.
This dish is not only delicious but also versatile. It can be adapted to fit various occasions, such as a comforting weeknight meal, a crispy addition to a salad, or served alongside a tangy dipping sauce for a fun culinary twist. No matter how you choose to serve them, crispy chicken cutlets can elevate your dining experience, offering both visual appeal and mouthwatering flavor.
Recipe Overview
– Total Time: 30 minutes
– Prep Time: 15 minutes
– Servings: 4
– Difficulty: Not specified in the recipe
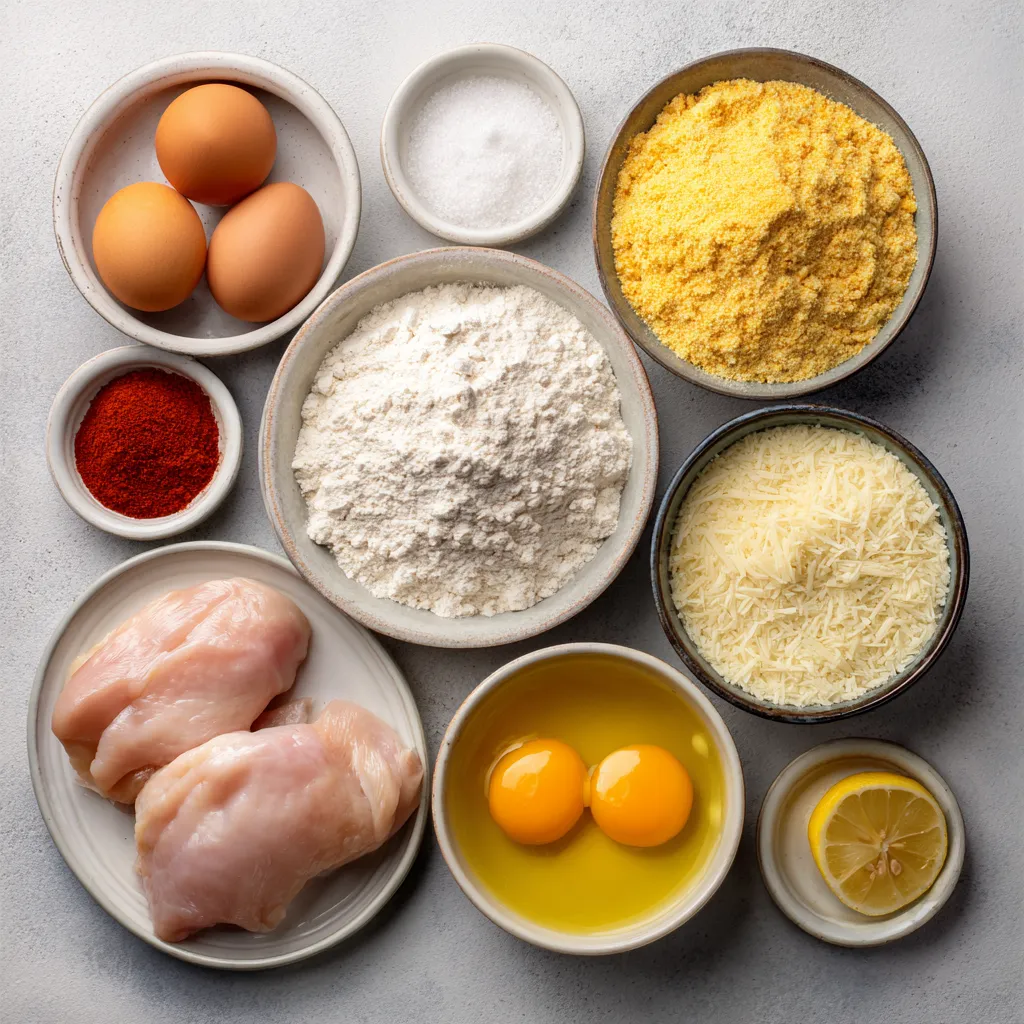
Ingredients
– 2 large boneless, skinless chicken breasts
– 1 cup all-purpose flour
– 2 large eggs
– 1 cup breadcrumbs (ideally panko for an extra crispy finish)
– 1/2 cup grated Parmesan cheese
– 1 teaspoon garlic powder
– 1 teaspoon onion powder
– 1 teaspoon smoked paprika
– Salt and freshly ground black pepper to taste
– Oil for frying (choose vegetable or olive oil)
Instructions
1. Prepare the Chicken: Start by placing the chicken breasts between two sheets of plastic wrap or parchment paper. Using a meat mallet or a rolling pin, pound each breast gently to an even thickness of about 1/2 inch. This technique is essential for ensuring that the chicken cooks evenly and remains tender throughout.
2. Set Up the Breading Station: Arrange three shallow dishes to facilitate the breading process efficiently. In the first dish, combine the all-purpose flour with a generous sprinkle of salt, pepper, garlic powder, onion powder, and smoked paprika. In the second vessel, whisk the eggs until smooth. Lastly, combine the breadcrumbs with the grated Parmesan cheese in the third dish, mixing well.
3. Bread the Chicken: Take each pounded chicken cutlet and first coat it in the seasoned flour mixture, ensuring it is completely covered. Shake off any excess flour gently. Next, dip the cutlet into the egg mixture, allowing any surplus to drip back into the bowl. Finally, place the chicken in the breadcrumb and Parmesan mixture, pressing slightly to ensure a sturdy coating that will hold up during frying.
4. Heat the Oil: In a large skillet, pour enough oil to create a depth of about 1/4 inch covering the bottom. Heat the oil over medium-high heat. The oil is ready for frying when a breadcrumb dropped into it sizzles immediately, indicating it’s correctly heated.
5. Fry the Cutlets: Carefully add the breaded chicken cutlets into the skillet, taking care not to overcrowd the pan, as this can prevent proper crisping. Each cutlet should be fried for approximately 4-5 minutes per side or until a beautiful golden brown crust forms. Flip the cutlets halfway through with tongs for even browning.
6. Drain and Serve: Once the chicken cutlets are golden and crispy, transfer them onto a plate lined with paper towels to soak up any excess oil. While still hot, taste and season with an additional sprinkle of salt if desired.
7. Optional Sauce: To enhance the flavors, consider serving the crispy chicken cutlets drizzled with fresh lemon juice. Alternatively, you could provide a dipping sauce such as garlic aioli or marinara to beautifully complement the dish.
Preparing the Chicken
A crucial step in making crispy chicken cutlets involves prep work on the chicken itself. Start by ensuring that your chicken breasts are properly prepared for even cooking and maximum tenderness. Pounding the chicken not only helps achieve an even thickness but also tenderizes the meat, allowing for a better absorption of the flavors from the seasonings and breading.
Pounding the Chicken
Achieving the right thickness is paramount for successful frying. Pounding the chicken breasts to approximately 1/2 inch thick ensures they cook uniformly and remain juicy. Use a meat mallet or a rolling pin to gently tap the meat, focusing on the thicker areas to create a consistent thickness. This technique prevents the ends from being overcooked while the center remains undercooked.
Seasoning the Chicken
Seasoning the chicken before breading can enhance its flavor significantly. While the breading process involves flavorful ingredients, a quick sprinkle of salt and pepper on the chicken can elevate the overall taste. Ensure each cutlet is evenly seasoned to create bursts of flavor with every bite.
Setting Up the Breading Station
A well-organized breading station is essential for a smooth cooking experience. Arranging your workspace with a systematic approach reduces mess and makes the process more efficient.
Arrangement of Dishes
To bread the chicken cutlets effectively, prepare three shallow dishes in advance. This allows for a streamlined assembly line and minimizes confusion during coating. Each dish serves a specific role: one for the flour mixture, one for the egg wash, and the final for the breadcrumb coating.
Preparing the Flour Mixture
For the flour mixture, it’s crucial to combine the all-purpose flour with your chosen spices. This foundation not only provides a base for the chicken cutlets but also enhances their flavor. Mixing in ingredients like garlic powder, onion powder, and smoked paprika ensures that the seasonings seep into the meat, transforming each crispy cutlet into a flavorful delight.
{{image_4}}
Combining the Breadcrumbs and Cheese
The success of your chicken cutlet greatly relies on the breadcrumb and cheese mixture. The Parmesan adds not only flavor but also a slight nuttiness that complements the breadcrumbs. It’s essential to blend the breadcrumbs and cheese thoroughly before breading the chicken. An even distribution ensures that each piece of chicken gets coated uniformly, resulting in an even texture once fried. When combining the two, use a fork to break up any clumps and make sure the cheese is well-integrated with the breadcrumbs for optimal adherence during the frying process.
Breading the Chicken
Breading chicken is both an art and a science. Following the proper technique will yield crispy, golden cutlets that are bursting with flavor.
The Dipping Technique
Begin by taking a chicken cutlet and following these steps precisely for coating. First, dip one cutlet into the seasoned flour mixture. Ensure the entire surface is coated by lightly pressing it into the flour, then pick it up and gently shake off the excess; this prevents clumping and creates a light coating. Next, immerse it in the beaten eggs, allowing any excess egg to drip back into the bowl before moving to the last stage. Finally, transfer the cutlet to the breadcrumb mixture, pressing gently to ensure the breadcrumbs adhere well. Rotate the cutlet to cover all surfaces fully, ensuring a robust layer of coating.
Properly Shaking Off Excess
Shaking off the excess coating is crucial in achieving a crisp finish. If too much flour or egg remains, the breading may become clumpy or soggy during frying. A well-coated cutlet should have a thin, even layer across its surface, allowing the breadcrumbs to crisp adequately without heavy clumping.
Heating the Oil
Getting the oil right is fundamental to frying crispy cutlets. Without proper health and temperature, the cutlets can absorb too much oil, losing their crispiness.
Selecting the Right Skillet
Using the right skillet can make a significant difference in cooking. A heavy-bottomed skillet or a cast-iron pan is ideal as they retain heat better than non-stick varieties. These materials provide consistent heat, essential for achieving that golden crust. Look for a skillet wide enough to fit a couple of cutlets at a time but not so large that you use an excessive amount of oil.
Testing Oil Temperature
To ensure your oil is hot enough, you can perform a simple test: drop a small piece of bread into the oil. If it sizzles and bubbles immediately, the oil is ready. Alternatively, you can use a frying thermometer to check the temperature, aiming for between 350°F and 375°F (175°C to 190°C). Maintaining this temperature is crucial for a perfect fry.
Frying the Cutlets
Knowing how to fry the cutlets properly is the key to extraordinary texture and flavor.
Frying Techniques
When frying, always avoid overcrowding the pan; this can cool the oil significantly and lead to soggy cutlets. If your skillet can hold only two cutlets at a time without crowding, fry them in batches. Allowing sufficient space between the cutlets ensures that they cook evenly and achieve that desired crispy exterior.
Cooking Timings
Cook each cutlet for about 4-5 minutes on one side before flipping. The cutlet should turn a deep golden brown. Depending on the thickness of the breast and heat of the oil, timings may vary slightly, but generally, 4-5 minutes per side should yield the right result for a ½ inch cutlet.
Ensuring Even Browning
To flip the chicken efficiently, use long tongs to gently lift and turn the cutlets without disturbing their coating. The goal is to maintain the integrity of their fried crust. If you find that the cutlets are not browning evenly, ensure that the oil remains at the correct temperature and check your skillet’s evenness — certain parts may retain more heat than others.
Draining and Serving
Proper draining after frying is crucial to keep the cutlets crunchy.
Proper Draining Technique
Once the cutlets are cooked, transfer them immediately onto a plate lined with paper towels. The towels will absorb excess oil, preventing them from becoming greasy. Arrange them with enough space between each cutlet to allow airflow, which helps maintain crispness.
Final Seasoning
The best time to season the chicken cutlets is immediately after frying while they are still hot. This ensures the seasoning sticks well to the surface. A light sprinkle of salt enhances the flavors beautifully at this point.
Optional Sauce
Enhancing your chicken cutlets with sauces can elevate the dining experience.
Fresh Lemon Juice
A drizzle of fresh lemon juice over the cutlets balances the richness of the fried chicken with the lemon’s bright acidity, offering a refreshing contrast that cuts through the heavier flavors.
Dipping Sauces
Consider serving with creamy garlic aioli or tangy marinara sauce for dipping. Both options provide additional flavors that complement the chicken perfectly, inviting diners to enjoy a full culinary experience with every bite.
Presentation Tips
Visual presentation plays a vital role in meal enjoyment, and chicken cutlets are no exception.
Plating Suggestions
Serve the chicken cutlets on a vibrant platter; their golden brown color can shine against a colorful background. For a more rustic look, arrange them on a wooden board, showcasing their beauty unadorned.
Garnishes for Color
Garnishing with fresh parsley or lemon wedges adds a lovely finishing touch, bringing both color and aroma. Placing the cutlets alongside these garnishes will enhance visual appeal and suggest freshness, inviting diners to dig in.
Accompanying Side Dishes
Pair your crispy chicken cutlets with light salads, such as coleslaw or a mixed greens salad, which will add a crunchy texture that complements the dish. Roasted vegetables or mashed potatoes also harmonize well, making for a complete and satisfying meal.
Conclusion
Crispy chicken cutlets deliver a marvelous crunch paired with juicy, tender meat, making them a delightful choice for any meal. The cooking process is straightforward and quick, culminating in a dish that is both satisfying and visually appealing. Enjoy the blend of spices and the rich flavor from the Parmesan that adds an extra layer of deliciousness.
