
Introduction
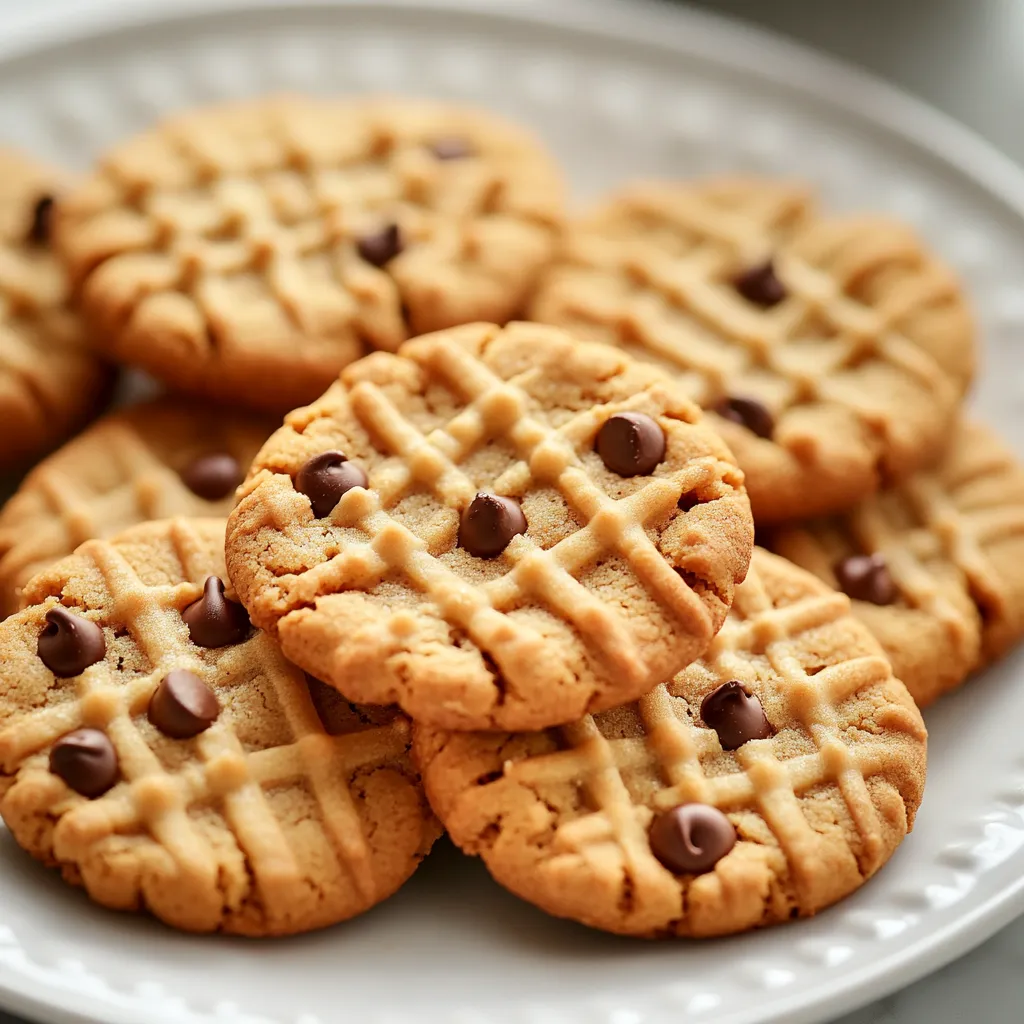
Exploring the rich and nostalgic flavors of homemade Nutter Butter cookies brings back memories of childhood treats. These delightful cookies capture the essence of comfort with their creamy peanut butter profile and an optional hint of rich chocolate, making them a favorite among cookie lovers. The experience of biting into a freshly baked Nutter Butter cookie is nothing short of delightful, as they possess a soft, chewy texture balanced with a slightly crisp edge.
Whether it’s for a cozy afternoon snack, a cheerful gathering with friends and family, or simply to satisfy a sweet craving, these cookies cater to any occasion. Not only do they offer a delicious taste, but they’re also quick to prepare, making them an excellent choice for those who enjoy baking without extensive preparation time. Let’s dive into the details of creating these scrumptious cookies right in your kitchen.
Recipe Overview
The Nutter Butter cookie is a classic American dessert that embodies the warmth of homemade baking. With a simple ingredient list and straightforward steps, these cookies can be prepared quickly, perfect for snack time or as a special treat for gatherings.
– Prep Time: 15 minutes
– Cook Time: 12 minutes
– Total Time: 27 minutes
– Course: Dessert
– Cuisine: American
– Servings: 24 cookies
– Calories: Approximately 150 per cookie
Ingredients
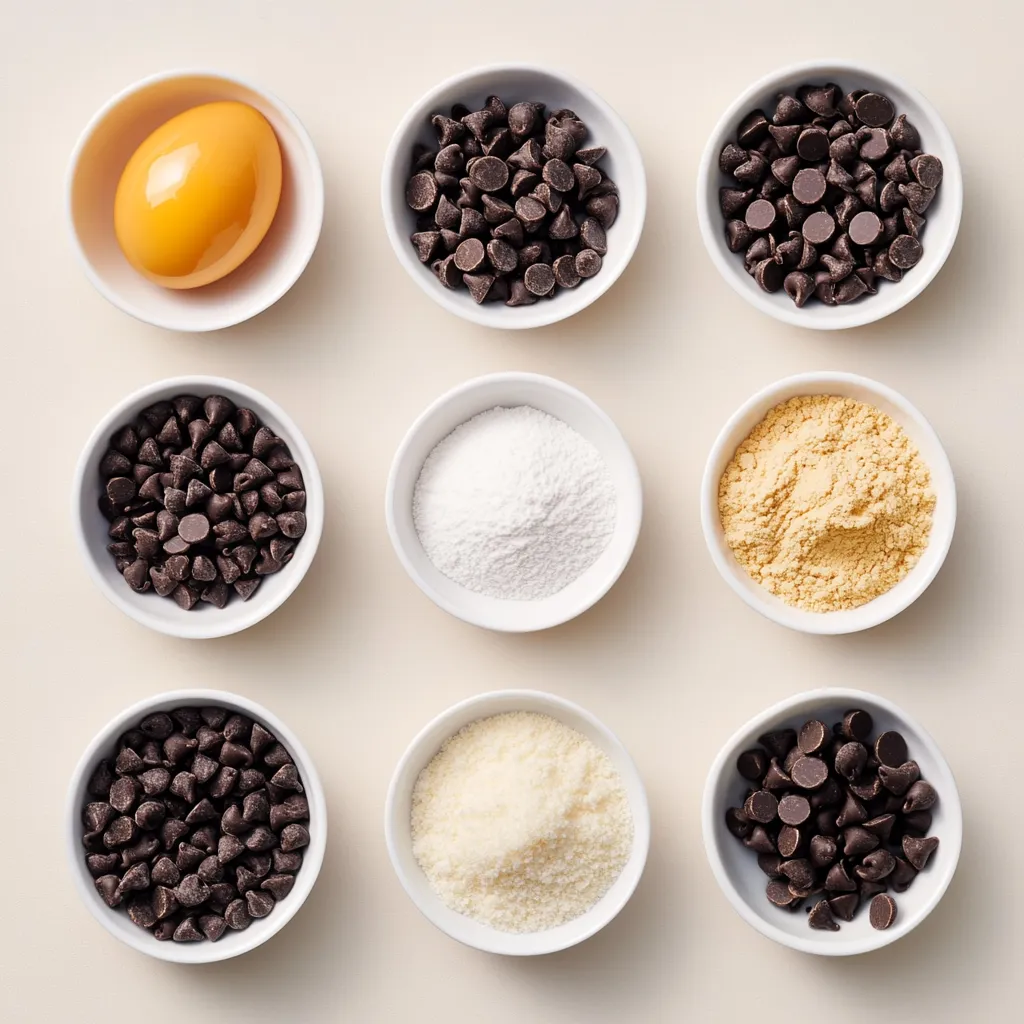
Gathering the right ingredients is key to achieving the perfect Nutter Butter cookies. Below is the comprehensive list of what you’ll need:
– 1 cup creamy peanut butter
– 1 cup granulated sugar
– 1 large egg
– 1 teaspoon pure vanilla extract
– 1/2 teaspoon baking powder
– 1/4 teaspoon fine sea salt
– 1 cup all-purpose flour
– 1 cup semi-sweet chocolate chips (optional)
Instructions
Understanding the preparation process will ensure that you successfully make these cookies. Each step is essential for achieving the right texture and flavor.
1. Begin by preheating your oven to 350°F (175°C). Prepare a baking sheet by lining it with parchment paper to prevent sticking.
2. In a large mixing bowl, combine the creamy peanut butter and granulated sugar. Use a spatula or electric mixer to blend them together until the mixture is smooth and well combined.
3. Next, incorporate the large egg, pure vanilla extract, baking powder, and fine sea salt into the peanut butter mixture. Mix until everything is thoroughly combined and smooth.
4. Gradually add the all-purpose flour to the mixture, stirring gently until the flour is fully absorbed and a dough forms.
5. If you choose to include chocolate chips, gently fold them into the dough until evenly distributed.
6. Using a tablespoon, scoop out portions of the dough and roll each piece into a ball. Place the dough balls on the prepared baking sheet, ensuring they are spaced about 2 inches apart to allow for spreading.
7. To create the signature look, gently flatten each dough ball with the tines of a fork, forming a crisscross pattern on top.
8. Bake the cookies in the preheated oven for 10-12 minutes, or until the edges turn a lovely golden brown. Keep an eye on them to avoid overbaking.
9. Once baked, remove the cookies from the oven and allow them to cool on the baking sheet for a few minutes. Then, transfer them to a wire rack to cool completely.
Preparation Steps
Preheating the Oven
Setting your oven to the right temperature is crucial for achieving the perfect bake. Preheat your oven to 350°F (175°C) to ensure even baking and the ideal texture for your cookies. Additionally, lining the baking sheet with parchment paper is advisable. This step not only prevents sticking but also makes cleanup a breeze after baking!
Mixing the Ingredients
The heart of any good cookie lies in its mixture, and for these Nutter Butter cookies, it’s important to start strong. In a large mixing bowl, combine the creamy peanut butter and granulated sugar. By using either a spatula or an electric mixer, you’re aiming for a smooth, well-integrated mixture. Once combined, proceed to incorporate the large egg, pure vanilla extract, baking powder, and fine sea salt. Mixing these ingredients together until they are thoroughly blended ensures that your cookies will have a consistent flavor in every bite.
Forming the Dough
As you progress through the mixing process, the next vital step is adding the all-purpose flour. Gradually introduce the flour into the peanut butter mixture, stirring gently—this helps maintain the mixture’s integrity and prevents the dough from becoming tough. After the flour is fully absorbed, you’ll have a soft and pliable dough. If you’re a fan of chocolate, this is the moment to fold in the semi-sweet chocolate chips gently. Their incorporation adds another layer of flavor and introduces delightful pockets of chocolate to the cookies.
Shaping the Cookies
Creating uniform cookie shapes is important for consistency in baking. The appearance of your cookies can enhance their appeal, so taking the time to shape them correctly pays off.
Scooping the Dough
Start the shaping process by using a tablespoon to scoop portions of the dough. Each scoop should be rolled into a ball; this will maintain the cookie’s shape while baking. It’s essential to place the dough balls on the prepared baking sheet with enough spacing—approximately 2 inches apart—allowing room for the cookies to spread during baking. Proper spacing ensures you won’t end up with one large cookie instead of individual ones!
Creating the Signature Look
Achieving the classic Nutter Butter look is part of what makes these cookies so recognizable and loved. After rolling each portion of dough into a ball, the next step is to gently flatten each cookie using the tines of a fork. This technique not only gives them that iconic crisscross pattern but also ensures that they bake evenly. When pressing down, be careful to apply just enough pressure to create the design without overly flattening the cookie; you want them to retain some thickness for a soft, chewy texture.
Baking the Cookies
Knowing how to bake the cookies correctly is crucial for bringing out both the flavor and desired texture.
Adjusting the Baking Time
Once your cookies are shaped and arranged on the baking sheet, place them in your preheated oven set to 350°F (175°C). The baking time ranges from 10 to 12 minutes. However, keep a close eye on the edges; you want them to turn a lovely golden brown. If you notice that some cookies are darker or lighter than others, it may be beneficial to rotate the baking sheet halfway through the baking time for even cooking.
For the best results, you can use an oven thermometer to ensure that your oven’s temperature is accurate. Overbaking can lead to dry, crumbly cookies, while underbaking may result in too soft or chewy cookies.
Cooling the Cookies
Once the cookies have reached that ideal golden color and you remove them from the oven, allow them to cool on the baking sheet for about 5 minutes. This resting period helps the cookies to set, ensuring they hold their shape when transferred.
After a few minutes, gently lift them onto a wire rack. This step is essential: it provides air circulation around the cookies, resulting in a perfectly firm exterior while retaining that soft interior that makes Nutter Butter cookies so delightful. Let them cool completely before serving.
Optional Presentation Tips
Presentation can elevate your cookie experience and impress anyone lucky enough to be served these treats.
Decorative Arrangements
For a visually appealing display, arrange the cooled cookies on a decorative plate. Using a variety of colors and textures, such as serving on a rustic wooden board or a bright, patterned plate, can make your presentation stand out. Consider drizzling melted chocolate over the top of the cookies for a more elegant touch, adding depth and flavor.
You might also think about garnishing with finely chopped peanuts or a sprinkle of sea salt to enhance the peanut flavor. These small details can take your cookie serving to the next level and create a feast for both the eyes and taste buds.
Perfect Pairings
To complement the rich, nutty flavor of your Nutter Butter cookies, serving them alongside a chilled glass of milk is an excellent choice. Milk not only balances the sweetness of the cookies but also enhances the overall snacking experience. Alternatively, these cookies pair beautifully with coffee or tea, creating a satisfying afternoon treat.
Nutritional Details
Highlighting the nutritional aspects of your homemade Nutter Butter cookies can help your guests make informed choices about their indulgence.
Caloric Breakdown
Each cookie contains approximately 150 calories. While this makes them a sweet indulgence, moderation is key. Understanding the caloric content allows you to enjoy these delicious treats without hesitation.
Nutritional Benefits of Key Ingredients
The star ingredient, peanut butter, does more than just offer flavor. It is a rich source of protein and healthy fats, which can keep you feeling satiated. Both the granulated sugar and flour provide energy, making them an excellent option for a post-meal dessert or a quick treat during your busy day.
It’s a good idea to enjoy these cookies as part of a balanced diet, coupling them with fruits or nuts for added nutrients.
Variations to Explore
Although the classic Nutter Butter cookie is already a delight, experimenting with variations can lead to exciting new flavors that might become your next favorite.
Chocolate Peanut Butter Chip Cookies
For those who crave a richer chocolate experience, you can incorporate more semi-sweet chocolate chips into your dough, or even drizzle melted chocolate over the cookies when they cool. This variation introduces an indulgent chocolate feature that complements the base peanut butter flavor, creating a harmonious blend that is sure to delight chocolate lovers.
Alternative Flours
If you or someone you’re baking for has dietary restrictions, consider substituting some or all of the all-purpose flour with almond flour to create a gluten-free version of Nutter Butter cookies. Almond flour adds a subtle nuttiness, enhancing the flavor profile while maintaining a soft texture. Just be mindful that the texture may vary slightly, and you may need to adjust the quantity of flour to achieve the right consistency.
Storage Recommendations
Storing your cookies properly can ensure that they stay fresh and delicious for longer, allowing you to enjoy them at your leisure.
Room Temperature Storage
For keeping your cookies at room temperature, store them in an airtight container. They will stay fresh for up to one week. This method keeps their texture intact and prevents them from becoming stale.
Freezing Options
If you wish to preserve your cookies for an extended period, freezing is an excellent option. First, place the cookies in a single layer on a baking sheet to freeze them individually. Once frozen, transfer them to a freezer-safe bag or container. This freezing method ensures they maintain their shape and texture. When stored this way, your cookies can last for up to three months.
Conclusion
These homemade Nutter Butter cookies are a delightful mix of peanut butter richness combined with just the right amount of sweetness. With a brief preparation time of 15 minutes and a total of 27 minutes for the entire process, indulging in this comforting dessert is quite convenient. Their soft texture and optional chocolate chips cater to a variety of tastes, making them a treat worth sharing or savoring all to yourself.

Delicious Homemade Nutter Butter Cookies
Ingredients
- 1 cup creamy peanut butter
- 1 cup granulated sugar
- 1 large egg
- 1 teaspoon pure vanilla extract
- ½ teaspoon baking powder
- ¼ teaspoon fine sea salt
- 1 cup all-purpose flour
- 1 cup semi-sweet chocolate chips
Instructions
- Preheat your oven to 350°F (175°C) and line a baking sheet with parchment paper.
- In a large mixing bowl, combine creamy peanut butter and granulated sugar until smooth.
- Add the egg, vanilla extract, baking powder, and sea salt; mix until well combined.
- Gradually stir in the all-purpose flour until a dough forms.
- Fold in the chocolate chips if using.
- Scoop tablespoon-sized portions of dough and roll into balls, spacing them 2 inches apart on the baking sheet.
- Flatten each ball with a fork to create a crisscross pattern.
- Bake for 10-12 minutes until edges are golden brown.
- Cool on the baking sheet for a few minutes, then transfer to a wire rack to cool completely.