
Introduction
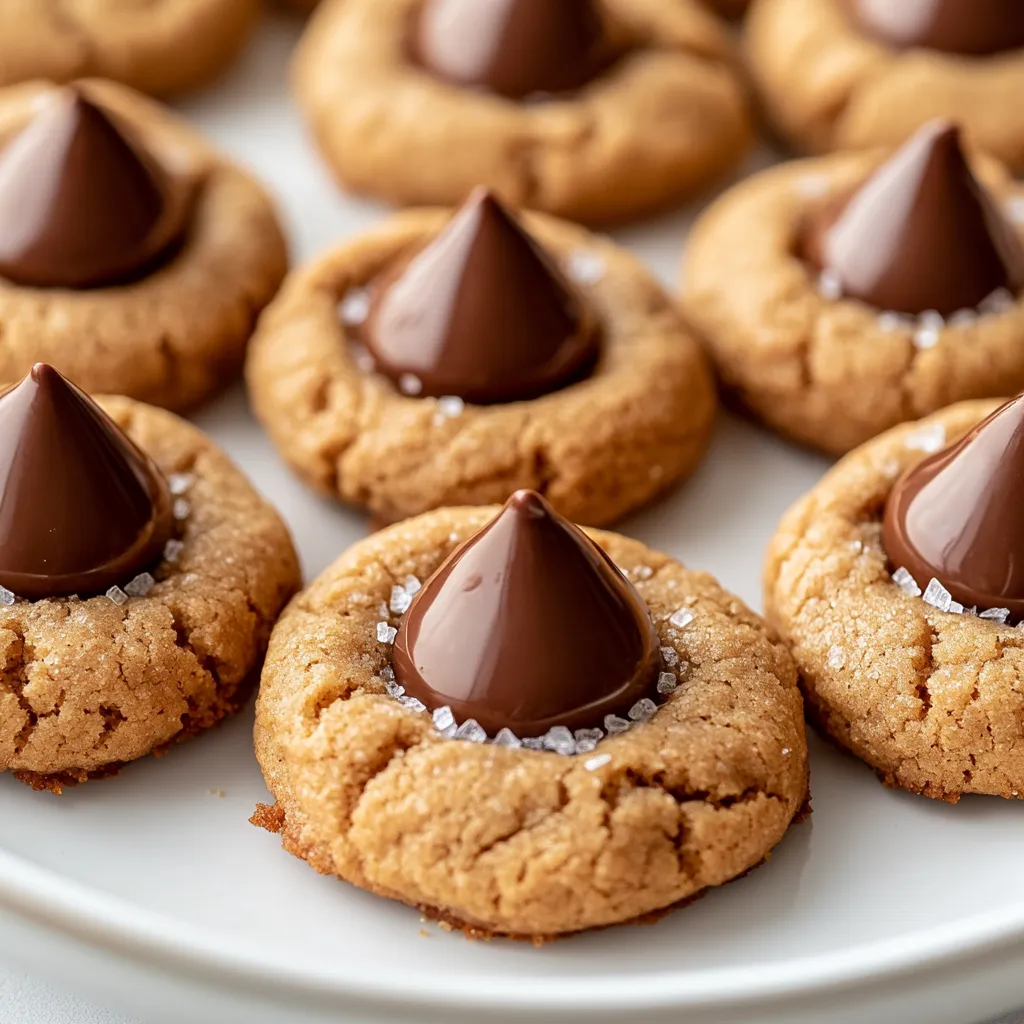
In the realm of American desserts, few treats exude the nostalgia and comforting flavors of peanut butter blossom cookies. These delightful morsels are the perfect combination of creamy peanut butter and chocolate, making them an all-time favorite among cookie enthusiasts. The traditional peanut butter blossom cookie features a unique flourish: a chocolate kiss pressed into the warm center, creating a luscious melty surprise that enhances the cookie’s appeal.
Whether you’re baking for a special occasion or simply indulging in a sweet craving, this recipe offers a simple yet rewarding way to create irresistibly delicious cookies that are incredibly easy to make. With just a handful of ingredients and straightforward steps, anyone can whip up a batch of these scrumptious cookies. They are ideal for holiday gatherings, picnics, or as an everyday treat paired with a glass of milk.
Recipe Overview
Understanding the essence of peanut butter blossom cookies is key to mastering this delightful recipe. With just a handful of ingredients, you can produce cookies that boast a rich peanut butter flavor, a soft texture, and a surprise chocolate kiss in the center. This section will provide a succinct overview, focusing on essential aspects such as cooking time and serving size.
– Prep Time: 15 minutes
– Cook Time: 12 minutes
– Total Time: 27 minutes
– Course: Dessert
– Cuisine: American
– Servings: Makes approximately 24 cookies
– Calories: Approximately 100 calories per cookie
Ingredients
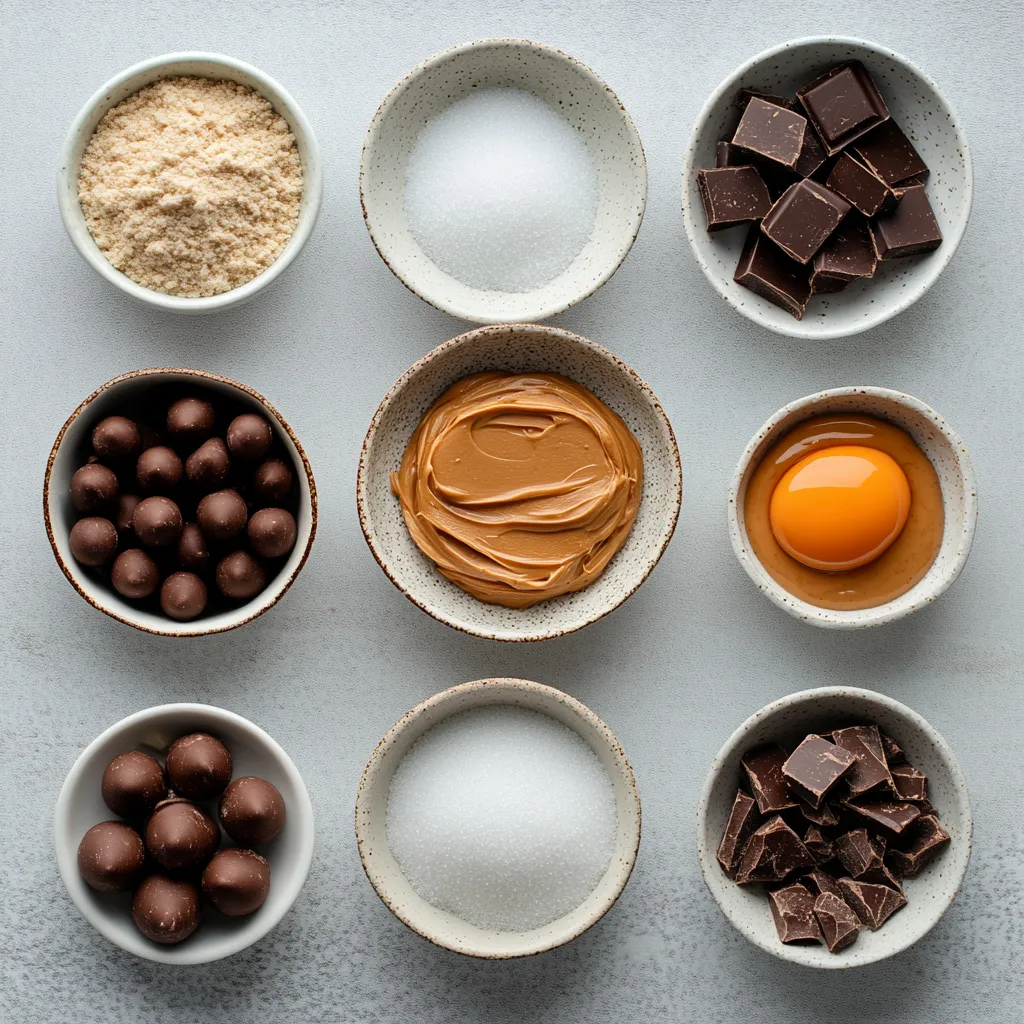
To whip up a batch of these delightful peanut butter blossom cookies, you will need several key ingredients. Each component plays a crucial role in achieving that signature flavor and texture.
– 1 cup creamy peanut butter
– 1 cup granulated sugar, plus extra for rolling
– 1 large egg
– 1 teaspoon pure vanilla extract
– 1 teaspoon baking soda
– 1/2 teaspoon fine sea salt
– 24 unwrapped chocolate kisses
– Extra granulated sugar for rolling the dough
Instructions
1. Begin by preheating your oven to 350°F (175°C). Prepare a baking sheet by lining it with parchment paper to prevent sticking.
2. In a spacious mixing bowl, combine the creamy peanut butter, granulated sugar, egg, and vanilla extract. Use a mixer or a whisk to blend the mixture until it reaches a velvety smooth consistency.
3. Gently fold in the baking soda and sea salt, ensuring that they are evenly distributed throughout the dough.
4. With clean hands, scoop out portions of dough and roll them into 1-inch balls. Once formed, roll each ball in granulated sugar to coat it lightly before placing them on the prepared baking sheet, spacing them about 2 inches apart.
5. Bake the cookies in the preheated oven for 10-12 minutes, watching for the edges to turn a light golden brown.
6. As soon as you remove the cookies from the oven, press a chocolate kiss firmly into the center of each warm cookie. This will create a delightful melty center once cooled.
7. Allow the cookies to rest on the baking sheet for about 5 minutes for easier handling. Afterward, transfer them to a wire rack to cool completely.
8. Serve your delectable peanut butter blossom cookies alongside a cold glass of milk for the ultimate treat!
Preparing the Dough
Creating the perfect texture for your cookie dough is essential. This section will delve into the steps required to mix the ingredients properly.
Mixing the Wet Ingredients
The process begins with preheating your oven to a cozy 350°F (175°C), ensuring that it is ready to bake these delightful cookies. As the oven warms up, take the time to prepare a baking sheet lined with parchment paper, which is essential to prevent the cookies from sticking and to promote even baking.
Next, in a spacious mixing bowl, combine the creamy peanut butter, granulated sugar, the large egg, and pure vanilla extract. Whether you prefer using a mixer or a whisk, blend the mixture until it reaches a velvety smooth consistency. This initial mixing creates the base of your cookies and develops a rich peanut butter flavor that will be the highlight of each bite.
Incorporating Dry Ingredients
After achieving the smooth mixture of wet ingredients, it’s time to introduce the dry components. Carefully fold in the baking soda and fine sea salt. This step is crucial; the baking soda will act as a leavening agent, helping the cookies to rise slightly during baking. The salt, on the other hand, enhances the flavors, ensuring that the sweetness doesn’t overpower the rich peanut butter.
Folding in Leaveners
When combining these dry ingredients with the wet mixture, it’s important to fold gently. This ensures that the baking soda and salt are evenly distributed throughout the dough, maximizing their impact in the baking process. Uneven distribution may lead to inconsistent baking results, which could affect the texture and flavor of the final product. Take care during this step, as a well-mixed dough will yield cookies that are soft, chewy, and uniformly delicious.
Shaping the Cookies
Once the dough is prepared, it’s time to shape it into cookies. This section discusses techniques for rolling and forming your cookies.
With clean hands, scoop out portions of the dough and roll them into 1-inch balls. This size is essential as it allows for even baking and ensures that the cookies maintain a lovely thickness. Once rolled, each dough ball should be coated in granulated sugar. This step not only adds a sweet touch to the exterior but also contributes to a delightful crunch that contrasts beautifully with the soft and chewy interior.
After rolling the dough balls in sugar, place them onto the prepared baking sheet. Be sure to space them about 2 inches apart; this crucial spacing allows the cookies to spread slightly as they bake without merging into one another. The anticipation builds as you prepare to place these delightful bites in the oven, where they will transform from simple dough into golden-brown morsels of goodness.
Following these steps ensures you have a solid foundation for your cookies—a treat that embodies the comfort of childhood memories and the joy of baking. Each cookie, finished with a delectable chocolate kiss pressed into its center, will not only satisfy a sweet tooth but also evoke fond moments shared around the table with family and friends. As you prepare these cookies, know that you’re engaging in a time-honored tradition that brings warmth and delight to any occasion.
provide valuable insights into the nutritional profile of the peanut butter blossom cookies.
Nutritional Information Breakdown
Understanding the nutritional content of your cookies can aid in making informed decisions. Each peanut butter blossom cookie contains approximately 100 calories. The primary ingredients contribute to various macronutrients, which include carbohydrates, proteins, and fats.
– Calories: Approximately 100 calories per cookie
– Fat: The creamy peanut butter not only provides flavor but also healthy fats.
– Protein: Each cookie offers a moderate amount of protein from the peanut butter and egg content.
– Carbohydrates: The granulated sugar contributes to the cookie’s sweetness as well as the total carbohydrate count.
This cookie recipe highlights the balance of taste and nutrition, making it a suitable treat for various occasions.
Rolling the Dough into Balls
Creating perfectly shaped cookies begins with rolling the dough. This section covers the importance of this step in preparing your batter for baking.
Use Clean Hands to Scoop and Roll
Start by using clean hands to scoop out portions of dough. Aim for approximately 1-inch balls to ensure uniform baking. The tactile experience of rolling the dough can also be part of the fun, especially when preparing these treats with family or friends.
Importance of Uniformity
Keeping the sizes consistent helps each cookie bake evenly, resulting in a delightful texture throughout. A 1-inch ball will achieve the right balance of dough to chocolate kiss, ensuring each bite is equally enjoyable.
Tips for Ease
If you find that the dough sticks to your hands, lightly coating your palms with a small amount of flour can help. However, be careful not to use too much, as you want the dough to maintain its integrity and taste.
Coating with Sugar
Adding the finishing touch to your cookie balls is the coating with sugar. This step not only enhances flavor but also adds visual appeal to the final product.
Rolling in Extra Granulated Sugar
Once you’ve rolled the dough into balls, you’ll want to roll each ball in extra granulated sugar. This creates a delightful sugary crust, which adds a sweet crunch to the initial bite. The sugar not only enhances taste but also contributes to the cookie’s delicate texture.
Why Coating Matters
The sugary exterior contrasts beautifully with the soft interior of the cookie, offering a satisfying experience with each bite. It also provides a shimmering appearance that makes the cookies visually tempting.
Baking the Cookies
Baking is the transformative step that turns your prepared dough into delicious cookies. It’s essential to follow specific guidelines to ensure perfect results.
Preheating the Oven
Before you pop your cookies in, ensure your oven is preheated to 350°F (175°C). This step is crucial because even, consistent heat is key to achieving the right texture and doneness for your cookies.
The Role of Oven Temperature
A properly preheated oven allows the cookies to rise and bake evenly. Skipping this step can lead to uneven results, with some cookies potentially being undercooked.
Baking Duration
When you place the cookies in the oven, set your timer for 10-12 minutes. Be vigilant during this time and keep an eye out for the edges turning a light golden brown. This is an important indicator that your cookies are ready to be taken out.
The Perfect Bake
Ensure you don’t over-bake, as this can lead to dry cookies. You want to achieve a soft, chewy texture that will become firmer as the cookies cool. The moment you see that light golden hue, it’s time to remove the cookies.
Adding the Chocolate Kisses
The highlight of the peanut butter blossom cookie is undoubtedly the chocolate kiss placed in the center.
Pressing Kisses into Cookies
As soon as you remove the cookies from the oven, immediately press a chocolate kiss firmly into the center of each warm cookie. This step is crucial because the heat from the cookie will gently melt the chocolate, creating a delightful gooey center that complements the peanut butter flavor perfectly.
Timing is Key
Doing this while the cookies are still warm ensures that the chocolate kiss adheres properly, making it a signature characteristic of this dessert. Allowing the cookies to cool with the kisses in place prevents them from falling off later.
Cooling and Handling
Once your cookies are baked, handling them properly is vital to maintain their delicious texture.
Resting on the Baking Sheet
After baking, allow the cookies to rest on the baking sheet for about 5 minutes. This resting period is important as it allows the cookies to set, making them easier to move without risking breaking.
Transferring to a Wire Rack
After the resting period, carefully transfer the cookies to a wire rack to cool completely. This process ensures that the cookies cool down evenly and that air circulates around them, preventing them from becoming soggy.
Serving Suggestions
The way you present your peanut butter blossom cookies can elevate the experience of enjoying them.
Classic Pairings
A classic way to enjoy these cookies is with a cold glass of milk. The combination of creamy peanut butter and chocolate works harmoniously with refreshing milk. This pairing enhances the taste and complements the rich flavors of the cookies.
Decorative Touches
For an added touch of elegance, arrange your cookies on a decorative plate. Consider garnishing with a sprinkle of cocoa powder or chopped nuts around the cookies. This presentation not only looks appealing but also invites indulgence.
Storing Leftovers
To enjoy your cookies longer, you’ll need to know the best methods for storing leftovers.
Room Temperature Storage
To keep your cookies fresh, store them in an airtight container at room temperature. This method can help maintain their softness and flavor for several days.
Refrigeration for Extended Shelf Life
If you want to keep your cookies for an extended period, consider refrigerating them. Be aware that refrigeration may alter the texture slightly, making them more dense rather than soft and chewy.
Conclusion
Peanut butter blossom cookies are a delightful treat that combines rich flavors and satisfying textures. Their careful preparation and presentation can elevate any occasion, making them the perfect dessert. Enjoy the experience of making and sharing these cookies with loved ones.

Irresistible Peanut Butter Blossom Cookies Recipe
Ingredients
- 1 cup creamy peanut butter
- 1 cup granulated sugar
- 1 large egg
- 1 teaspoon pure vanilla extract
- 1 teaspoon baking soda
- ½ teaspoon fine sea salt
- 24 unwrapped chocolate kisses
- extra granulated sugar for rolling the dough
Instructions
- Preheat your oven to 350°F (175°C) and line a baking sheet with parchment paper.
- In a mixing bowl, combine peanut butter, sugar, egg, and vanilla extract, mixing until smooth.
- Fold in baking soda and sea salt until evenly distributed.
- Scoop dough and roll into 1-inch balls, then coat in granulated sugar.
- Place the balls on the baking sheet, spacing them 2 inches apart.
- Bake for 10-12 minutes until edges are light golden brown.
- Press a chocolate kiss into the center of each warm cookie immediately after baking.
- Let cookies rest on the baking sheet for 5 minutes before transferring to a wire rack to cool.
- Serve with a cold glass of milk for a delightful treat!