Introduction
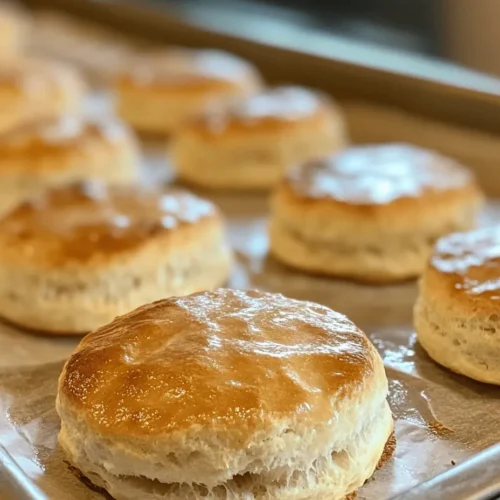
There’s something undeniably special about the aroma of freshly baked biscuits wafting through your kitchen. Homemade biscuits, with their golden-brown tops and tender, flaky interiors, are a slice of comfort food that can elevate any meal. Whether served alongside a hearty breakfast, as a base for a savory dish, or enjoyed simply with butter and jam, biscuits hold a cherished place in many culinary traditions.
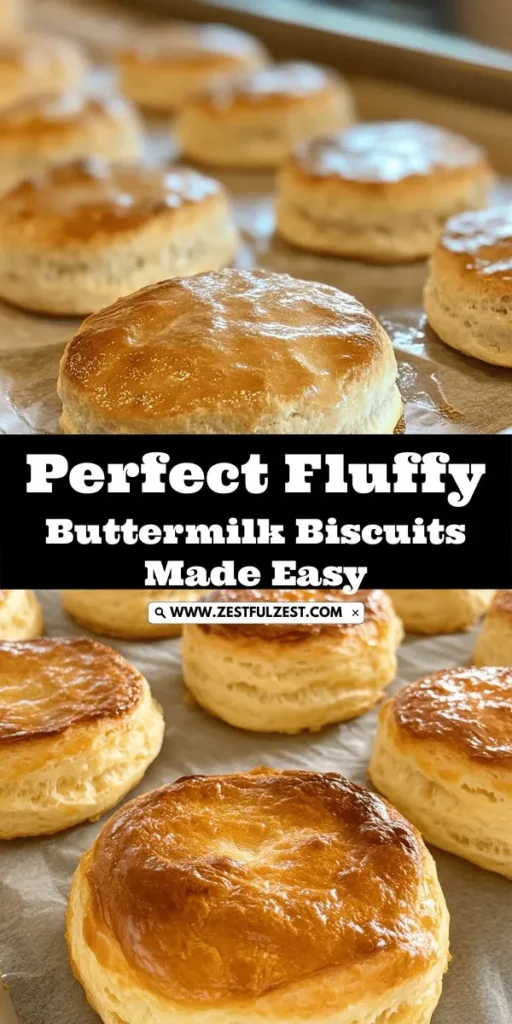
For those venturing into biscuit-making, the key to achieving that coveted fluffy texture lies in the quality of your ingredients and the techniques employed. In this article, we will guide you through the process of creating perfect fluffy buttermilk biscuits, ensuring that each bite is light, airy, and bursting with flavor.
Readers can expect to learn not just the step-by-step process for making these delightful biscuits, but also the science behind the ingredients and techniques that contribute to their success. From understanding the role of buttermilk to mastering the art of cutting in cold butter, this recipe will provide you with the knowledge needed to create biscuits that will impress family and friends alike.
Understanding the Basics of Biscuit Making
Before diving into the recipe, it’s essential to understand what factors contribute to the lightness and tenderness of biscuits. Unlike bread, which requires extensive kneading and fermentation, biscuits are meant to be quick and simple, producing a tender crumb with minimal handling. Here are the key components that make biscuits fluffy and tender:
The Importance of Cold Ingredients
One of the most crucial secrets to achieving fluffy biscuits lies in the temperature of your ingredients. Cold ingredients, particularly butter and buttermilk, are fundamental for creating biscuits that rise beautifully. When cold butter is incorporated into the dry ingredients, it creates small pockets of fat that melt during baking. This process generates steam, which contributes to the biscuits’ lift and flaky texture.
The Science Behind Leavening Agents
Baking powder and baking soda are vital for providing the lift necessary for fluffy biscuits. Baking powder contains both an acid and a base, allowing it to react with moisture and heat to produce carbon dioxide gas. This gas expands in the oven, causing the biscuits to rise. Conversely, baking soda requires an acid to activate it, which is why buttermilk is an excellent addition to biscuit recipes. The acidity of buttermilk not only provides flavor but also helps to activate the baking soda, ensuring a well-risen biscuit.
Key Ingredients for Fluffy Buttermilk Biscuits
To create the perfect fluffy buttermilk biscuits, each ingredient plays a specific role. Understanding these roles will help you appreciate the balance necessary for biscuit-making.
All-Purpose Flour
All-purpose flour is the foundation of any biscuit recipe. Its protein content affects the structure of the biscuits. Ideally, you want to use flour that has a moderate protein level (around 10-12%) to achieve a tender yet sturdy biscuit. Too much protein can result in a tough texture, while too little may lead to biscuits that crumble apart.
Baking Powder and Baking Soda
Together, baking powder and baking soda serve as the leavening agents that help your biscuits rise. Baking powder is a double-acting leavening agent, meaning it reacts twice—once when mixed with wet ingredients and again when exposed to heat. Baking soda, on the other hand, requires an acid to activate it. In this recipe, the buttermilk’s acidity will work in tandem with the baking soda to create the necessary lift for fluffy biscuits.
Salt
Salt is often an overlooked ingredient in baking, but it serves several important purposes. Not only does it enhance the flavor of the biscuits, making them more enjoyable, but it also helps to balance the sweetness and improves the overall structure. A pinch of salt can elevate your biscuits from good to great.
Unsalted Cold Butter
The type of fat you use can significantly affect the texture of your biscuits. Unsalted cold butter is the preferred choice, as it allows you to control the salt content. Cold butter is essential for achieving that desired flaky texture; it should be cut into the flour until the mixture resembles coarse crumbs. The cold temperature of the butter ensures that it retains its shape until baked, contributing to the steam pockets that create a light and airy biscuit.
Buttermilk
Buttermilk is a star ingredient in this biscuit recipe. Its acidity not only enhances the flavor but also tenderizes the dough, resulting in a softer biscuit. The moisture content in buttermilk helps to create a tender crumb, making it a perfect choice for achieving fluffy biscuits. If you don’t have buttermilk on hand, you can easily make a substitute by mixing milk with a tablespoon of vinegar or lemon juice and letting it sit for a few minutes.
Honey (Optional)
While not essential, a touch of honey can add a subtle sweetness and moisture to your biscuits. This optional ingredient can enhance the flavor profile, making your biscuits even more delightful. If you prefer a neutral flavor, feel free to skip the honey.
Step-by-Step Instructions for Perfect Biscuits
Now that you understand the key ingredients and their roles, it’s time to put this knowledge into action. Follow these detailed steps to create your fluffy buttermilk biscuits.
Preheating the Oven
Before you start mixing your ingredients, preheat your oven to 425°F (220°C). A hot oven is crucial for quick baking, allowing the biscuits to rise rapidly. This rapid rise is essential for achieving that fluffy texture.
Mixing Dry Ingredients
In a large mixing bowl, combine your all-purpose flour, baking powder, baking soda, and salt. Stir these dry ingredients together until they are evenly mixed. This step is vital as it ensures that the leavening agents are distributed throughout the flour, promoting even rising during baking.
Cutting in Butter
Next, it’s time to cut in the cold unsalted butter. Using a pastry cutter, fork, or your fingers, work the cold butter into the flour mixture. Aim for a texture that resembles coarse crumbs, with some larger pea-sized pieces of butter remaining. This step is crucial; the chunks of butter will melt during baking, creating those lovely flaky layers we all crave in a biscuit.
Adding Buttermilk and Honey
Once the butter is incorporated, create a well in the center of the dry mixture and pour in the cold buttermilk and honey (if using). Using a wooden spoon or spatula, gently mix until the dough comes together. Be careful not to overmix; a few lumps are okay. Overworking the dough can lead to tough biscuits, so mix just until combined.
Shaping the Dough
Turn the dough out onto a lightly floured surface. Gently pat it into a rectangle about 1-inch thick. At this point, you can fold the dough over onto itself a couple of times to create layers, which will enhance the flakiness of the biscuits. After folding, pat it down again to the desired thickness.
Cutting the Biscuits
Using a biscuit cutter or a sharp knife, cut out your biscuits. For best results, press straight down without twisting the cutter, as twisting can seal the edges and prevent them from rising properly. Place the cut biscuits onto a baking sheet lined with parchment paper, making sure they are close but not touching.
By following these steps, you are well on your way to creating fluffy buttermilk biscuits that are sure to delight and satisfy. As we move forward in the next part of this article, we will explore baking your biscuits to perfection, along with tips for achieving the best results. Stay tuned for more deliciousness as we continue this biscuit-making journey!
Adding Buttermilk: Best Practices for Mixing Without Overworking the Dough
When it comes to adding buttermilk to your biscuit dough, the goal is to incorporate it gently to maintain the fluffiness that makes these biscuits so delightful. Start by measuring out the buttermilk accurately; this ingredient is crucial for providing the necessary moisture and tang. Pour the buttermilk into the dry ingredients and use a fork or a spatula to mix them together. This method helps combine the ingredients without overworking the dough. Remember, overmixing can lead to dense biscuits. Mix just until the flour is moistened and there are still some dry streaks visible — this means you’re on the right track.
Kneading the Dough: The Importance of Minimal Handling for Flaky Layers
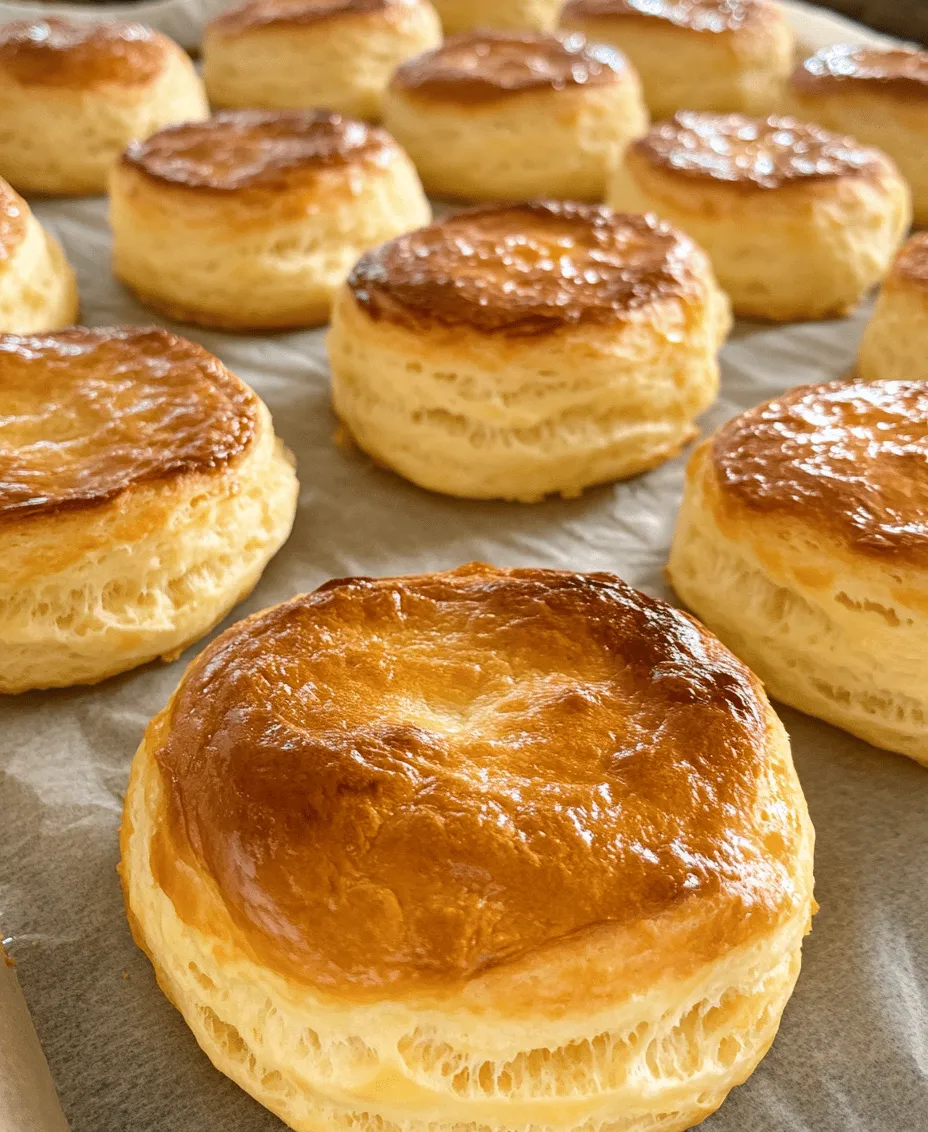
Once your buttermilk is incorporated, it’s time to knead the dough, but keep this step minimal. Transfer the dough to a lightly floured surface and gently pat it into a rectangle about 1-inch thick. Fold the dough over onto itself a couple of times, which will help create those desirable flaky layers. Each fold adds layers without extensive kneading, which can develop gluten, making the biscuits tough. Aim for a gentle touch; the dough should feel soft and slightly sticky, not overly worked or tough.
Cutting Biscuits: Tips for Ensuring Proper Rise and Shape
Now that your dough is prepared, it’s time to cut out the biscuits. Use a floured biscuit cutter to cut out rounds from the dough. Avoid twisting the cutter as you press down; twisting can seal the edges of the biscuits, preventing them from rising properly. Instead, press straight down and lift the cutter straight up. Place the cut biscuits onto a baking sheet lined with parchment paper, ensuring they are close but not touching; this allows for even baking and better rise.
Preparing for Baking: Techniques for Achieving a Golden Finish
Before baking, you can enhance the appearance and flavor of your biscuits by brushing the tops with a little melted butter or buttermilk. This step not only adds richness but also helps achieve that beautiful golden finish. Preheat your oven to 425°F (220°C) if you haven’t done so already; this high temperature is essential for creating the perfect rise and flaky texture.
Baking: Timing and Temperature for Optimal Results
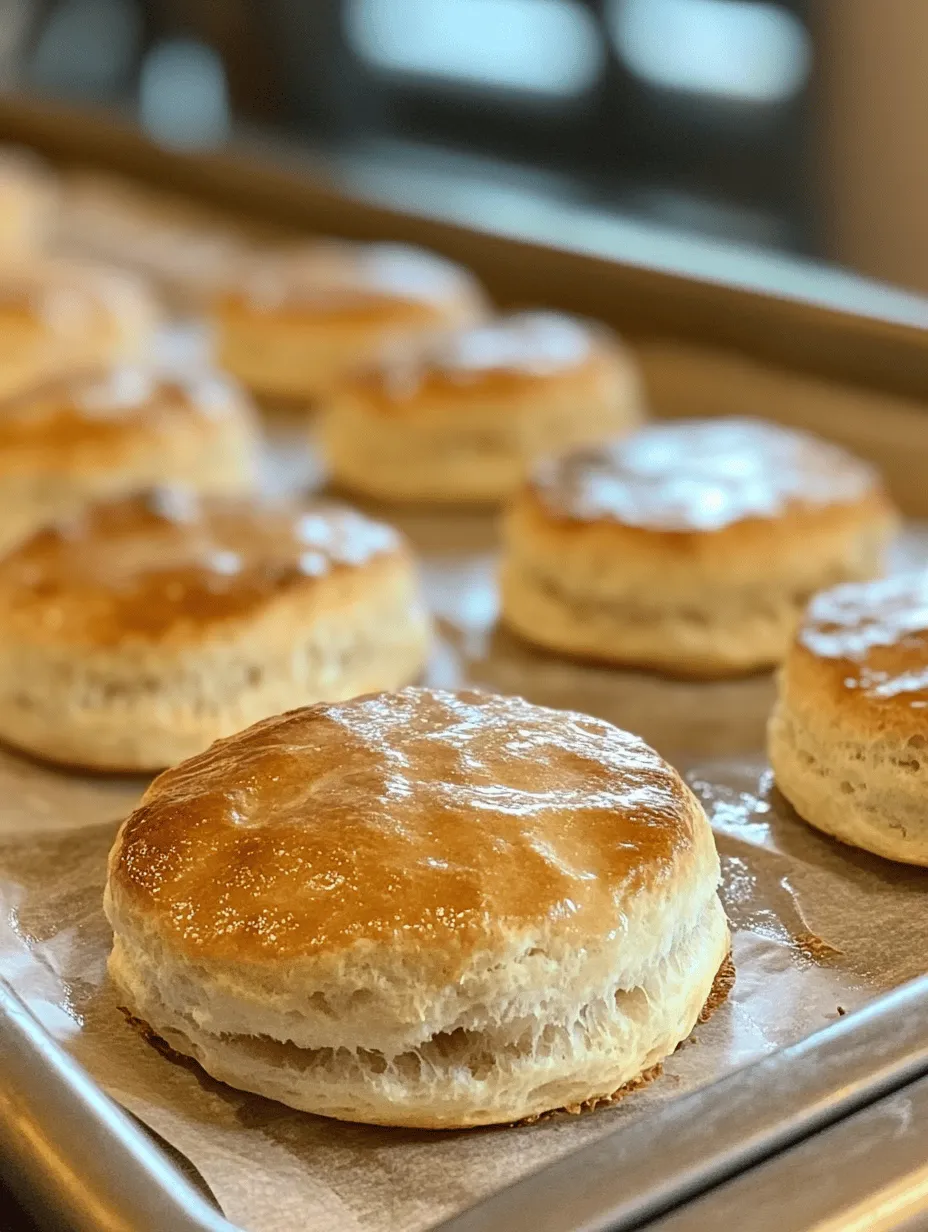
Once your oven is preheated, it’s time to bake the biscuits. Place the baking sheet in the center of the oven and bake for about 12-15 minutes, or until the tops are golden brown. Keep an eye on them during the last few minutes to prevent overbaking. The biscuits are done when they are puffed up and golden, and a toothpick inserted into the center comes out clean. The high heat helps the biscuits rise quickly, creating the fluffy texture you desire.
Cooling and Serving: Best Practices for Serving Warm Biscuits
After baking, remove the biscuits from the oven and let them cool for a few minutes on the baking sheet. This resting time allows the steam to escape, preventing sogginess. Serve the biscuits warm for the best experience, either plain or with a spread of butter, honey, or your favorite jam. For a more indulgent option, consider serving them with sausage gravy for a classic Southern breakfast.
Common Mistakes to Avoid
Overmixing the Dough: One of the most common mistakes when making biscuits is overmixing the dough. When you mix too vigorously or for too long, you develop gluten, which can lead to tough, chewy biscuits instead of the desired light and flaky texture.
Using Warm Ingredients: Another pitfall is using warm ingredients, particularly the buttermilk. Warm liquids can melt the fat in the dough, resulting in a denser product. Always ensure your buttermilk is cold for the best results.
Twisting the Biscuit Cutter: As mentioned earlier, twisting the cutter can hinder the rising process. Always press straight down to ensure the edges of the biscuits remain unsealed.
Not Spacing Biscuits Properly on the Baking Sheet: If biscuits are too close together, they won’t rise properly, and the sides may become gummy. Leave enough space between each biscuit to allow for expansion.
Creative Variations and Serving Suggestions
Sweet Variations: While classic buttermilk biscuits are delicious on their own, consider adding sweet elements for a twist. Incorporate ingredients like shredded cheese, fresh herbs, or minced garlic into the dough for savory variations. You can also mix in dried fruits or chocolate chips for a sweeter treat. A sprinkle of cinnamon sugar on top before baking can add an extra layer of flavor.
Savory Options: For a delightful topping, serve your biscuits with melted butter, homemade jam, or even rich sausage gravy. These toppings can elevate your biscuit experience, making them suitable for breakfast, brunch, or even as a side dish for dinner.
Pairing Biscuits with Meals: Fluffy buttermilk biscuits are incredibly versatile. Enjoy them with eggs and bacon for breakfast, or serve them alongside soups and stews for dinner. Their light and fluffy texture complements a variety of dishes, making them a staple in any meal.
Storage and Reheating Tips
To store leftover biscuits, place them in an airtight container at room temperature for up to two days. If you want to keep them longer, consider freezing them. Wrap each biscuit individually in plastic wrap and place them in a freezer-safe bag. They can be stored in the freezer for up to three months.
When it comes to reheating biscuits, avoid the microwave, as this can make them chewy. Instead, preheat your oven to 350°F (175°C) and place the biscuits on a baking sheet for about 10 minutes, or until heated through. This method helps retain their fluffiness and texture.
Conclusion
There’s an undeniable joy in making and enjoying fluffy buttermilk biscuits. With their soft, flaky layers and rich, buttery flavor, they are a treat that can elevate any meal. Don’t hesitate to experiment with this recipe; whether you add sweet or savory ingredients or serve them alongside your favorite dishes, these biscuits are sure to impress.
Baking at home offers a unique satisfaction that extends beyond just filling your stomach; it’s about creating something from scratch and sharing it with loved ones. So gather your ingredients, roll up your sleeves, and enjoy the process of baking. Your fluffy buttermilk biscuits await!