
In the world of comfort food, few dishes resonate as well as fried chicken. However, traditional frying can often lead to heavy meals that leave you feeling sluggish. Enter crispy baked fried chicken tenders—a delightful solution that offers all the crunchy goodness of fried chicken without the excess oil and calories. This recipe is perfect for those seeking a healthier lifestyle while still craving the satisfying flavors of their favorite comfort foods.
Baked chicken tenders have surged in popularity in recent years, particularly among health-conscious individuals and families. They provide a convenient and quicker alternative for busy weeknights or casual gatherings, allowing you to serve a dish that appeals to both adults and children alike. The beauty of homemade chicken tenders lies not only in their taste but also in their versatility; they can be served with a variety of dips, salads, or sides, making them an ideal choice for any meal.
In this article, we will delve into the nuances of creating the perfect crispy baked fried chicken tenders. From the selection of ingredients to the marination process and coating techniques, you’ll learn everything you need to know to make this dish a household favorite.
Understanding the Ingredients
The success of your crispy baked fried chicken tenders largely hinges on the quality and selection of ingredients. Each component plays a crucial role in achieving the desired texture and flavor profile, making it essential to understand their significance.
Chicken Tenderloins
At the heart of this recipe are chicken tenderloins, which are the small strips of chicken that lie beneath the breast meat. They are lean, tender, and cook quickly, making them the ideal choice for chicken tenders. Their natural tenderness means they require less cooking time than other cuts, ensuring that you get juicy, succulent pieces with every bite. Additionally, chicken tenderloins are easy to handle and bread, making them a favorite among home cooks and children.
Buttermilk
One of the key ingredients that elevate the flavor and texture of baked chicken tenders is buttermilk. This tangy dairy product is not only an excellent marinade but also serves to tenderize the chicken. The acidity in buttermilk breaks down proteins, allowing the chicken to absorb flavor while remaining moist during the cooking process. Soaking your chicken tenderloins in buttermilk before breading is essential for achieving that perfect combination of tenderness and flavor.
Seasonings and Coatings
The magic of crispy baked fried chicken tenders lies in the seasonings and coatings used to enhance their flavor. A carefully curated blend can transform a simple dish into a culinary delight. Here are the key seasonings you’ll want to include:
– Garlic Powder: Adds a robust depth of flavor that complements the chicken beautifully.
– Onion Powder: Provides a subtle sweetness and savory note, rounding out the seasoning profile.
– Paprika: This spice adds a warm, smoky flavor and a rich color to the chicken tenders.
– Cayenne Pepper: For those who enjoy a bit of heat, a pinch of cayenne pepper can elevate the flavor while providing a gentle kick.
When it comes to the coating, the choice between seasoned breadcrumbs and panko can significantly impact the final texture. Seasoned breadcrumbs offer a classic approach with a slightly finer texture, while panko breadcrumbs are larger and airier, providing an extra crunch that many find irresistible. For an added layer of flavor, consider incorporating grated Parmesan cheese into your breadcrumb mix—it melts during baking, creating a delicious crust.
Marination Process
Marinating chicken tenders is a crucial step that should not be overlooked. The marination process infuses the meat with flavor and helps maintain its juiciness during cooking.
Why Marinate?
Marinating is not just about flavor; it plays a vital role in the overall texture of the chicken. By soaking the chicken tenderloins in buttermilk, you allow the flavors to penetrate deeply into the meat, resulting in a tender and flavorful dish. The buttermilk also helps to seal in moisture, preventing the chicken from drying out in the oven.
Step-by-step Marination
To properly marinate your chicken tenderloins, follow these simple steps:
1. Prepare the Buttermilk Marinade: In a large mixing bowl, combine enough buttermilk to fully submerge your chicken tenderloins along with the seasonings (garlic powder, onion powder, paprika, cayenne pepper, and salt). Whisk until well combined.
2. Add the Chicken: Place the chicken tenderloins into the buttermilk mixture, ensuring they are fully coated. Cover the bowl with plastic wrap or transfer the mixture to a resealable plastic bag for convenience.
3. Refrigerate: Allow the chicken to marinate in the refrigerator for at least 30 minutes, although longer—up to 12 hours—will yield even better results. The longer the chicken marinates, the more flavorful and tender it will become.
Preparing the Coating
Once your chicken has marinated to perfection, it’s time to prepare the coating that will give your tenders that sought-after crispy texture.
Creating the Flour Mixture
The flour mixture serves as the foundation for the coating, and its ingredients contribute significantly to the overall flavor and crunch. Here’s what you’ll need:
– All-purpose flour: This is the base of your coating, providing the necessary structure and crispiness.
– Salt: Essential for enhancing the overall flavor of the coating.
– Additional seasonings: You can incorporate some of the same spices used in the marinade—garlic powder, onion powder, and paprika—to ensure a harmonious flavor profile throughout the dish.
Mix these ingredients together in a shallow dish, making sure they are well combined. This will be the first layer that your chicken tenderloins will encounter before being breaded.
Breadcrumb Coating
The second layer of the coating comes from the breadcrumbs. Whether you choose seasoned breadcrumbs or panko, the application of this final layer is critical for achieving a crispy finish. Here’s how to prepare the breadcrumb coating:
1. Choose Your Breadcrumbs: If you’re using panko, you may want to lightly season it with a pinch of salt and some grated Parmesan cheese to enhance the flavor. For seasoned breadcrumbs, check the label to ensure they contain complementary spices.
2. Set Up Your Breading Station: Create a designated area for breading. You’ll need three shallow dishes: one for the flour mixture, one for the buttermilk marinade, and one for the breadcrumbs. This setup will streamline the breading process.
3. Coating the Chicken Tenders: Remove each chicken tenderloin from the buttermilk marinade, allowing any excess liquid to drip off. Dredge the tenderloin in the flour mixture, ensuring it is fully coated. Shake off any excess flour, then dip it back into the buttermilk before finally coating it with breadcrumbs. Press the breadcrumbs onto the chicken to ensure they adhere well.
This meticulous coating process not only guarantees a crispy exterior but also ensures that each bite is bursting with flavor.
By following these initial steps with care, you’ll be well on your way to crafting delicious crispy baked fried chicken tenders that your family and friends will adore. The combination of marination, seasoning, and the perfect coating will set the stage for a dish that’s as satisfying as it is wholesome. Stay tuned as we continue to explore the cooking process and tips for achieving the best results!
Coating the Chicken Tenders
Coating chicken tenders correctly is crucial for achieving that delightful crunch and flavor. Here’s a step-by-step guide to ensure your chicken tenders are perfectly coated for maximum adhesion and crunchiness.
Step-by-Step Instructions for Coating
1. Prepare the Coating Stations: Set up three shallow bowls. In the first bowl, place all-purpose flour seasoned with salt, pepper, and any other desired spices (like paprika or garlic powder). In the second bowl, whisk together eggs and a splash of milk to create the egg wash. In the third bowl, combine breadcrumbs (preferably panko for extra crunch) with additional spices.
2. Dredging Process: Take one chicken tenderloin and dip it into the flour mixture, ensuring it is fully coated. Shake off any excess flour. This layer acts as the base that helps the egg wash adhere.
3. Egg Wash: Next, dip the flour-coated tenderloin into the egg wash. Allow the excess egg to drip off, ensuring that the tender is not overly wet.
4. Final Coating: Move the tenderloin to the breadcrumb mixture, pressing gently to ensure a good coating. Make sure the entire surface is covered with breadcrumbs, as this is what will give you that crispy texture.
5. Rest the Coated Tenders: Place the coated chicken tenders on a baking rack or a plate. Let them rest for about 10-15 minutes before baking. This resting period helps the coating adhere better during baking.
Tips for Coating
– Prevent Clumping: To avoid clumping, make sure your flour, egg, and breadcrumb mixtures are well-organized and that you are not overloading the chicken pieces with too much coating at once. Use one hand for wet ingredients and the other for dry to keep the process clean and efficient.
– Use Fresh Breadcrumbs: For optimal crunch, use fresh or panko breadcrumbs rather than stale ones. Panko breadcrumbs are larger and lighter, which contribute to a crunchier texture.
– Spice It Up: Experiment with spices and herbs in your flour and breadcrumb mixtures to enhance the flavor profile of your chicken tenders. You can add cayenne pepper for heat or dried herbs like oregano or thyme for an aromatic touch.
Baking the Chicken Tenders
Baking the chicken tenders is where the magic happens. Achieving the perfect crispiness requires attention to detail regarding temperature and technique.
Optimal Oven Temperature
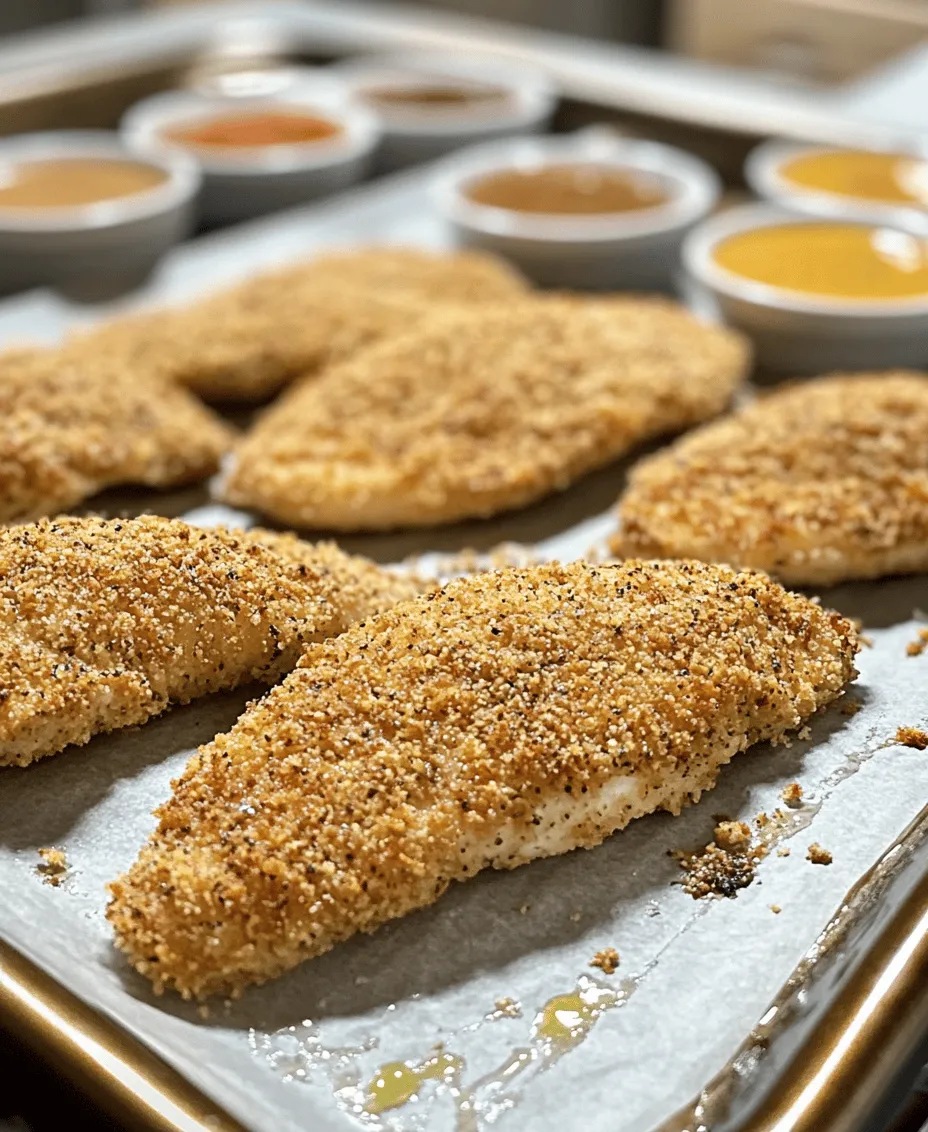
Set your oven to 425°F (220°C). This temperature is ideal for creating a crispy exterior while ensuring the chicken cooks through without drying out. The high heat helps to seal the breadcrumbs, creating a golden, crunchy crust.
Baking Tips
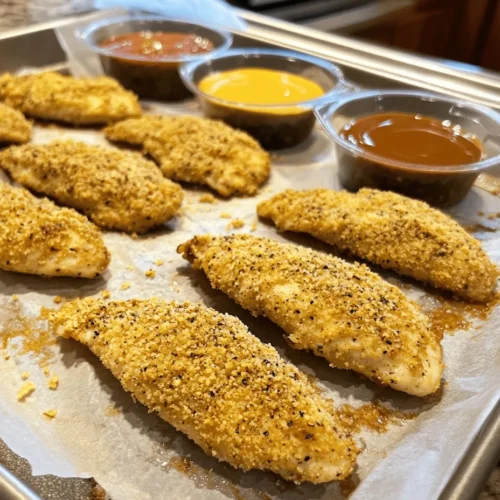
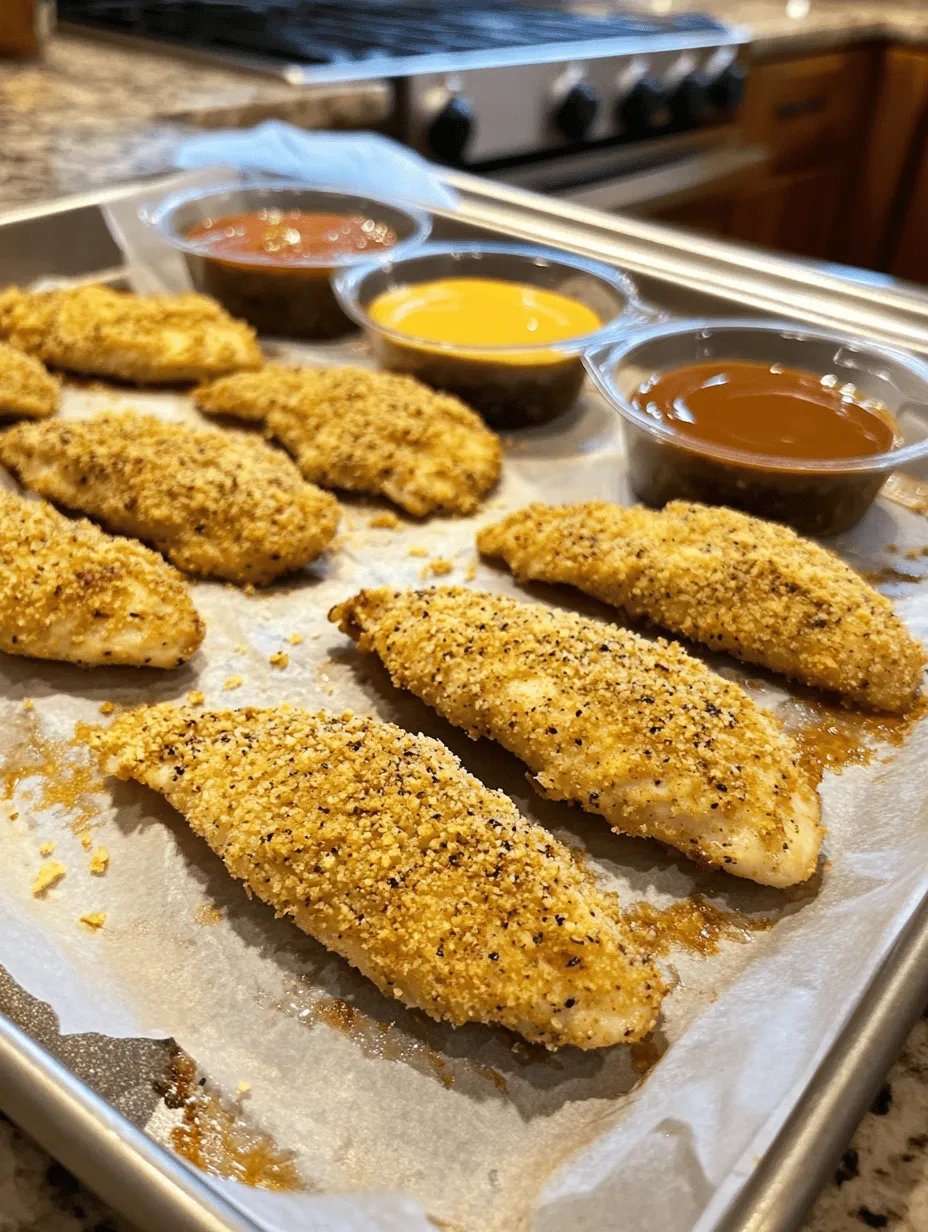
– Spacing Matters: Arrange the chicken tenders on a baking sheet lined with parchment paper or a silicone mat, leaving space between each piece. This allows hot air to circulate, which is crucial for even cooking and crispiness.
– Use Olive Oil Spray: Lightly mist the coated chicken tenders with olive oil spray before baking. This additional layer of fat helps to enhance browning and crispiness, creating that coveted fried texture without the need for deep frying.
– Flip Halfway: For an evenly crispy result, flip the chicken tenders halfway through the baking time. This ensures both sides achieve that golden brown color and prevents sogginess.
Bake the chicken tenders for about 20-25 minutes, or until they reach an internal temperature of 165°F (74°C) and are golden brown. If you want an extra crispy finish, you can broil them for the last minute or two, watching closely to prevent burning.
Serving Suggestions
Once your chicken tenders are baked to perfection, it’s time to serve them up. The versatility of these tenders makes them an excellent option for various occasions.
Dipping Sauces
A variety of dipping sauces can elevate your chicken tenders:
– Honey Mustard: A sweet and tangy option that complements the savory flavor of the chicken.
– Barbecue Sauce: Perfect for those who enjoy a smoky, sweet kick.
– Ranch Dressing: A classic pairing that adds creaminess and herbaceous notes.
– Buffalo Sauce: For those who like a bit of heat, this spicy sauce is an excellent choice.
Side Dish Ideas
Pair your crispy baked chicken tenders with delicious side dishes for a complete meal:
– Coleslaw: The crunch and tang of coleslaw make it a refreshing side that balances the richness of the chicken.
– Potato Wedges: Crispy potato wedges seasoned with herbs make an excellent companion to the tenders.
– Fresh Salad: A light green salad with a vinaigrette can offer a healthy contrast to the crispy chicken.
– Macaroni and Cheese: For comfort food lovers, creamy mac and cheese is a satisfying side.
Nutritional Information
One of the significant advantages of this crispy baked chicken tender recipe is its nutritional profile, especially when compared to traditional fried chicken tenders.
Healthier Alternative
Baked chicken tenders are a healthier option, significantly reducing calories and fat content compared to their fried counterparts. A typical serving of fried chicken tenders can contain upwards of 400-500 calories and a high fat content, primarily from the frying oil. In contrast, a serving of these baked tenders provides around 250-300 calories, with much less fat, making them a guilt-free indulgence.
Balanced Meal
When served with nutritious sides like a fresh salad or steamed vegetables, baked chicken tenders can be part of a balanced diet. They provide a good source of protein while allowing you to enjoy the flavors and textures you love without compromising on health.
Conclusion
In summary, making homemade crispy baked chicken tenders is an enjoyable and rewarding experience that offers the satisfaction of indulging in a beloved classic while maintaining a healthier lifestyle. The combination of a well-seasoned coating and the right baking techniques results in tender, juicy chicken with a crispy exterior that’s sure to please everyone at the table.
Whether you’re serving them at a family dinner, a casual get-together, or simply enjoying them as a comforting meal, these chicken tenders are versatile enough to fit any occasion. With easy-to-follow instructions and tips for achieving the best results, you can confidently prepare a dish that not only tastes fantastic but also reflects a healthier approach to comfort food. Give this recipe a try, and enjoy the delicious and satisfying results!