Introduction
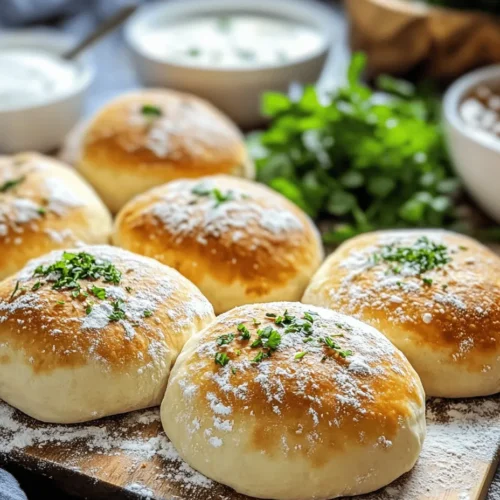
Arabic bread holds a cherished place in Middle Eastern cuisine, woven into the fabric of daily life and cultural traditions. From the bustling markets of Cairo to the quiet kitchens of Beirut, this versatile bread serves as a staple for countless meals. It is not just a side dish; it is a vehicle for flavors, a companion for dips, and a wrap for savory fillings. The rich history of Arabic bread speaks of communal gatherings, family feasts, and the simple joy of sharing food.
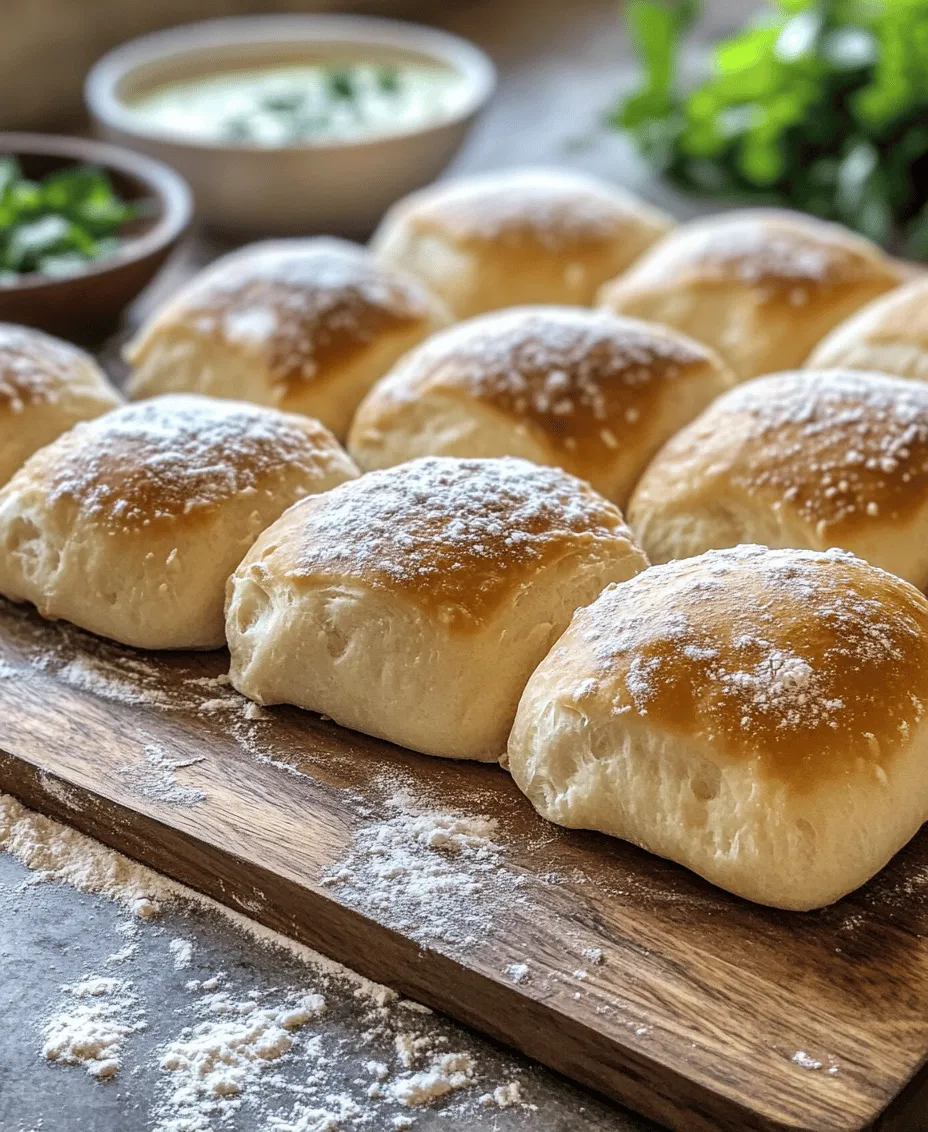
In this exploration of “Flaky Embrace,” we will delve into a delightful recipe for Arabic dough that embodies the essence of this beloved staple. This dough is not only perfect for wraps, but it also shines when paired with dips like hummus or baba ganoush, and can even serve as a base for different fillings, making it a truly versatile addition to your culinary repertoire.
There’s something uniquely satisfying about creating bread from scratch. The process is filled with anticipation and joy, as you witness the transformation of humble ingredients into a warm, flaky delight. As you embark on this journey, you’ll discover the art of crafting dough that is both flaky and tender, a true testament to the magic of homemade bread.
Understanding the Key Ingredients
To create the perfect “Flaky Embrace” dough, it is essential to understand the role of each ingredient. Every component contributes not only to the flavor and texture of the bread but also to the overall success of the recipe.
All-Purpose Flour
All-purpose flour is the backbone of this dough, providing the necessary structure to support its flaky texture. With a moderate protein content, it strikes a balance that allows for both elasticity and tenderness. When you choose high-quality all-purpose flour, it can make a significant difference in the final product. As you mix and knead, the proteins in the flour develop gluten, which gives the bread its characteristic chew and shape.
Warm Water and Yeast
Water is a critical element in any bread recipe, especially in activating the yeast. Using warm water, ideally between 100°F to 110°F (37°C to 43°C), helps to dissolve the yeast and initiate fermentation. This process activates the yeast’s leavening properties, allowing the dough to rise and become airy. It’s crucial not to use water that is too hot, as it can kill the yeast, leading to a dense, unappetizing bread.
Sugar
Sugar plays a dual role in this recipe. Firstly, it acts as food for the yeast, providing the necessary energy for fermentation. Secondly, it enhances the flavor of the bread, giving it a subtle sweetness that balances the savory elements. Even a small amount of sugar can significantly impact the taste, making your bread not only functional but also delicious.
Salt
Salt is often an overlooked ingredient in bread-making, but it is essential for flavor enhancement and dough strength. It not only balances the sweetness from the sugar but also controls yeast activity, ensuring a steady rise without over-fermentation. Additionally, salt plays a role in gluten development, contributing to the dough’s overall structure and texture.
Olive Oil or Melted Ghee
Incorporating olive oil or melted ghee into the dough enriches it with moisture and flavor. These fats help create a softer crumb and add a layer of richness that elevates the overall eating experience. Olive oil, with its distinct taste, also brings a hint of Mediterranean flair, while ghee adds a nutty undertone that complements the other ingredients beautifully.
Optional Addition of Yogurt
While not a traditional component, adding yogurt to the dough can enhance both flavor and texture. The acidity in yogurt interacts with the gluten, resulting in a softer, more tender bread. It also introduces a subtle tanginess that can elevate the overall taste profile. If you choose to include yogurt, it’s best to use plain, unsweetened varieties to maintain the integrity of the dough.
Step-by-Step Instructions for Perfect Dough
Now that you understand the importance of each ingredient, let’s dive into the step-by-step process of making the “Flaky Embrace” dough. Each step is integral to achieving the perfect consistency and texture, so follow along closely for the best results.
Activating the Yeast
Start by activating the yeast. In a small bowl, combine the warm water with the sugar, then sprinkle the yeast over the top. Allow it to sit for about 5-10 minutes. During this time, you should see bubbles forming, indicating that the yeast is active and ready to work its magic. If your mixture does not bubble, it may be a sign that the yeast is expired or the water temperature was incorrect, so it’s essential to ensure both are optimal.
Mixing Dry Ingredients
In a large mixing bowl, combine the all-purpose flour and salt. It’s important to mix these dry ingredients before adding the wet ones to ensure even distribution of the salt throughout the flour. Create a well in the center of the flour mixture—this will be where you add your wet ingredients. Making a well helps to control the incorporation of the ingredients, preventing flour from flying everywhere and ensuring a smoother mixing process.
Combining Ingredients
Once your yeast mixture is ready, pour it into the well you created in the flour. Add in your chosen fat—either olive oil or melted ghee—and, if you’re using yogurt, add it at this stage as well. Gently mix the ingredients together using a fork or your fingertips, starting from the inner rim of the well and working your way outwards. This technique helps to gradually incorporate the flour into the wet mixture, resulting in a cohesive dough.
Kneading the Dough
After your ingredients are combined and you’ve formed a shaggy dough, turn it out onto a lightly floured surface. This is the moment when kneading comes into play, which is crucial for developing gluten. Knead the dough by pressing it down with the heel of your hand, folding it over, and repeating the process. Aim for a kneading time of about 8-10 minutes. The dough should become smooth and elastic, and it should spring back when poked gently. If the dough feels too sticky, sprinkle a little more flour as needed, but avoid adding too much, as it can lead to a dry dough.
As you progress through these steps, you will begin to understand the tactile nature of bread-making. Each phase is a vital part of the process, and with practice, you’ll develop the confidence to create a truly delightful Arabic dough.
Stay tuned as we continue this culinary journey, where you will learn how to shape and cook your “Flaky Embrace,” transforming your kitchen into a haven of deliciousness.
The First Rise: Understanding Fermentation and Its Impact on Flavor and Texture
The first rise, or fermentation, is crucial to the development of flavor and texture in your Arabic dough. This process allows yeast to consume sugars in the dough, producing carbon dioxide gas that causes the dough to expand. As the dough rises, it develops complex flavors and a light, airy texture that is essential for achieving the perfect flaky bread.
Ideal Conditions for Rising
To create the best environment for your dough to rise, consider the following conditions:
– Temperature: Yeast thrives in warm environments, ideally between 75°F and 85°F (24°C to 29°C). If your kitchen is cooler, you can place the dough in an oven with the light on or near a warm window to encourage fermentation.
– Humidity: A slightly humid environment helps to keep the dough from drying out. You can achieve this by covering the bowl with a damp cloth or plastic wrap.
– Time: Allow the dough to rise until it has doubled in size, which typically takes about 1 to 2 hours depending on the temperature of your environment. Patience during this stage is key to achieving the desired texture.
Shaping the Dough: Techniques for Dividing and Shaping Dough Balls for Even Cooking
Once your dough has risen, it’s time to shape it into individual portions. This step is essential for ensuring even cooking and a consistent final product.
Dividing the Dough
1. Lightly Flour Your Surface: Before handling the dough, sprinkle a small amount of flour on your work surface to prevent sticking.
2. Gently Punch Down: After the first rise, gently punch down the dough to release excess gas. This process also redistributes the yeast, sugars, and moisture.
3. Divide Evenly: Use a sharp knife or dough cutter to divide the dough into equal portions, typically about 8 to 10 pieces depending on your desired size. Each piece should weigh around 100-120 grams for uniformity.
4. Shape into Balls: Take each portion and gently roll it into a ball using your palms. This technique helps create surface tension, which will result in a better rise during cooking.
Techniques for Shaping
– Cupping Technique: Place your hand over the dough ball and rotate it in a circular motion against the work surface. This creates a smooth outer layer that will hold its shape during the second rise and cooking.
– Resting the Dough: Allow the shaped dough balls to rest for about 15-20 minutes on a floured surface, covered with a damp cloth to prevent drying. This rest period relaxes the gluten and makes rolling out easier.
The Second Rise: Importance of Rest for Texture and Fluffiness in the Final Product
The second rise is just as important as the first. It allows the dough to relax further, resulting in a softer and fluffier texture once cooked.
Why It Matters
During this stage, the yeast continues to ferment, producing additional carbon dioxide and enriching the flavor profile. The dough should rise again until it nearly doubles in size, which typically takes about 30 minutes to an hour.
Rolling Out: Techniques for Achieving Uniform Thickness and Preventing Sticking
To achieve the perfect flaky embrace, rolling out the dough evenly is critical. Here are some techniques to consider:
1. Flour Your Surface and Rolling Pin: Always ensure your work surface and rolling pin are lightly floured to prevent sticking. Too much flour can alter the dough’s texture, so use sparingly.
2. Roll from the Center Outward: Start rolling from the center of the dough ball and work your way outward. This technique helps maintain an even thickness and prevents tearing.
3. Target Thickness: Aim for a thickness of about 1/8 inch. This thickness allows for a flaky texture while still supporting a variety of fillings.
4. Rotate the Dough: As you roll, turn the dough a quarter turn every few rolls. This helps maintain a round shape and ensures even cooking.
Cooking Techniques for Flaky Bread
Choosing the Right Cookware
When it comes to cooking your flaky bread, the choice of cookware can significantly impact the final result.
– Non-Stick Skillets: These are great for beginners, as they allow for easy release and cleanup. However, they may not provide the same level of browning as traditional cookware.
– Traditional Griddles: If you are looking for a more authentic cooking experience, a cast-iron skillet or traditional griddle can help achieve an exceptional crust. These options retain heat better, promoting even cooking and a crispy exterior.
Cooking Temperature
Achieving the perfect golden brown crust requires precise temperature control.
– Medium-High Heat: Preheat your skillet or griddle over medium-high heat. This temperature allows the bread to cook through while developing a crispy exterior.
– Test the Heat: Sprinkle a few drops of water onto the cooking surface. If they sizzle and evaporate immediately, the surface is ready for cooking.
Timing
Cooking time is crucial for the perfect flaky embrace.
– Cooking on One Side: Cook each piece for about 2-3 minutes or until golden brown. You should see small bubbles forming on the surface, indicating that the dough is cooking properly.
– Flipping: Carefully flip the bread using a spatula. Cook the other side for an additional 2-3 minutes until it achieves a golden crust.
– Check for Doneness: The bread should feel firm yet soft to the touch and should not be doughy inside.
Serving Suggestions for Your Flaky Embrace
Once you’ve mastered the art of making flaky bread, it’s time to explore delicious ways to serve it. Here are some ideas that highlight the versatility of the flaky embrace:
Dips and Fillings
1. Hummus: A classic pairing, hummus adds creaminess and flavor that complements the flaky bread perfectly. Try variations like roasted red pepper or garlic hummus for added zest.
2. Baba Ghanoush: This smoky eggplant dip offers a rich flavor profile that pairs beautifully with the lightness of the bread.
3. Grilled Meats: Use the flaky bread as a wrap for grilled meats such as chicken, lamb, or beef. Add fresh vegetables and sauces for a complete meal.
Creative Uses Beyond Middle Eastern Cuisine
1. Tacos: Transform your flaky bread into tacos by filling them with your favorite proteins and garnishes. Think outside the box with fillings like grilled veggies or pulled pork.
2. Wraps: Use the bread as a wrap for sandwiches. Fill it with deli meats, cheeses, and fresh greens for a quick lunch.
3. Breakfast Creations: Use the dough to create breakfast wraps filled with eggs, cheese, and sautéed vegetables.
Nutritional Information and Health Benefits
The ingredients in the flaky embrace recipe come together to create a nutritious and wholesome bread option. Here’s a brief overview of the nutritional profile and health benefits:
Nutritional Profile
– Flour: Provides carbohydrates for energy and can be made healthier by using whole grain varieties, which add fiber and nutrients.
– Olive Oil: A healthy fat that offers heart benefits and adds moisture to the dough.
– Yeast: A source of B vitamins and aids in digestion through fermentation.
Health Benefits of Making Bread at Home
1. Control Over Ingredients: Making bread at home allows you to choose high-quality ingredients, avoiding preservatives and additives often found in store-bought options.
2. Freshness: Homemade bread is fresher and can be enjoyed warm, enhancing flavor and texture.
3. Customization: You can experiment with different flours, herbs, and spices to tailor the bread to your dietary needs and preferences.
Conclusion
The joy of making “Flaky Embrace” at home goes beyond the delicious outcome; it’s about the connection to tradition and the satisfaction that comes from creating something with your own hands. Each step—from the first rise to the final cooking—contributes to a delightful culinary experience that’s both fulfilling and rewarding.
Encourage yourself to experiment with various fillings and cultural adaptations. Whether you stick to traditional Middle Eastern flavors or venture into new territories, the possibilities are endless. Embrace the process of homemade cooking, and enjoy the flavors, textures, and memories that come with each bite of this delightful bread.