Introduction
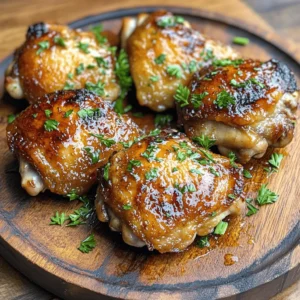
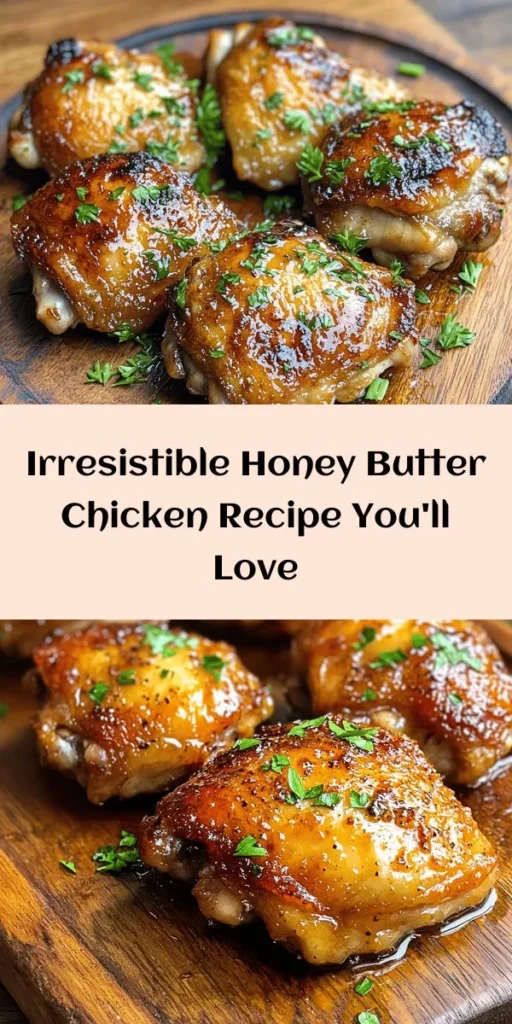
If you’re on the hunt for a dish that seamlessly blends sweet and savory flavors, look no further than Honey Butter Chicken. This mouthwatering recipe has gained popularity not only for its incredible taste but also for its versatility, making it a perfect choice for family dinners, casual gatherings, or even a fancy night in. Imagine succulent pieces of chicken, perfectly coated in a luscious honey-butter glaze, tantalizing your taste buds with every bite. The balance of sweetness from the honey and the rich, buttery goodness creates an irresistible flavor profile that is hard to beat.
The appeal of Honey Butter Chicken lies in its ability to cater to various palates. Whether you’re a fan of comfort food or looking to impress guests with something unique, this dish fits the bill. It pairs beautifully with a side of fluffy rice or crispy roasted vegetables, making it a comprehensive meal that’s sure to please everyone at the table.
Understanding Honey Butter Chicken
The concept of sweet and savory dishes has been a staple in culinary traditions across the globe. From Asian stir-fries that incorporate sweet sauces to Southern-style dishes that balance heat with sweetness, these flavor combinations evoke a sense of comfort and satisfaction. Honey Butter Chicken takes this delightful mixture to another level, showcasing how contrasting flavors can come together to create something truly special.
In home cooking, incorporating diverse flavors elevates a dish from mundane to memorable. The key to achieving a harmonious balance lies in understanding how each ingredient contributes to the overall taste. For our Honey Butter Chicken, chicken thighs are the star of the show. These cuts of meat are not only forgiving when it comes to cooking times, but they also provide a rich flavor that enhances the dish. Boneless, skinless chicken thighs are particularly recommended for this recipe, as they remain juicy and tender even after frying, ensuring that you get the best of both worlds: crispy on the outside and succulent on the inside.
Ingredient Breakdown
To create the perfect Honey Butter Chicken, it’s essential to understand the role of each ingredient involved. Here’s a detailed breakdown:
Chicken Thighs
Boneless, skinless chicken thighs are preferred for this recipe due to their higher fat content compared to chicken breasts. This fat renders down during cooking, keeping the meat moist and flavorful. Additionally, thighs can withstand a bit of overcooking without becoming dry, making them an ideal choice for frying.
Flour
Flour acts as the foundation for a crispy coating on the chicken. When seasoned and combined with the chicken, it creates a delightful crunch that contrasts beautifully with the tender meat inside. The flour also helps to anchor the marinade, ensuring that the flavors penetrate the chicken effectively.
Spices
A blend of spices enhances the overall flavor of the dish. Paprika gives it a subtle smokiness, while garlic powder and onion powder contribute aromatic depth. Salt and pepper are essential to elevate the natural flavors of the chicken, making each bite deliciously seasoned.
Buttermilk
Marinating the chicken in buttermilk is a critical step in this recipe. Buttermilk not only tenderizes the meat but also infuses it with a rich flavor. The acidity in buttermilk helps to break down the proteins in the chicken, leading to a more tender result. Allowing the chicken to soak in buttermilk for a few hours or overnight will yield the best results.
Honey and Butter
Here’s where the magic happens. Honey serves as the primary sweetener, while butter adds richness and depth to the sauce. Together, they create a glossy glaze that clings to the chicken, making every bite delectable. The sweetness of the honey contrasts with the savory notes from the seasoned chicken, resulting in a flavor explosion that is simply irresistible.
Optional Cayenne Pepper
For those who enjoy a bit of heat, adding cayenne pepper can elevate the dish further. This optional ingredient introduces a subtle spiciness that balances the sweetness, providing a well-rounded flavor profile. Adjust the amount to your taste preference, and don’t be afraid to experiment!
Fresh Parsley
Finally, fresh parsley is not just a garnish; it adds a pop of color and freshness to the dish. Its bright flavor complements the rich honey butter sauce, making it a perfect finishing touch. A sprinkle of parsley before serving can elevate the presentation, making the dish as visually appealing as it is delicious.
Marinating the Chicken
Now that we’ve covered the ingredients, it’s time to prepare the chicken for cooking. Marinating is a crucial step that enhances both the flavor and texture of your Honey Butter Chicken. Here’s a step-by-step guide to preparing the marinade:
1. Gather Your Ingredients: Start with boneless, skinless chicken thighs and your buttermilk. You’ll also need salt, pepper, and any additional spices you wish to include.
2. Create the Marinade: In a large bowl, combine the buttermilk with a generous pinch of salt and pepper. For added flavor, you can mix in garlic powder, onion powder, and paprika.
3. Add the Chicken: Place the chicken thighs into the marinade, ensuring that each piece is well-coated. This step is essential for infusing the chicken with flavor and ensuring tenderness.
4. Cover and Refrigerate: Once the chicken is in the marinade, cover the bowl with plastic wrap or transfer it to a resealable bag. Refrigerate for at least 1 hour, but for best results, aim for 4-6 hours. If you have the time, marinating overnight will yield even more flavorful chicken.
Benefits of Marinating
The marination process serves several purposes:
– Texture: The acidity in the buttermilk breaks down proteins, leading to a more tender chicken.
– Flavor Infusion: As the chicken sits in the marinade, it absorbs the spices and flavors, ensuring that every bite is packed with taste.
– Juiciness: Marinating helps the chicken retain moisture during cooking, preventing it from drying out.
Recommended Marination Times
– Minimum: 1 hour (for basic flavor infusion)
– Optimal: 4-6 hours (for enhanced tenderness and flavor)
– Best Results: Overnight (for maximum flavor and juiciness)
With the chicken marinating, you’re well on your way to creating a truly delightful meal that combines sweet and savory elements in every bite. As you prepare to cook, let’s move on to the next steps, where we’ll tackle the coating and frying process that contributes to the dish’s signature crunch and flavor.
Importance of a Well-Seasoned Flour Mixture for Flavor
When it comes to frying chicken, the flour mixture plays a pivotal role in enhancing the dish’s overall flavor. A well-seasoned flour mixture not only provides a delicious, crispy coating but also infuses the meat with flavor. To create the perfect blend, it’s essential to incorporate ingredients that complement the chicken and the honey butter sauce.
Start with all-purpose flour as your base. Then, enhance its flavor profile by adding salt, black pepper, garlic powder, onion powder, and smoked paprika. The smoked paprika, in particular, adds a subtle smokiness that contrasts beautifully with the sweetness of the honey butter sauce. A pinch of cayenne pepper can also be added for those who enjoy a touch of heat.
Mix these dry ingredients thoroughly to ensure an even distribution of flavors. The result will be a seasoned flour mixture that clings well to the chicken, creating a flavorful crust that brings out the savory elements of the dish.
Techniques for Achieving a Perfect Coating on the Chicken
Achieving the perfect coating on your chicken involves a few key techniques. First, always start with dry chicken. Pat each piece of chicken with paper towels to remove excess moisture; this will help the coating adhere better.
Next, set up a dredging station. Place your seasoned flour in one shallow dish, and beat a couple of eggs in another shallow dish. The egg wash is crucial as it creates a sticky surface for the flour to cling to. Dip each piece of chicken into the egg mixture first, allowing any excess to drip off before transferring it to the seasoned flour. Press the chicken firmly into the flour, ensuring an even coating on all sides. For an extra-crispy texture, consider double-dipping: repeat the egg wash and seasoned flour steps for an additional layer of crunch.
This technique not only enhances the texture of the chicken but also ensures that every bite is packed with flavor.
Explanation of the Egg Wash Process and Its Purpose in Creating Adhesion
The egg wash is a simple yet essential component in achieving that perfect fried chicken crust. An egg wash typically consists of beaten eggs mixed with a small amount of water or milk. The primary purpose of the egg wash is to create a sticky layer that helps the flour adhere to the chicken.
When the chicken is dipped in the egg wash, the proteins in the egg coagulate during frying, forming a bond between the chicken and the flour coating. This bond is critical for ensuring that the coating stays put during frying, preventing it from falling off and ensuring a beautifully crispy exterior.
Additionally, the egg wash helps to achieve a golden-brown color on the crust. As the chicken fries, the sugars in the egg contribute to browning, enhancing both the visual appeal and the flavor of your dish.
Frying the Chicken
Choosing the Right Skillet and Oil for Frying
Selecting the right equipment is crucial for frying chicken. A cast-iron skillet or a heavy-bottomed frying pan is ideal as it retains heat well and distributes it evenly. This consistency in temperature is essential for achieving perfectly fried chicken.
When it comes to oil, choose one with a high smoke point, such as vegetable oil, canola oil, or peanut oil. These oils can withstand the high temperatures required for frying without burning. Fill the skillet with enough oil to submerge the chicken pieces halfway, which will allow for even cooking while preventing the chicken from becoming overly greasy.
Tips for Maintaining the Ideal Frying Temperature
Maintaining the right frying temperature is vital for achieving crispy chicken without burning it. Aim for a temperature of about 350°F (175°C) to 375°F (190°C). To check if the oil is ready, drop a small piece of flour into the oil; if it sizzles and bubbles immediately, the oil is hot enough.
Avoid overcrowding the skillet, as this can lower the oil temperature and result in soggy chicken. Fry in batches if necessary, allowing each piece enough space to cook properly. Use a thermometer to monitor the oil temperature throughout the frying process, adjusting the heat as needed to maintain consistency.
Signs to Look for to Ensure the Chicken is Cooked Perfectly
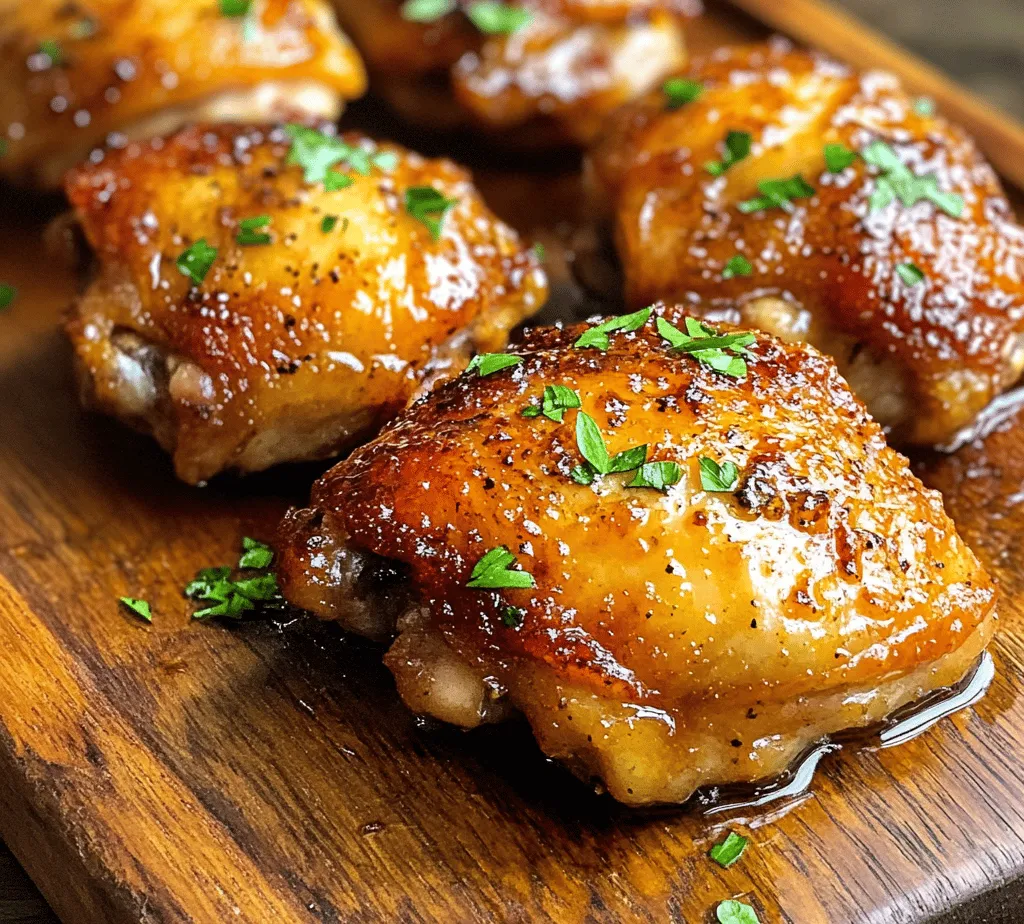
Cooking chicken to perfection involves more than just timing. Look for a few key indicators that signal your chicken is ready. The exterior should be a deep golden brown, indicating a crispy crust. Using an instant-read thermometer, check that the internal temperature of the chicken has reached 165°F (74°C) to ensure it is fully cooked.
Another sign of perfectly fried chicken is the sound. It should sizzle audibly as it cooks, giving you confidence that the chicken is frying nicely. Once done, remove the chicken from the skillet and allow it to drain on paper towels to absorb any excess oil, keeping it crispy.
Creating the Honey Butter Sauce
Step-by-Step Instructions for Making the Sauce in the Same Skillet for Maximum Flavor
After frying the chicken, it’s time to create the honey butter sauce, taking advantage of the flavorful remnants left in the skillet. Begin by pouring off excess oil, leaving about two tablespoons in the skillet.
1. Melt the Butter: Add unsalted butter to the skillet over medium heat. Allow it to melt completely, scraping the bottom of the skillet to release any flavorful bits stuck to the bottom.
2. Add Honey: Once the butter is melted, pour in the honey. Stir the mixture until it’s well combined. The sweetness of the honey will balance beautifully with the savory notes of the chicken.
3. Season: Add a pinch of salt and a dash of black pepper to the sauce, tasting as you go to achieve the desired balance. If you want a bit of heat, consider adding a sprinkle of cayenne pepper or a splash of hot sauce.
4. Simmer: Let the sauce simmer for a couple of minutes until it thickens slightly, stirring continuously. This will help meld the flavors and create a luscious coating for your chicken.
Explanation of the Sauce’s Consistency and How to Achieve It
The ideal consistency for your honey butter sauce should be thick enough to coat the back of a spoon but still pourable. If the sauce is too thin, continue to simmer it on low heat until it reduces to your desired thickness. Conversely, if it becomes too thick, whisk in a teaspoon of water or additional butter to loosen it up without losing its flavor.
Importance of Balancing Sweetness with a Touch of Saltiness for Best Results
The key to a successful honey butter sauce lies in the balance of flavors. The sweetness from the honey complements the savory, crispy chicken, while a touch of salt enhances the overall taste profile. This balance is essential; too much sweetness can overwhelm the dish, masking the savory notes of the chicken.
Taste your sauce as you prepare it, making adjustments as necessary. If you find it leaning too sweet, a little more salt can help elevate the flavors. Conversely, if you find it too salty, adding a little more honey can help restore balance.
Serving Suggestions
Ideas for Complementary Side Dishes to Enhance the Meal
Honey Butter Chicken pairs beautifully with a variety of side dishes that complement its flavors. Here are some excellent options:
– Creamy Mashed Potatoes: The richness of mashed potatoes complements the sweet and savory notes of the chicken. Consider adding garlic or herbs for added flavor.
– Fresh Green Salad: A crisp salad with a tangy vinaigrette provides a refreshing contrast to the richness of the chicken. Incorporating seasonal vegetables adds an extra layer of texture and flavor.
– Roasted Vegetables: Seasonal roasted vegetables such as carrots, Brussels sprouts, or asparagus can add a healthy touch to the meal, offering both color and nutrients.
– Cornbread: The sweetness of cornbread pairs perfectly with the honey butter sauce, creating a delightful harmony of flavors.
Creative Presentation Tips for Serving Honey Butter Chicken
Presentation is key when serving Honey Butter Chicken. Arrange the fried chicken pieces on a large platter, drizzling the honey butter sauce generously over the top. Garnish with fresh herbs like parsley or thyme for a pop of color.
For an appealing touch, consider serving the chicken on a rustic wooden board, accompanied by small bowls of the remaining honey butter sauce for dipping. This adds a casual yet elegant feel to your meal.
Suggestions for Pairing with Beverages
To enhance the dining experience, consider pairing your Honey Butter Chicken with a refreshing beverage. A chilled white wine, such as a Sauvignon Blanc or Chardonnay, can complement the sweetness of the dish. If you prefer non-alcoholic options, freshly brewed iced tea or lemonade can provide a refreshing contrast to the flavors of the chicken.
Nutritional Information
Overview of the Nutritional Aspects of the Dish
Honey Butter Chicken, while indulgent, can be enjoyed as part of a balanced diet. A standard serving provides a good source of protein, essential for muscle growth and repair. The dish also offers a combination of carbohydrates and fats, making it a satisfying meal.
However, it’s important to be mindful of portion sizes, as fried foods can be calorie-dense. A typical serving of Honey Butter Chicken contains approximately 400-500 calories, depending on the size of the chicken pieces and the amount of sauce used.
Discussion on Making Healthier Substitutions if Desired
If you’re looking to lighten the dish, there are several healthier substitutions you can consider:
– Air Frying: Instead of frying in oil, consider using an air fryer. This method uses significantly less oil, resulting in a lower-calorie dish with a similar crispy texture.
– Whole Wheat Flour: Swap out all-purpose flour for whole wheat flour to increase fiber content, which can aid digestion and promote satiety.
– Reduced Sugar: Reduce the amount of honey in the sauce or substitute it with a natural sweetener like agave syrup or maple syrup for a lower-calorie option.
– Adding Vegetables: Incorporate more vegetables into your meal as side dishes, which can help balance the indulgent nature of the chicken with nutrients and fiber.
Balancing Indulgence with Health Consciousness in Home Cooking
Cooking at home allows you to strike a balance between indulgence and health consciousness. While Honey Butter Chicken is a delicious treat, incorporating healthier cooking methods and ingredients can make it a more regular part of your meal rotation. Focus on moderation and complementing rich dishes with lighter sides and fresh ingredients.
Conclusion
The sweet and savory appeal of Honey Butter Chicken makes it a standout dish that can delight the taste buds of family and friends alike. The combination of crispy fried chicken coated in a luscious honey butter sauce creates a memorable meal perfect for any occasion.
As you embark on making this dish, remember the importance of flavor in every step—from seasoning the flour to balancing the sauce. The joy of cooking lies not only in the end result but also in the process of creating something delicious to share with loved ones. So gather your ingredients, follow the steps, and experience the delightful flavors of Honey Butter Chicken for yourself. Embrace the joy of cooking and make mealtime a cherished occasion.