
Introduction
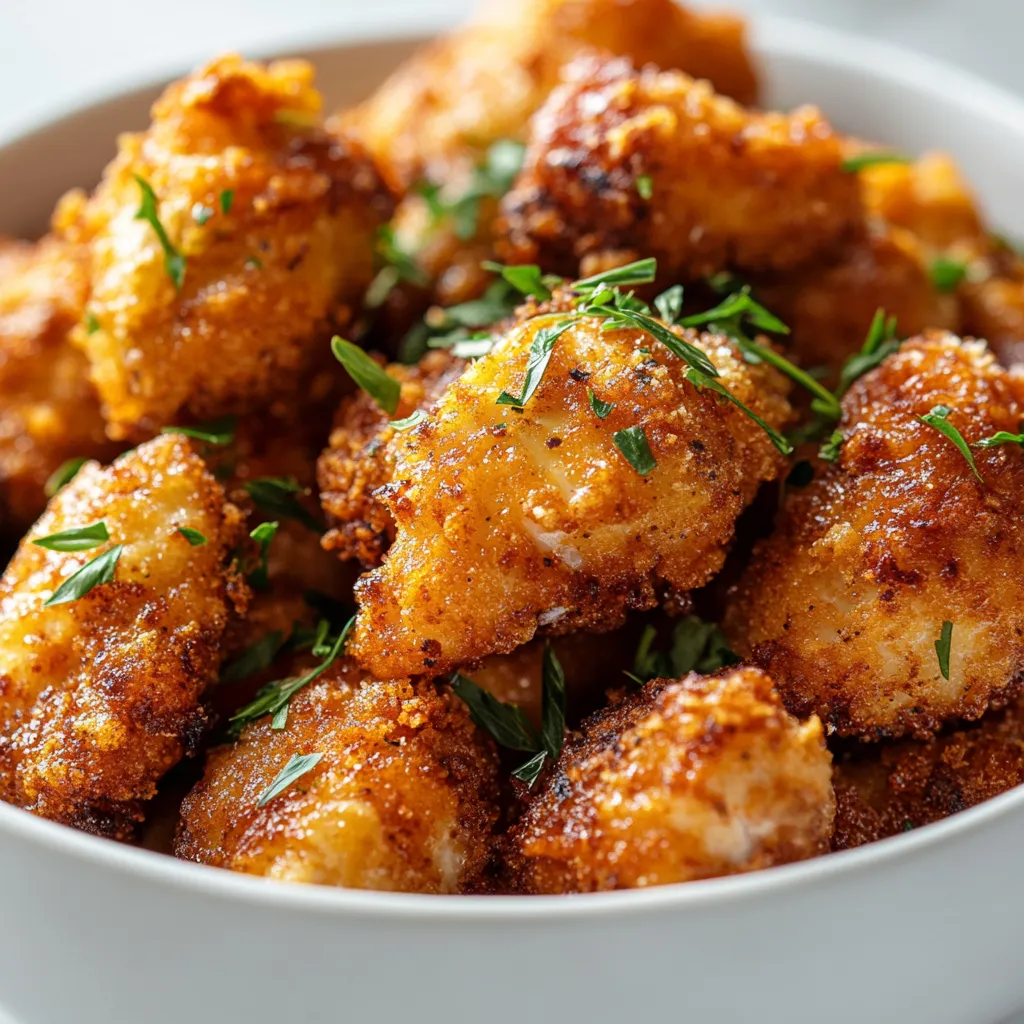
Exploring the world of fried chicken is an adventure that tantalizes taste buds and evokes comfort. Crunchy Bliss Chicken Fry is the epitome of what makes fried chicken a beloved dish: tender, juicy chicken enveloped in a crispy, seasoned coating. With its irresistible crunch and deep flavors, this dish is perfect for family gatherings, cozy dinners, or even a festive celebration. You will find that each bite is a delightful contrast between the succulent meat and the crunchy exterior, which makes it difficult to resist returning for more.
In this recipe, we’ll walk through the steps necessary to achieve that perfect crunch and rich flavor. The marination process with buttermilk, the careful coating steps, and the frying techniques all contribute to a dish that not only looks appetizing but also tastes extraordinarily satisfying. This detailed guide will not only help you master the cooking techniques involved but also give you insights into ingredient choices for the best possible outcome, ensuring that your Crunchy Bliss Chicken Fry stands out.
Recipe Overview
– Prep Time: 15 minutes
– Total Time: 1 hour 30 minutes
– Servings: 4
– Difficulty: Not specified in the recipe.
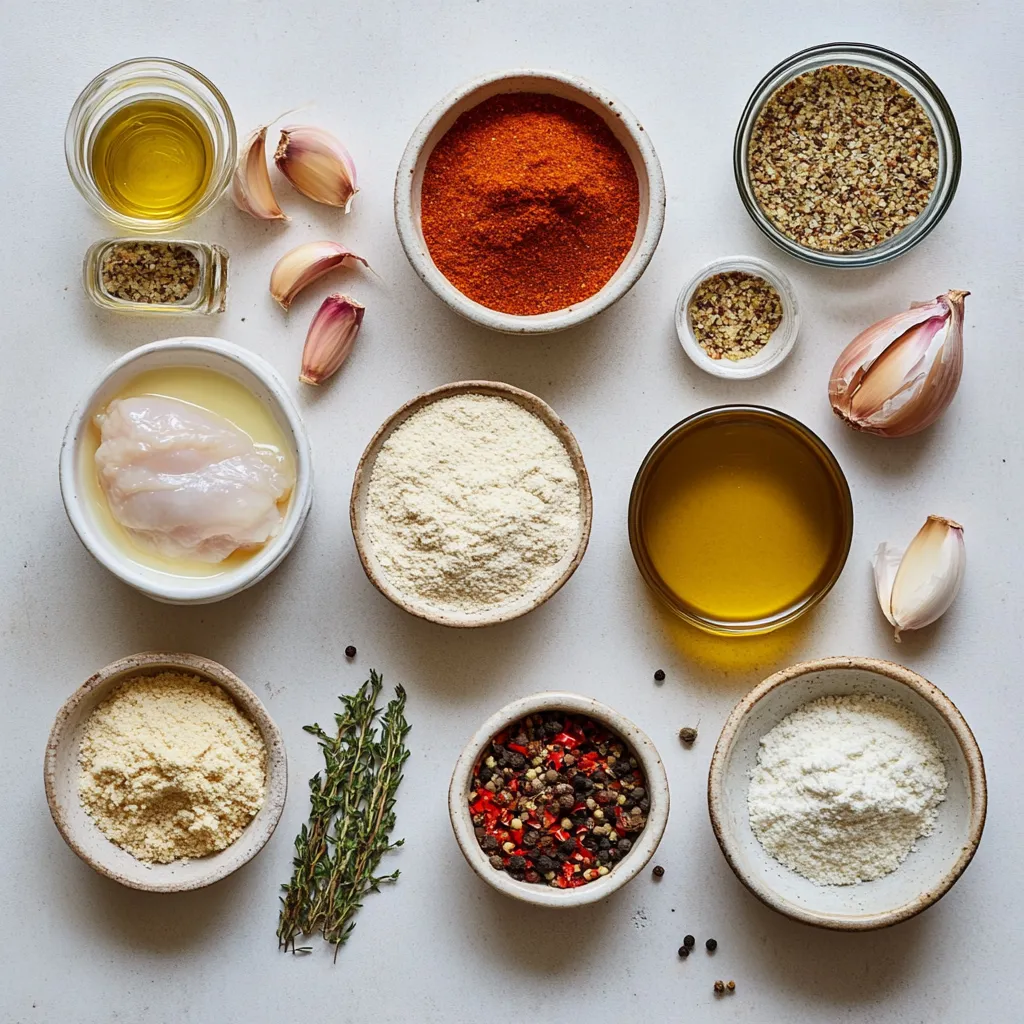
Ingredients
– 1 lb (450g) boneless, skinless chicken thighs
– 1 cup buttermilk
– 1 teaspoon garlic powder
– 1 teaspoon onion powder
– 1 teaspoon smoked paprika
– 1/2 teaspoon cayenne pepper (adjust for desired heat)
– 1 teaspoon salt
– 1/2 teaspoon black pepper
– 1 cup all-purpose flour
– 1 cup panko breadcrumbs
– 1 teaspoon dried oregano
– 1 teaspoon dried thyme
– Vegetable oil for frying
Instructions
1. Marinate the Chicken: In a large mixing bowl, whisk together the buttermilk, garlic powder, onion powder, smoked paprika, cayenne pepper, salt, and black pepper until well combined. Add the chicken thighs to the mixture, ensuring they are fully coated. Cover the bowl with plastic wrap and refrigerate for at least 1 hour, although marinating overnight will enhance the flavors even more.
2. Set Up the Breading Station: In a shallow dish, combine the all-purpose flour with dried oregano and thyme, mixing well. In a separate shallow dish, place the panko breadcrumbs, keeping them ready for coating.
3. Coat the Chicken: Remove the marinated chicken from the refrigerator. Take one piece of chicken and gently shake off any excess buttermilk before dredging it in the flour mixture, ensuring a thorough coating. Dip the floured chicken back into the buttermilk briefly, then roll it in the panko breadcrumbs, pressing firmly to create a thick, crunchy layer. Repeat this process for all chicken pieces.
4. Heat the Oil: In a large skillet or deep fryer, pour in enough vegetable oil to cover the bottom of the pan by about 1 inch. Heat the oil over medium-high heat until it reaches 350°F (175°C). To test the oil’s readiness, drop in a small piece of bread; it should sizzle and brown quickly.
5. Fry the Chicken: Carefully place the breaded chicken pieces into the hot oil, ensuring not to overcrowd the pan. Fry in batches if necessary. Cook for approximately 5-7 minutes on each side, or until the chicken is golden brown and fully cooked (internal temperature should reach 165°F or 74°C).
6. Drain and Serve: Once cooked, transfer the chicken to a plate lined with paper towels to absorb any excess oil. Allow them to cool slightly before serving.
7. Enjoy: Serve your crunchy bliss chicken fry alongside your favorite dipping sauces, a refreshing coleslaw, or a vibrant garden salad for a delightful meal!
Description of Crunchy Bliss Chicken Fry
The Crunchy Bliss Chicken Fry is not just any ordinary fried chicken; it is a celebration of flavors and textures that come together to create an unforgettable dish. The use of boneless, skinless chicken thighs ensures that each piece remains juicy and tender, while the combination of spices such as smoked paprika and cayenne pepper introduces a warmth that elevates the dish to new heights. The double-layer coating of flour and panko breadcrumbs is what sets this chicken fry apart, offering an exceptional crunch that holds up beautifully when fried. This chicken fry is perfect for those who crave the satisfying crunch, juicy flavor, and seasoned goodness in every bite.
Cooking Time and Servings
The preparation for Crunchy Bliss Chicken Fry takes about 15 minutes, including the time to gather ingredients and marinate the chicken properly. The total cooking time extends to 1 hour and 30 minutes as it includes the marination period, which is crucial for enhancing the flavors. This recipe yields approximately 4 servings, making it an ideal choice for a family meal or a small gathering. Preparing this flavorful dish offers a delightful opportunity to share a delicious dining experience with loved ones.
Pairing Suggestions
To enhance your meal experience, consider pairing the Crunchy Bliss Chicken Fry with some delicious sides. A refreshing coleslaw, made with crisp cabbage, carrots, and a tangy dressing, complements the richness of the fried chicken perfectly. Alternatively, a vibrant garden salad featuring mixed greens, cherry tomatoes, and a light vinaigrette adds a refreshing contrast to the dish’s crispy texture. For those who enjoy dipping, serving an array of colorful dipping sauces such as ranch, honey mustard, or spicy aioli can elevate the enjoyment even more. These accompaniments not only balance the meal but also bring an additional layer of flavor, making each bite an exciting experience.
Main Ingredients
The main highlight of the Crunchy Bliss Chicken Fry is undoubtedly the boneless, skinless chicken thighs. This choice of meat is significant for its ability to stay moist and tender during the cooking process.
Importance of Buttermilk
Buttermilk is an essential ingredient in this recipe, contributing greatly to the tenderness and flavor of the chicken. The acidity in buttermilk helps break down the proteins in the chicken, resulting in a softer texture while infusing it with rich taste from the marinating process. The spices added to the buttermilk create a flavor profile that seeps into the chicken, ensuring that every bite is deliciously seasoned.
How Long to Marinate
Marinating for at least 1 hour is required for sufficient flavor absorption, but allowing the chicken to marinate overnight will yield even better results. This longer marination period enables the spices to penetrate deeply, creating layers of flavor that enhance the overall taste experience. The time spent in the refrigerator is crucial for achieving that remarkably tender texture, making it well worth the wait.
Shallow Dishes
For efficient breading during the Crunchy Bliss Chicken Fry preparation, using appropriate shallow dishes is key. Wide, shallow bowls allow for easy access to the flour and panko breadcrumb mixtures, reducing mess and facilitating a more streamlined coating process. The shape of the bowls should allow you to coat multiple pieces of chicken without needing to transfer them too frequently during the breading process.
Utilize dishes made from materials that conduct heat poorly, such as ceramic or glass, to help maintain a consistent temperature of the coatings. Avoid using deep bowls, as they can cause difficulty in accessing the mixture and may lead to uneven coating. A large plate can also serve well for the panko breadcrumbs, offering ample space for thoroughly rolling the chicken.
Coating the Chicken
To achieve the Crunchy Bliss Chicken Fry’s signature crunchy exterior, a precise coating technique is required.
Dredging Technique
Start by removing each piece of marinated chicken from the buttermilk, gently shaking off excess liquid. This step is crucial—too much buttermilk will lead to a soggy coating. Dip the chicken in the flour mixture next, making sure every surface is coated evenly. The flour creates a solid base layer that helps the buttermilk adhere to the chicken more effectively when you dip it in again.
Next, return the floured chicken to the buttermilk for a second dip. This technique not only ensures that the flour sticks but also enhances the flavor profile. After this, roll the chicken in the panko breadcrumbs, pressing down slightly to ensure a thick and crunchy coating adheres well.
Tips for Even Coating
To prevent clumping and achieve an even crunch, shake off excess flour before the second dip into the buttermilk, as too much flour can lead to an uneven texture and a less than ideal crisp when frying. When coating with panko, ensure that you use fresh breadcrumbs, as stale breadcrumbs can become soft and lack the desired crispness during frying. Additionally, consider using a gentle shake or tap to knock off excess crumbs after coating, while being careful not to detangle the panko crust that is meant to stick.
Heating the Oil
Adequate oil preparation is critical for a successful frying experience.
Choosing the Right Oil
Vegetable oil is recommended for frying due to its high smoke point, which typically ranges between 400°F (204°C) and 450°F (232°C). This high threshold allows for even frying without the risk of the oil burning prematurely. Other neutral oils like canola or sunflower oil may also be suitable, as they provide similar benefits without imparting a strong flavor on the chicken.
Temperature Check
Before adding the chicken, ensure the oil reaches an optimal frying temperature of 350°F (175°C). One common method to check the oil’s readiness is to drop in a small piece of bread; the bread should fizz and brown within 30 seconds. If it sinks or the oil doesn’t bubble, the temperature is too low. Alternatively, using a cooking thermometer offers the most accuracy and takes the guesswork out of the process.
Frying the Chicken
Mastering the frying process is essential to get a perfectly golden brown finish without compromising the chicken’s tenderness.
Batch Cooking
To maintain the proper oil temperature, avoid overcrowding the pan when frying. If placed too closely, the temperature drops, leading to greasy chicken that lacks that delightful crunch. Instead, fry in batches, allowing enough space for each piece of chicken to cook evenly. Depending on your pan size, frying about 2-3 pieces at a time usually provides the best results.
Cooking Time and Doneness
Cook each side of the chicken for approximately 5-7 minutes, flipping carefully to achieve even browning. Always use a meat thermometer to check for doneness; the internal temperature should reach 165°F (74°C). This temperature assures that the chicken is fully cooked while preserving moisture and flavor.
Draining and Serving
Taking the right steps post-frying can make all the difference in ensuring a satisfying result.
Paper Towels
Once the chicken reaches a glorious golden color, transfer it to a plate lined with paper towels. This step is vital as it absorbs excess oil, leading to a lighter finish in both taste and texture, while preventing a greasy mouthfeel. Allow the chicken to rest for a few moments to ensure excess oil has time to drain off completely.
Serving Suggestions
Serve the Crunchy Bliss Chicken Fry on a large, visually appealing platter, making sure to space the pieces apart for aesthetic appeal and ease of access. Consider complementing it with colorful dipping sauces and a fresh salad to enhance the presentation and offer a range of flavors.
Accompaniments
Selecting the right sides can enhance your dining experience.
Dipping Sauces
Options like ranch dressing, honey mustard, spicy aioli, or a tangy barbecue sauce pair beautifully with the crunchy chicken, adding depth to each bite. These sauces can be presented in small bowls around the chicken, creating an inviting display for guests.
Side Salad Ideas
Light and refreshing salads such as coleslaw or a mixed green salad can balance out the richness of the fried chicken. A citrus vinaigrette or a simple olive oil and vinegar dressing can add a zesty contrast that enhances the overall meal.
Optional Presentation Tips
Presentation can elevate the meal from simple to spectacular.
Using Decorative Platters
A rustic wooden platter can set a charming tone and enhance the overall dining experience. It adds a farmhouse element that complements homemade fried dishes.
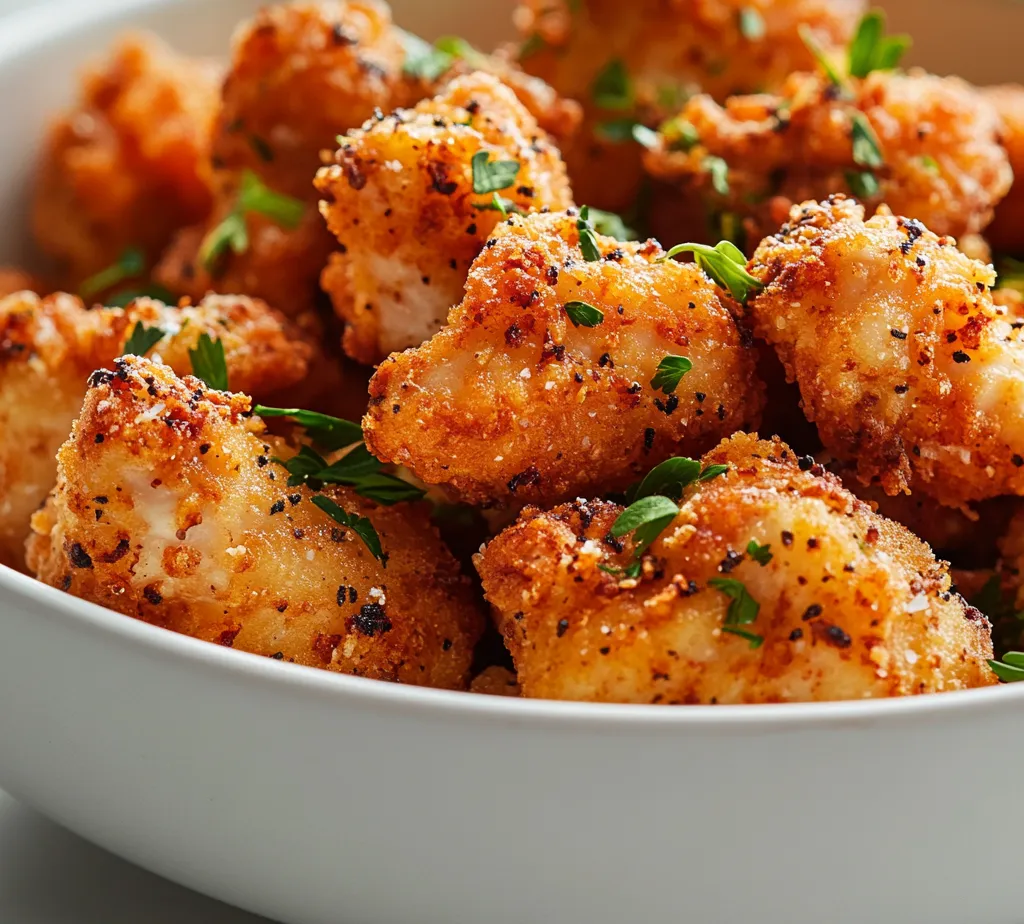
Garnishing Techniques
For a final touch, consider garnishing with fresh herbs such as parsley or chives and lemon wedges. They not only add color but also freshness, enhancing the visual appeal of the dish and adding aromatic notes that make the meal even more inviting.
Conclusion
Crunchy Bliss Chicken Fry delivers a satisfying blend of crispy texture and savory flavors, making it a delightful dinner choice. With its beautifully golden crust and tender meat, this dish embodies comfort and hospitality. Whether served with a zesty salad or a variety of dipping sauces, it promises to be a memorable culinary experience.

Crunchy Bliss Chicken Fry Recipe
Ingredients
- 1 lb boneless skinless chicken thighs
- 1 cup buttermilk
- 1 teaspoon garlic powder
- 1 teaspoon onion powder
- 1 teaspoon smoked paprika
- ½ teaspoon cayenne pepper
- 1 teaspoon salt
- ½ teaspoon black pepper
- 1 cup all-purpose flour
- 1 cup panko breadcrumbs
- 1 teaspoon dried oregano
- 1 teaspoon dried thyme
- Vegetable oil for frying
Instructions
- Marinate the chicken in buttermilk and spices for at least 1 hour.
- Set up a breading station with flour mixed with oregano and thyme, and panko breadcrumbs in separate dishes.
- Coat each chicken piece in flour, then dip in buttermilk, and roll in panko breadcrumbs.
- Heat vegetable oil in a skillet to 350°F (175°C).
- Fry the chicken pieces for 5-7 minutes on each side until golden brown.
- Transfer cooked chicken to paper towels to drain excess oil.
- Serve with dipping sauces and sides of your choice.