
Introduction
Artisan pizza dough is the foundation of any great pizza, offering a perfect balance of chewiness and crispiness. Whether you’re a novice in the kitchen or a seasoned chef, making your own dough at home can elevate your pizza-making experience, allowing for creativity and personalization. There’s something deeply satisfying about creating a dish from scratch, and artisan pizza dough is no exception. In this comprehensive guide, we will walk you through the process of creating artisan pizza dough from scratch, highlighting the ingredients, techniques, and tips to ensure your pizza nights are truly unforgettable.
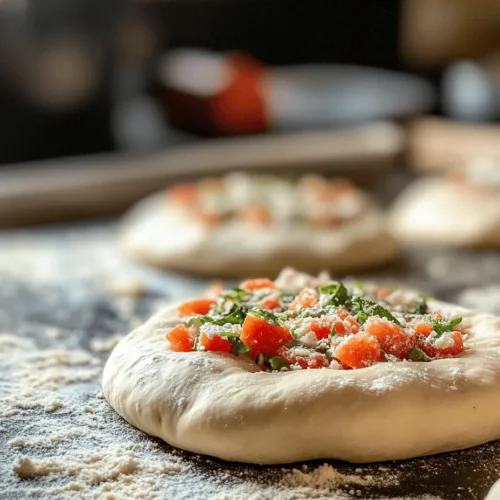
Imagine pulling a freshly baked pizza from your oven, its crust golden brown, with a delightful aroma wafting through your kitchen. The first bite reveals a perfect crunch, followed by a chewy interior that complements your choice of toppings. This experience begins with the dough, the unsung hero of the pizza-making process. Each ingredient plays a vital role, and understanding them will empower you to create the best artisan pizza dough possible.
Understanding the Ingredients
To craft the perfect artisan pizza dough, it’s crucial to understand the core components involved in the recipe. Each ingredient contributes unique qualities that work together to create a delicious crust.
All-Purpose Flour: The Best Choice
All-purpose flour is the primary ingredient in artisan pizza dough, and for good reason. It strikes an excellent balance between high gluten content and versatility, making it ideal for creating a dough that is both elastic and strong. The gluten proteins in the flour develop as you knead the dough, allowing it to stretch and rise properly. While you may encounter specialty flours like bread flour or “00” flour, all-purpose flour is a reliable option for home cooks seeking a great crust without the need to source harder-to-find ingredients.
The Role of Lukewarm Water
Water is essential in any dough-making process, and using lukewarm water is particularly important when working with yeast. The ideal temperature for activating yeast is between 100°F and 110°F (37°C to 43°C). Water that is too hot can kill the yeast, while water that is too cold can slow down the fermentation process. When combined with flour, lukewarm water facilitates the formation of gluten and helps to create a cohesive dough.
Importance of Sea Salt
Salt is not merely an enhancer of flavor; it plays a crucial role in the dough-making process. Sea salt strengthens the gluten structure, resulting in a dough that holds its shape and provides a more satisfying chew. Additionally, salt helps to control yeast fermentation, preventing it from becoming too rapid. This balance is essential for developing a rich flavor profile in your finished crust.
Sugar’s Function in Fermentation
While sugar might not be a primary ingredient, it plays a vital role in the fermentation process. When added to your dough, sugar serves as food for the yeast, promoting its activity and encouraging a steady rise. This also contributes to the development of flavor and color in the crust as it bakes. For those who prefer a less sweet dough, a small amount of sugar is still beneficial for achieving optimal fermentation without imparting sweetness to the final product.
Active Dry Yeast: How It Works
Active dry yeast is the leavening agent that makes your pizza dough rise. When activated with warm water, the yeast begins to ferment, producing carbon dioxide gas that causes the dough to expand. This process creates the airy texture characteristic of artisan pizzas. It’s important to check the expiration date on your yeast package to ensure its potency; expired yeast may not provide the desired rise.
Olive Oil’s Contribution
Olive oil is often included in artisan pizza dough recipes to add richness and improve texture. The fat in the olive oil coats the flour proteins, which can enhance the dough’s extensibility and tenderness. Additionally, it contributes to a crispier crust when baked, making it a worthy addition to your dough-making process.
The Necessity of Cornmeal
While not a part of the dough itself, cornmeal is essential for the baking process. Sprinkling cornmeal on your pizza peel or baking surface prevents the dough from sticking, allowing for easy transfer to and from the oven. It also adds a delightful crunch to the bottom of the crust, enhancing the overall texture of your pizza.
The Science Behind Pizza Dough
Creating artisan pizza dough is as much about science as it is about culinary art. Understanding the processes that occur during dough preparation can significantly improve your results.
How Yeast Fermentation Creates Flavor and Texture
The fermentation process is critical for the development of both flavor and texture in your pizza dough. As yeast consumes the sugars in the dough, it produces carbon dioxide and alcohol. The carbon dioxide gas creates air pockets, resulting in a light and airy crust, while the alcohol contributes to the complex flavors that develop during baking. Allowing the dough to ferment for longer periods can deepen these flavors, making your pizza even more delicious.
The Importance of Kneading: Building Gluten for Structure
Kneading is a vital step in the dough-making process that helps to develop gluten, the protein responsible for the dough’s elasticity and strength. During kneading, flour proteins hydrate and begin to bond, creating a network that traps air bubbles produced by the yeast. This network is what gives your pizza crust its structure, allowing it to rise and maintain its shape as it bakes. Proper kneading also helps to create a smooth and elastic dough that is easy to work with.
The Significance of Rising Times: Allowing for Flavor Development
The rising time of your dough is equally important for flavor development. After kneading, the dough should rest and rise in a warm environment, allowing the yeast to work its magic. A longer rise time—such as overnight in the refrigerator—can yield a more flavorful and complex crust. This slow fermentation allows the dough to develop a richer taste and improved texture, making it well worth the wait.
Step-by-Step Instructions for Artisan Pizza Dough
Now that you understand the essential ingredients and the science behind them, let’s dive into the step-by-step process of making artisan pizza dough from scratch.
Activating the Yeast: Ensuring Optimal Conditions for Growth
1. Gather Your Ingredients: Before you begin, ensure you have all your ingredients ready: all-purpose flour, active dry yeast, lukewarm water, sea salt, sugar, olive oil, and cornmeal.
2. Dissolve the Yeast: In a small bowl, combine 1 teaspoon of sugar and 1 packet of active dry yeast (about 2 ¼ teaspoons) with ¾ cup of lukewarm water. Stir gently to dissolve the yeast and let it sit for 5 to 10 minutes until it becomes frothy. This indicates that the yeast is active and ready to work its magic.
3. Combine the Dry Ingredients: In a large mixing bowl, whisk together 2 ¼ cups of all-purpose flour and 1 teaspoon of sea salt. Mixing the dry ingredients before adding the wet ones helps to evenly distribute the salt and ensures a consistent dough.
4. Form the Dough: Once the yeast mixture is frothy, create a well in the center of the flour mixture and pour in the yeast mixture along with 1 tablespoon of olive oil. Using a wooden spoon or your hands, mix the ingredients until they come together to form a shaggy dough.
5. Knead the Dough: Turn the dough out onto a lightly floured surface and knead for about 8 to 10 minutes until it is smooth and elastic. If the dough is too sticky, sprinkle a little extra flour as needed, but be careful not to add too much, as this can affect the dough’s texture.
6. First Rise: Once the dough is kneaded, shape it into a ball and place it in a lightly greased bowl. Cover the bowl with a damp cloth or plastic wrap to prevent the dough from drying out. Let it rise in a warm, draft-free area for about 1 to 1.5 hours or until it has doubled in size.
By following these initial steps, you have laid the groundwork for a delicious artisan pizza crust. In the following sections, we will continue with the remaining steps of the pizza dough-making process, ensuring you have a complete guide to create the perfect base for your favorite pizza toppings. With this knowledge and a bit of practice, you’ll be well on your way to mastering artisan pizza dough, bringing the pizzeria experience right to your kitchen.
Mixing the Dry Ingredients: Creating the Perfect Balance
To start crafting your artisan pizza dough, it’s essential to mix the dry ingredients correctly. The key components include high-quality flour, salt, and yeast. For an authentic artisan pizza, consider using a high-protein bread flour, which contributes to a chewier texture and better gluten development.
1. Measure Flour: Begin with 4 cups (500 grams) of bread flour. Using a kitchen scale ensures precision and consistency.
2. Add Salt: Measure out 2 teaspoons (10 grams) of sea salt. Salt not only enhances flavor but also controls yeast activity.
3. Incorporate Yeast: Use 1 teaspoon of active dry yeast. This ingredient is crucial for fermentation and rising, so ensure it’s fresh to maximize effectiveness.
In a large mixing bowl, whisk together the flour, salt, and yeast until evenly distributed. This step is vital; it ensures that the salt and yeast don’t come into direct contact initially, which can inhibit the yeast’s activation.
Combining Wet and Dry: Forming a Shaggy Dough
Once your dry ingredients are well-mixed, it’s time to introduce the wet components. You will need:
– 1 and 1/2 cups (360 ml) of warm water (about 110°F or 43°C)
– 2 tablespoons (30 ml) of olive oil (optional, for flavor and texture)
1. Add the Wet Ingredients: Pour the warm water into the bowl with the dry ingredients. If using olive oil, add it at this stage.
2. Stir to Combine: Use a wooden spoon or your hands to mix until the dough begins to come together. It should look ragged and shaggy, with no dry flour left. If the dough feels too dry, add a bit more water, one tablespoon at a time.
This shaggy dough will serve as the foundation for your artisan pizza. Allow it to rest for about 10 minutes, letting the flour hydrate and gluten start to develop.
Kneading Techniques: Achieving Smoothness and Elasticity
Kneading is a critical step in developing the gluten structure in your dough, which gives it strength and elasticity. Here’s how to knead effectively:
1. Transfer the Dough: Lightly flour your work surface and transfer the shaggy dough onto it.
2. Knead: With floured hands, press the dough away from you with the heel of your hand, fold it over itself, and turn it 90 degrees. Repeat this process for about 8-10 minutes until the dough is smooth and elastic. If the dough sticks to your hands, sprinkle a little flour as needed, but avoid adding too much to keep the dough hydrated.
You’ll know your dough is ready when it passes the “windowpane test”—stretch a small piece of dough between your fingers, and it should form a thin membrane without tearing.
The First Rise: Conditions That Promote Successful Fermentation
After kneading, it’s time for the first rise, also known as bulk fermentation. This step is essential for developing flavor and texture.
1. Place the Dough in a Bowl: Lightly oil a large bowl and place your dough inside, turning it to coat all sides with oil. This prevents it from drying out.
2. Cover: Loosely cover the bowl with plastic wrap or a damp kitchen towel.
3. Let It Rise: Allow the dough to rise in a warm, draft-free environment until it doubles in size, which typically takes about 1 to 2 hours. A good spot is near a warm oven or on a countertop if it’s warm to the touch.
During this time, the yeast will eat the sugars in the flour, producing carbon dioxide gas that causes the dough to rise and develop flavor.
Punching Down: Understanding When and Why to Do It
Once your dough has doubled in size, it’s time to punch it down. This technique serves two main purposes: redistributing the yeast and releasing excess carbon dioxide, which enhances flavor.
1. Deflate the Dough: Gently push your fist into the center of the dough to deflate it. Do this carefully to avoid tearing it.
2. Fold: Turn the dough out onto a lightly floured surface and fold it over itself a few times. This helps to strengthen the gluten structure while also allowing any remaining gases to escape.
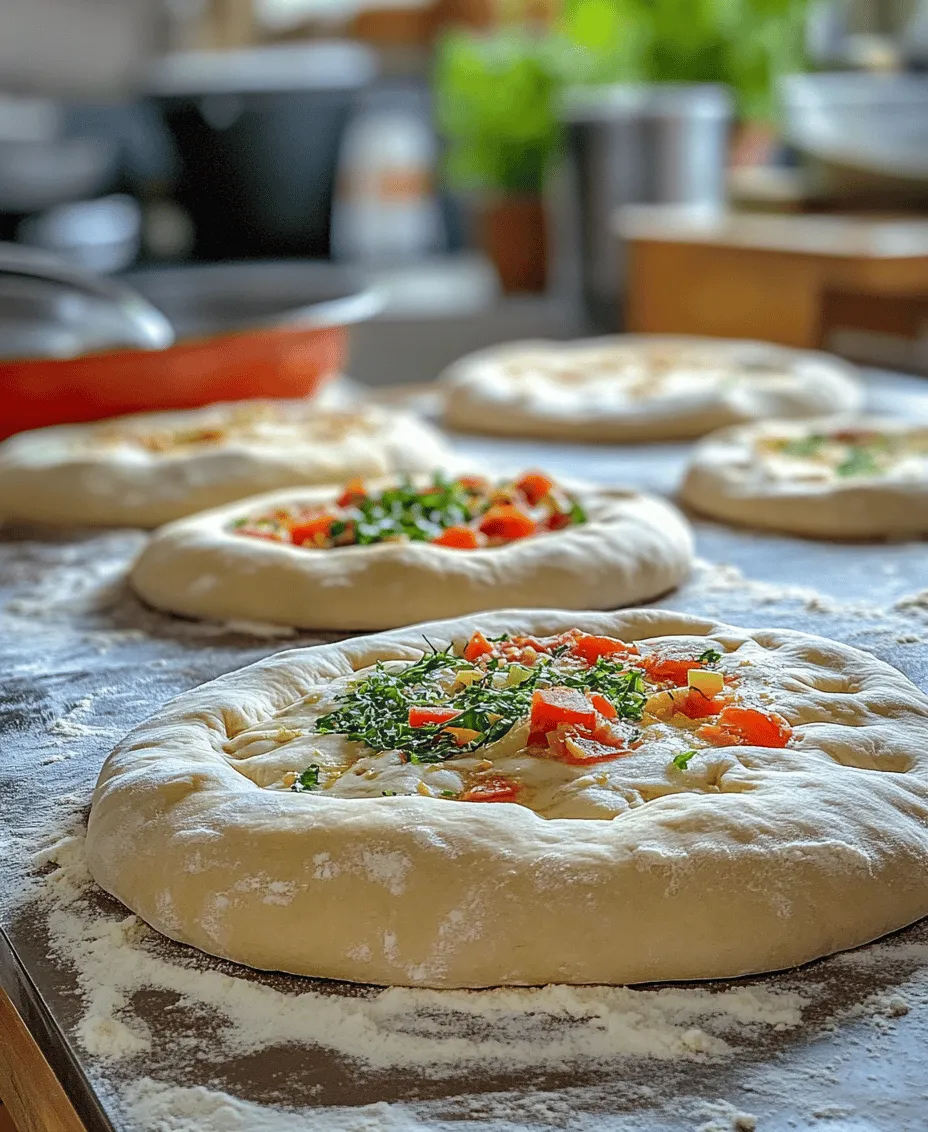
Dividing and Shaping: Preparing for the Second Rise
After punching down the dough, you’ll want to divide and shape it into individual pizza portions.
1. Divide the Dough: Using a bench scraper or knife, cut the dough into equal portions. For individual pizzas, aim for about 8-ounce (225 grams) pieces, which will yield two 10-12 inch pizzas.
2. Shape into Balls: Take each piece and gently shape it into a ball. To do this, stretch the edges of the dough towards the center and pinch them together. Roll the dough on your work surface to create a smooth ball.
3. Rest: Place the dough balls on a lightly floured surface, cover them with a damp towel, and let them rest for another 30 minutes to 1 hour. This second rise allows the gluten to relax, making it easier to stretch the dough later.
The Second Rise: Finalizing the Texture and Flavor
The second rise is a crucial step that finalizes the texture and flavor of your artisan pizza dough.
1. Check the Dough: After resting, the dough should feel slightly puffy but not doubled in size. If it has risen too much, gently reshape it to maintain its structure.
2. Ready for Shaping: At this point, your dough is ready to be shaped into pizza bases. The longer the dough rests, the more flavor it will develop, so don’t rush this process.
Preparing to Bake Your Artisan Pizza
Setting the stage for a successful pizza-making session involves several key steps that ensure your pizza bakes perfectly.
Preheating the Oven: Why High Temperatures Matter
Preheat your oven to the highest temperature possible, usually around 475°F to 500°F (245°C to 260°C). A hot oven is essential for achieving that crispy, restaurant-quality crust. If your oven has a pizza setting, use that for optimal results.
The Role of Pizza Stones: Achieving Restaurant-Quality Crusts
Using a pizza stone is one of the best ways to replicate the high heat of a pizza oven. Place your pizza stone on the middle rack while the oven preheats. This will absorb heat and provide a nice, even cooking surface for your pizza.
1. Preheat the Stone: Allow the pizza stone to heat up for at least 30 minutes. This ensures it’s hot enough to create a crispy crust.
Shaping the Dough: Techniques for Creating the Perfect Base
Once your dough has risen and your oven is preheated, it’s time to shape your pizza.
1. Flour the Surface: Lightly flour your work surface and your hands to prevent sticking.
2. Flatten the Dough: Take one dough ball and gently flatten it with your palm.
3. Stretch the Dough: Using your fingers, stretch the dough from the center outward while rotating it to maintain a round shape. Avoid using a rolling pin, as this can deflate the air bubbles you’ve worked hard to create.
4. Form a Crust: Leave a slightly thicker edge around the perimeter for the crust.
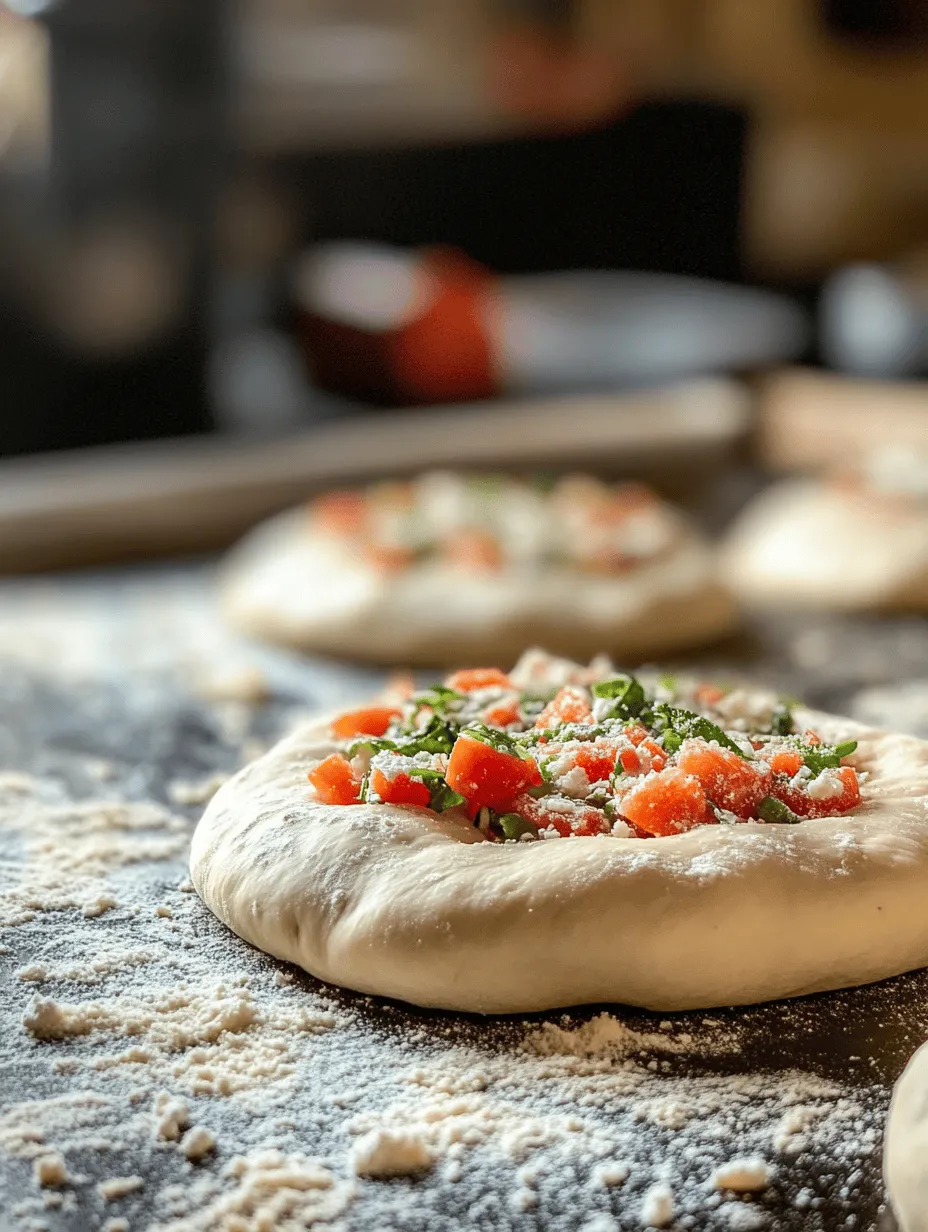
Selecting and Adding Toppings: Balancing Flavors and Textures
Now that your dough is shaped, it’s time to add toppings. The key to a great pizza lies in the balance of flavors and textures.
1. Base Sauce: Start with a thin layer of sauce. Traditional tomato sauce is a favorite, but you can also use pesto or olive oil.
2. Cheese: Mozzarella is a classic choice, but feel free to mix it with provolone, goat cheese, or even a sprinkle of parmesan for added flavor.
3. Toppings: Add your favorite toppings. Whether it’s pepperoni, vegetables, or gourmet options like arugula or truffle oil, remember to balance flavors and avoid overloading the pizza.
4. Final Touches: A drizzle of olive oil or a sprinkle of fresh herbs can elevate your pizza before baking.
Baking Your Artisan Pizza
The final steps in achieving a perfect crust are crucial, so pay close attention to the baking process.
Baking Times and Temperatures: What to Expect for Optimal Results
Carefully transfer your prepared pizza onto the preheated pizza stone (using a pizza peel or the back of a baking sheet makes this easier).
1. Bake Time: Bake your pizza for about 10-15 minutes, depending on your oven and the thickness of your crust. Keep an eye on it to prevent burning.
2. Rotate if Necessary: Halfway through, you may want to rotate the pizza for even cooking.
Recognizing Doneness: Visual Cues for a Perfectly Baked Pizza
To determine if your pizza is done, look for these signs:
– The crust should be golden brown and crispy.
– The cheese should be bubbly and slightly browned.
– If the toppings are cooked through and the crust has a nice, firm texture, your pizza is ready to come out of the oven.
Cooling and Slicing: How to Properly Handle Your Finished Product
Once baked, carefully remove the pizza from the oven using your pizza peel or a spatula.
1. Cool Slightly: Allow the pizza to cool for a couple of minutes before slicing. This helps the cheese set and makes for cleaner cuts.
2. Slice: Use a sharp pizza cutter or a knife to slice your pizza into wedges. Serve immediately for the best taste and texture.
Conclusion
Creating artisan pizza dough from scratch is a rewarding experience that enhances your culinary repertoire. With the right ingredients and techniques, you can produce dough that serves as a delicious canvas for your favorite toppings. Whether for family gatherings or casual dinners, mastering this recipe will elevate your pizza-making skills and bring joy to your table. Enjoy the journey of crafting your artisan pizza and savor the delightful results!