
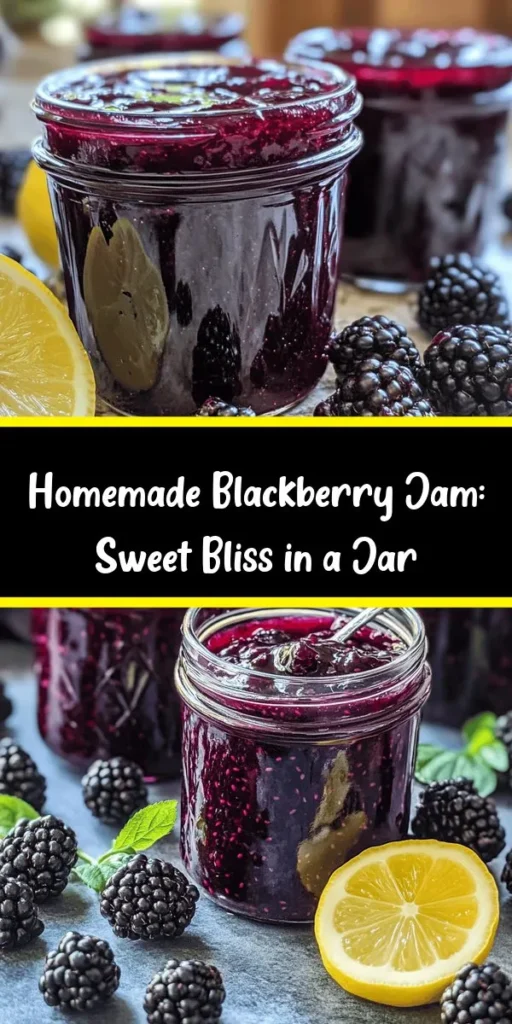
Introduction
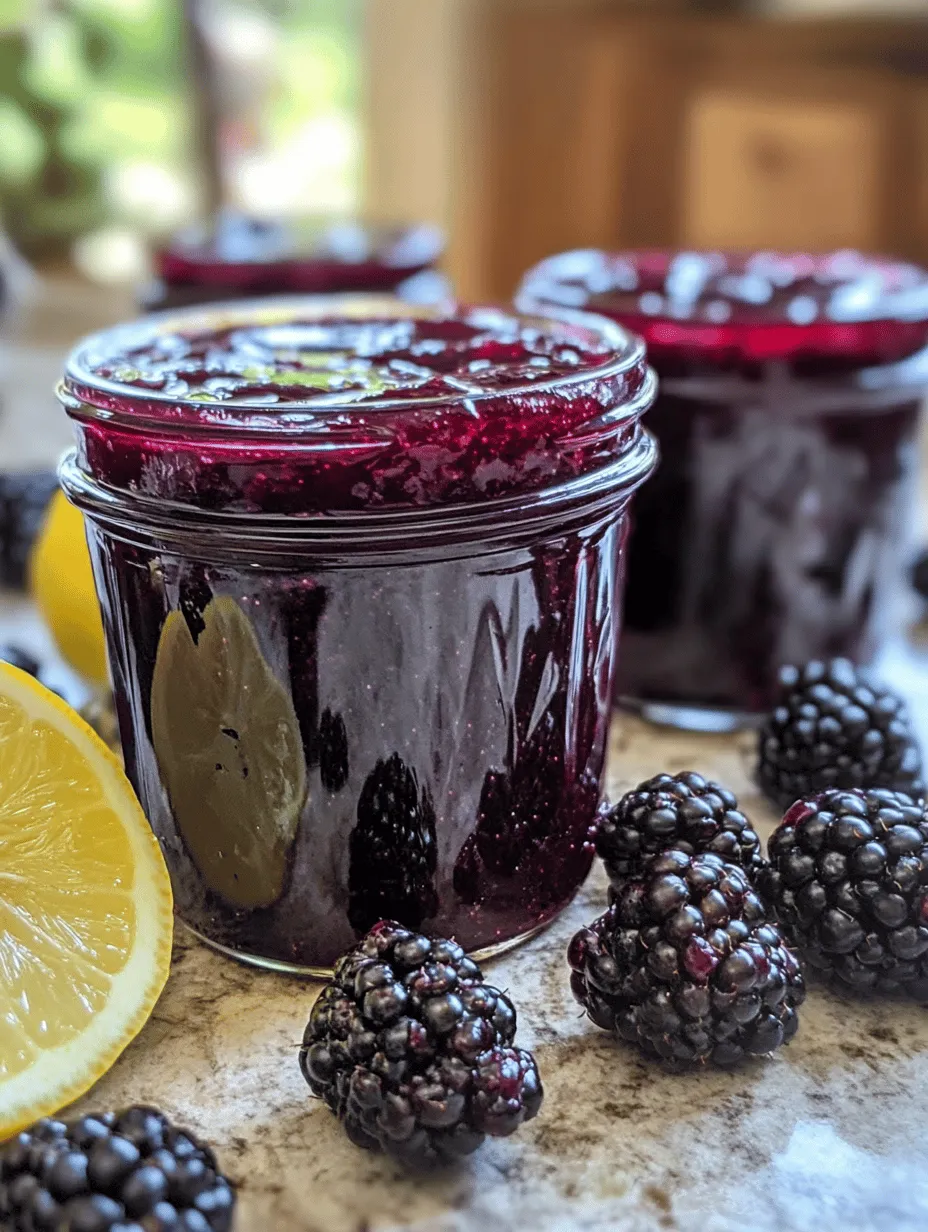
There’s something undeniably satisfying about making homemade preserves, particularly when it comes to crafting your very own blackberry jam. The process not only fills your kitchen with a delightful aroma but also allows you to savor the sweet, tangy flavors of fresh blackberries all year round. Blackberry jam is a culinary delight that can elevate your breakfast toast, enhance your desserts, or even serve as a flavorful filling for pastries.
What sets blackberry jam apart from other fruit preserves is its unique balance of sweetness and tartness, making it a versatile companion in both sweet and savory dishes. Whether you’re slathering it on warm scones or using it as a glaze for roasted meats, the rich, deep flavor of blackberry jam is sure to impress.
To achieve the best results, it’s crucial to use either fresh or properly frozen blackberries, as the quality of your fruit directly influences the taste and texture of your jam. Fresh blackberries bursting with flavor will yield a vibrant and aromatic jam, while frozen blackberries can be a convenient alternative that still offers a delicious outcome.
Understanding the Ingredients
Fresh vs. Frozen Blackberries
When it comes to making blackberry jam, the choice between fresh and frozen blackberries can significantly impact your end product. Fresh blackberries, picked at their peak ripeness, are bursting with flavor and natural sugars. Look for plump, firm berries with a deep purple color and a slight sheen. If you’re using fresh blackberries, it’s best to consume them within a few days of purchase to prevent spoilage.
On the other hand, frozen blackberries are a fantastic option, especially when fresh berries are out of season. Freezing preserves the fruit’s nutrients and flavor, making them a suitable substitute for fresh berries. Just ensure that your frozen blackberries are unsweetened and free from additives for the best results.
Nutritional Benefits of Blackberries
Blackberries are not just delicious; they are also packed with nutritional benefits. They are an excellent source of vitamins C and K, fiber, and antioxidants, making them a great addition to your diet. The high fiber content aids in digestion and promotes a healthy gut, while the antioxidants help combat free radicals, potentially reducing the risk of chronic diseases. By making your own blackberry jam, you can enjoy these health benefits while indulging in a sweet treat.
How to Select and Store Fresh Blackberries
When selecting fresh blackberries, there are a few key points to keep in mind. Look for berries that are dark purple to black, as this indicates ripeness. Avoid any that are mushy or have visible mold. When you get home, store your blackberries in the refrigerator; they are best consumed within three days. If you’re not planning to use them right away, consider freezing them. To freeze blackberries, wash them gently, pat them dry, and spread them in a single layer on a baking sheet. Once they are frozen solid, transfer them to a freezer bag for long-term storage.
Granulated Sugar
Sugar plays a crucial role in the jam-making process. Not only does it sweeten the jam, but it also acts as a preservative, helping to extend the shelf life of your homemade creation. When sugar is combined with fruit, it draws out the natural juices, creating a syrup that binds the ingredients together.
While granulated sugar is the most common choice for making jam, there are alternatives available, such as honey, agave syrup, or even stevia. However, if you choose to use alternatives, keep in mind that the texture and sweetness of the final product may vary. Always follow a tested recipe to ensure proper ratios for the best results.
Lemon Juice
Adding lemon juice to your blackberry jam is essential for both flavor and preservation. The acidity of the lemon juice helps to balance the sweetness of the blackberries, enhancing the overall taste of the jam. Additionally, lemon juice acts as a natural preservative, helping to maintain the jam’s color and texture over time.
When selecting lemon juice, you can either use freshly squeezed juice or bottled lemon juice. Freshly squeezed juice will provide the brightest flavor, while bottled juice is a convenient alternative. Regardless of your choice, the acidity from lemon juice is a vital component in creating a delicious and shelf-stable jam.
Fruit Pectin
Pectin is a naturally occurring substance found in fruits, and it plays a vital role in the consistency of your jam. When heated with sugar, pectin helps to thicken the mixture, giving your jam that luscious spreadable texture. There are two primary types of pectin available on the market: liquid pectin and powdered pectin.
Liquid pectin is typically added towards the end of the cooking process, while powdered pectin is added at the beginning. Always refer to the instructions on the pectin package, as different brands may have varying requirements for the amount to use.
Optional Ingredients: Butter and Vanilla Extract
While not strictly necessary, adding a small amount of butter to your blackberry jam can enhance its texture by reducing foaming during the cooking process. The butter helps create a silkier consistency, resulting in a smoother spread.
Additionally, a splash of vanilla extract can elevate the flavor profile of your jam. The warmth of vanilla complements the sweet and tart notes of the blackberries, adding depth and complexity to the final product. It’s a simple addition that can take your homemade jam to the next level.
Step-by-Step Instructions to Make Blissful Blackberry Jam
Preparation of Blackberries
To begin your journey to homemade blissful blackberry jam, start by preparing your blackberries. If you are using fresh blackberries, rinse them gently under cool running water to remove any dirt or debris. Be careful not to crush the berries during the washing process. After rinsing, place the blackberries on a clean towel or paper towel to dry.
Once your blackberries are clean, it’s time to extract their juices. This can be easily accomplished by crushing the berries. Using a potato masher or a fork, gently mash the blackberries in a large mixing bowl until they release their juices. Aim for a consistency that is partially crushed, allowing some whole berries to remain for texture in the jam. If you’re using frozen blackberries, simply thaw them in a bowl at room temperature first before mashing.
Cooking Process
After preparing your blackberries, it’s time to move on to the cooking process. In a large, heavy-bottomed pot, combine the crushed blackberries, granulated sugar, and lemon juice. Stir the mixture well to ensure that the sugar begins to dissolve and the flavors meld together.
Next, place the pot over medium heat and bring the mixture to a boil. As the jam heats, it will begin to bubble, and you may notice foam forming on the surface. If desired, you can skim off this foam with a spoon for a smoother texture.
Once the mixture reaches a rolling boil, add your pectin according to the package instructions. If using powdered pectin, stir it in quickly to prevent clumping. Continue to cook the jam, stirring frequently to prevent sticking, until it reaches the desired thickness. This usually takes about 10-15 minutes, but keep in mind that factors such as the ripeness of the fruit and the amount of sugar can affect cooking time.
To test the consistency of your jam, place a spoonful on a cold plate and let it sit for a minute. Run your finger through the jam; if it holds its shape and doesn’t run back together, it’s ready for canning. If it’s still too runny, continue cooking for a few more minutes and test again.
Once the blackberry jam has reached the perfect consistency, remove it from the heat. If you opted to use butter, add it at this stage to reduce any remaining foam and stir until it’s fully melted. If you wish, you can also mix in a splash of vanilla extract for an added flavor dimension.
Now that your blissful blackberry jam is ready, you can proceed with canning or storing it according to your preference. The next steps will ensure that you can enjoy this delightful homemade jam long after the blackberries are out of season. Stay tuned for further instructions on how to preserve your creation and tips for enjoying it in various dishes!

Importance of Letting the Mixture Macerate
Maceration is a crucial step in making blissful blackberry jam that cannot be overlooked. This process involves letting the blackberries sit with sugar for a certain period, allowing the fruits to release their natural juices. The sugar not only sweetens the berries but also helps to draw out liquid, resulting in a syrupy mixture that enhances the overall flavor of the jam. Typically, you should let the mixture macerate for at least 1 to 2 hours, but overnight is even better for achieving a rich, full-bodied flavor.
The Boiling Process and Its Effects on Texture
Once the blackberries have macerated, it’s time to start the boiling process. This step is essential for achieving the right texture for your jam. Boiling the mixture helps to break down the fruit, allowing it to meld with the sugar and any added pectin, creating that classic jam consistency. During boiling, the mixture should be brought to a rolling boil, meaning the bubbles are actively breaking the surface even while you stir.
As the jam cooks, water evaporates, concentrating the flavors, but be careful not to overcook it, as this can lead to a thick, gummy texture. The cooking time will generally range between 10 to 20 minutes, depending on the quantity and desired thickness.
Incorporating Pectin
Pectin is a natural thickening agent found in fruits, particularly in high amounts in apples and citrus. When making blackberry jam, you can choose to use either natural pectin or commercial pectin to help your jam set properly. If you decide to use commercial pectin, it’s crucial to follow the package instructions carefully to ensure the desired outcome.
To incorporate pectin into your blackberry jam, sprinkle it over the fruit mixture after it has started boiling. Stir the mixture well to ensure the pectin is evenly distributed. This step is vital for achieving that perfect, spreadable consistency.
Tips for Ensuring Proper Mixing of Pectin for Ideal Consistency
To ensure that the pectin mixes properly and gives your jam the right consistency, follow these tips:
– Avoid Clumping: When adding dry pectin, sprinkle it evenly over the surface of the boiling mixture and stir continuously for a few minutes. This prevents clumping and ensures thorough dissolution.
– Temperature Matters: Make sure your mixture is boiling vigorously before adding the pectin; this helps it activate properly.
– Stir Continuously: After adding pectin, it’s crucial to keep stirring continuously. This action prevents any settling and helps the pectin integrate seamlessly with the blackberry mixture.
Testing the Jam Consistency
Knowing when your jam is ready requires testing its consistency, and there are several methods to determine this:
– The Plate Test: One of the best ways to check the consistency of your jam is the plate test. Before you start cooking, place a small plate in the freezer. When you think the jam is ready, take the plate out and drop a spoonful of the jam onto it. Let it sit for a moment, then tilt the plate. If the jam runs slowly and holds its shape, it’s ready to be jarred. If it’s still very runny, continue boiling and test again in a few minutes.
– Spoon Test: Another method is to use a spoon. Dip a spoon into the jam and let it drip back into the pot. If the drips form a sheet that clings to the spoon, your jam is likely ready.
Flavor Addition
To elevate the flavor of your blackberry jam, consider incorporating a splash of vanilla extract. Vanilla adds a warm, aromatic depth that perfectly complements the tartness of blackberries. Add about 1 teaspoon of pure vanilla extract to the jam once it has reached the desired consistency. Stir it in well, and then proceed with jarring the jam.
Jarring the Jam
Properly jarring your blackberry jam is essential for safe storage and enjoyment later. Here’s how to do it:
1. Sterilizing Jars: Start by sterilizing your jars and lids. You can do this by placing them in a boiling water bath for 10 minutes or running them through a hot cycle in the dishwasher. This step is crucial for preventing spoilage.
2. Ladling Techniques: Use a ladle to pour the hot jam into the sterilized jars. Fill each jar, leaving about 1/4 inch of headspace at the top. This space is necessary for the jam to expand as it cools.
3. Cleaning Rims: After filling the jars, clean the rims with a clean, damp cloth to remove any residue. This ensures a proper seal when you apply the lids.
Sealing and Storing
Once your jars are filled and the rims cleaned, it’s time to seal them properly to ensure long-term storage:
1. Applying Lids: Place the sterilized lids on top of the jars and screw on the metal rings until they are fingertip-tight. Avoid over-tightening, as this can prevent the jars from sealing properly.
2. Water Bath Process: To create a vacuum seal, process the jars in a boiling water bath. Submerge the jars in boiling water for about 10-15 minutes, making sure the water covers the jars by at least an inch. This step kills any remaining bacteria and ensures a tight seal.
3. Cooling and Storing: After boiling, carefully remove the jars from the water bath and let them cool on a clean kitchen towel or cooling rack. Allow the jars to cool completely at room temperature. Once cooled, check that the lids have sealed properly (they should not pop back when pressed). Store the sealed jars in a cool, dark place.
Enjoying Your Blackberry Jam
Homemade blackberry jam is incredibly versatile and can be used in a variety of delicious ways:
– Spreads: Use your jam as a spread on fresh bread, toast, or bagels. It pairs wonderfully with butter or cream cheese for a delightful breakfast or snack.
– Desserts: Incorporate blackberry jam into desserts like cheesecakes, tarts, or as a filling for cookies. It also works beautifully drizzled over ice cream or yogurt.
– Savory Dishes: Elevate savory dishes by using blackberry jam as a glaze for meats like pork or chicken. It adds a sweet-tart contrast that can enhance the flavor profile of your meals.
Nutritional Information and Serving Suggestions
Blackberries are not only delicious but also packed with nutrients. They are rich in vitamins C and K, fiber, and antioxidants, making them a healthy addition to your diet.
Suggested Pairings:
– Breakfast: Slather on pancakes or waffles for a fruity kick.
– Pastries: Use as a filling for pastries or croissants.
– Desserts: Incorporate into trifles or fruit salads.
– Savory Dishes: Pair with cheese boards, especially with creamy cheeses like brie or goat cheese.
Creative Ways to Incorporate Blackberry Jam:
– Create a refreshing salad dressing by mixing blackberry jam with balsamic vinegar and olive oil.
– Use it as a topping for a charcuterie board, pairing it with crackers and meats.
– Stir it into oatmeal or overnight oats for a sweet and nutritious breakfast.
Conclusion
Making your own blackberry jam is not only simple but incredibly rewarding. The process allows you to connect with the ingredients, enjoying the vibrant colors and aromas that come together as you cook. The satisfaction of creating a delicious homemade preserve that can be shared with friends and family is unmatched.
As you get more comfortable with this recipe, don’t hesitate to experiment with flavors and variations—try adding spices like cinnamon or cardamom, or mixing in other fruits for a delightful blend. The world of home canning is vast, and each jar you create opens the door to new culinary adventures. Embrace the joy of sharing your homemade blackberry jam, and watch as it brings smiles to the faces of those you love.
