

Introduction
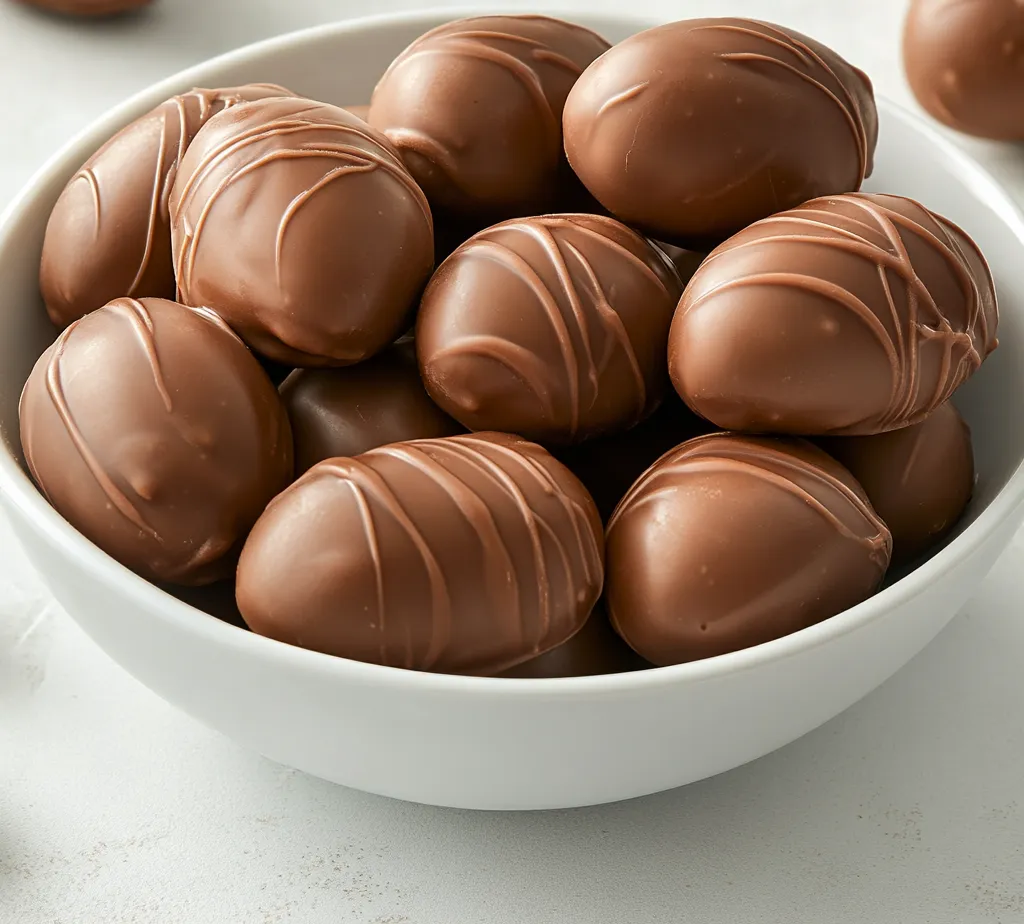
The allure of homemade treats, especially around festive occasions, is undeniably strong. Decadent Homemade Peanut Butter Eggs perfectly blend the rich flavors of creamy peanut butter and silky chocolate, creating a delightful indulgence. This article offers a comprehensive guide to crafting these delicious eggs, ideal for sharing with loved ones or enjoying as a personal treat. These decadent bites not only satisfy your sweet tooth but also evoke nostalgia reminiscent of the classic store-bought versions, making them a crowd-pleasing favorite.
As you venture into making your own peanut butter eggs, you’ll find that the process is rewarding and surprisingly straightforward. The combination of smooth peanut butter with a velvety chocolate coating results in a treat that’s both crunchy and creamy, capturing multiple textures in every bite. Whether you are preparing for Easter celebrations, a special occasion, or simply craving something sweet, these homemade peanut butter eggs promise to please everyone who tastes them.
Recipe Overview
– Total Time: 1 hour
– Prep Time: 20 minutes
– Servings: 12
– Difficulty: Not specified in the recipe
Decadent Homemade Peanut Butter Eggs combine the smoothness of peanut butter with the sweetness of chocolate, making them an irresistible dessert. This treat is perfect for any occasion, be it holidays or just a sweet craving at home. With a preparation time of 20 minutes and a total time of 1 hour, these eggs are not only simple to make but also yield a serving size of twelve, making them suitable for gatherings.
Ingredients
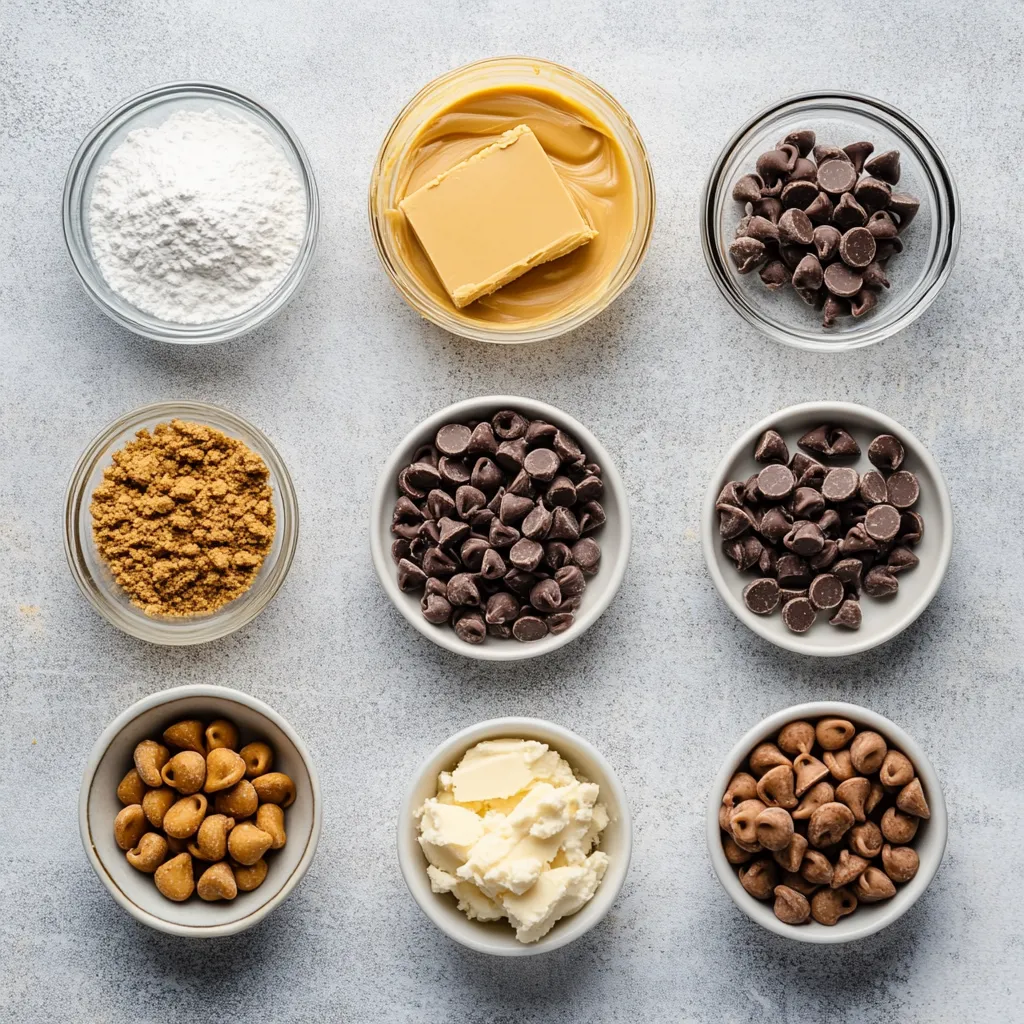
Understanding the ingredients is crucial for the perfect execution of the recipe. Here’s a detailed breakdown:
Peanut Butter Mixture
– Creamy peanut butter
– Unsalted butter, softened to room temperature
– Powdered sugar
– Pure vanilla extract
Binding Agent
– Graham cracker crumbs
Chocolate Coating
– Milk chocolate chips
– Coconut oil (optional)
Equipment Needed
– Large mixing bowl
– Hand mixer or wooden spoon
– Baking sheet
– Parchment paper
– Microwave-safe bowl
– Fork
Instructions
The method of preparation is essential to achieve the desired taste and texture. Follow these meticulous steps:
Mixing the Peanut Butter Base
1. In a large mixing bowl, combine the creamy peanut butter and softened unsalted butter. Use either a hand mixer or a wooden spoon to blend until smooth and creamy.
Sweetening the Mixture
2. Gradually add in the powdered sugar and pure vanilla extract. Mix thoroughly until the mixture is completely blended and sweetened to your preference.
Incorporating the Graham Crackers
3. Gently fold in the graham cracker crumbs until well combined. Ensure the mixture holds its shape when formed into eggs.
Shaping the Eggs
4. Take small portions of the mixture and form them into egg shapes, each roughly 1.5 inches long. Arrange the eggs on a parchment-lined baking sheet for easy cleanup.
Chilling the Eggs
5. Place the baking sheet in the freezer for about 30 minutes to firm up the eggs.
Melting the Chocolate
The chocolate coating is an essential aspect of the recipe that provides texture and flavor.
Preparing the Chocolate
6. Pour milk chocolate chips into a microwave-safe bowl. Heat in intervals of 30 seconds, stirring between each interval until the chocolate is completely melted and smooth. If desired, stir in coconut oil to achieve a smoother, glossier chocolate finish.
This step is vital, as the quality of the chocolate coating can significantly enhance the final product. The coconut oil, while optional, serves a purpose that many chocolate lovers appreciate: it makes the chocolate easier to work with and gives it a lustrous finish. Melting chocolate should be done carefully to prevent it from burning, so monitoring the process is important.
Once the chocolate is melted and silky, the next steps involve dipping and dressing the eggs, which adds the finishing touch to these delectable treats. The contrast between the creamy peanut butter filling and the rich chocolate shell necessitates careful handling, ensuring each egg is evenly coated while preserving its delightful shape. As you complete the melting phase, prepare to move on to the coating process, which transforms these peanut butter concoctions into festive treats.
Stay tuned for the next portion of this recipe, where we’ll delve into the intricate steps of coating your peanut butter eggs with chocolate, allowing you to truly elevate each bite of this homemade delight.
irresistibly delicious and easy to make. With a few simple steps, you can enjoy these homemade delights in about an hour. The texture is wonderfully creamy, while the chocolate coating adds a satisfying crunch.
Enhancing the Chocolate
To elevate the decadent appeal of your peanut butter eggs, the right approach to melting and combining ingredients is essential. By melting the chocolate in intervals and incorporating coconut oil, you can achieve a glossy finish, enhancing both appearance and texture.
Stirring in Coconut Oil
Adding coconut oil is an optional step that significantly benefits the quality of the chocolate coating. This oil not only smooths out the melted chocolate but also helps it to set with a richer gloss. When adding coconut oil, start with one tablespoon for every 12 ounces of chocolate. Stir it in thoroughly once the chocolate is melted, ensuring even distribution before dipping the eggs.
Coating the Peanut Butter Eggs
Proper coating is vital to protect and enhance the rich peanut butter flavor while ensuring a delightful crunch when you take a bite.
Dipping the Eggs
After picking the peanut butter eggs from the freezer, handle them with care to avoid melting. Dip each egg into the warm melted chocolate, ensuring a thorough coating. Use a fork to assist in dunking and lifting. Allow the excess chocolate to drip back into the bowl, creating a refined finish without mess.
Returning to the Baking Sheet
Once coated, place the eggs back onto the lined baking sheet. Spacing the eggs apart is crucial; it helps prevent them from sticking together as the chocolate sets. This technique also streamlines the process of removing each egg for serving or storage.
Setting the Chocolate
The cooling process allows the chocolate to harden, creating that satisfying snap when bitten into.
Refrigerating the Eggs
Tender patience is key as you let the chocolate-coated eggs rest in the refrigerator. For 15-20 minutes, allow the chocolate to cool until it has firmly set. This step is crucial not only for texture but also for presentation, as well-set chocolate holds its shape and gloss, making the peanut butter eggs more appealing.
Serving Suggestions
Enhancing the visual appeal of your peanut butter eggs can make a delightful treat even better when serving guests or enjoying them yourself.
Plating Ideas
Presentation matters when it comes to indulgent treats! Arrange the peanut butter eggs artfully on a decorative platter. Consider creating a nest-like effect using crushed graham crackers or placing chopped nuts around them to add texture and color contrast.
Additional Garnishing
For a touch of creativity, use any leftover melted chocolate to drizzle over the arranged peanut butter eggs, adding a playful artistic flair that also enhances the presentation.
Storage Tips
To make sure these treats stay fresh and enjoyable for as long as possible, proper storage is essential.
Airtight Container Use
Place your homemade peanut butter eggs in an airtight container to prevent them from absorbing odors from the refrigerator. These treats can be stored in the refrigerator for up to one week. Alternatively, for extended freshness, consider freezing the eggs for up to three months. Just ensure to layer them between parchment paper when freezing to prevent sticking.
Nutritional Information
While these homemade peanut butter eggs are a treat, understanding their nutritional aspects allows for mindful indulgence.
Caloric Content
Each peanut butter egg is approximately 150 calories, depending on how much chocolate you manage to apply. Moderating serving sizes will help maintain a balance in your diet while still enjoying these delicious treats.
Nutritional Benefits
Peanut butter is a rich source of protein and healthy fats, providing nutrient density. The graham crackers add a bit of fiber, while the homemade aspect of these treats allows you to indulge without preservatives or excessive sugars that can be found in store-bought versions.
Perfect Pairings
Pairing your peanut butter eggs with compatible snacks or beverages can enhance the overall dessert experience.
Beverage Suggestions
Milk is a classic pairing that offsets the richness of the chocolate and peanut butter, while herbal teas can provide a soothing contrast. For a more adult approach, consider pairing with a coffee drink or a light dessert wine, which complements the sweetness beautifully.
Occasion Pairing
These delicious peanut butter eggs are fantastic for holidays like Easter but can also be enjoyed at family gatherings, parties, or as a sweet surprise for loved ones. They are easy to transport and make great gifts when presented in a pretty box or tin.
Conclusion
The Decadent Homemade Peanut Butter Eggs are a delightful combination of rich flavors and textures, with the creamy peanut butter contrasted by the crunchy and glossy chocolate coating. The entire preparation process takes about an hour, making them an excellent treat for any occasion while providing a memorable indulgence that can be savored over several days.

Decadent Homemade Peanut Butter Eggs
Ingredients
- 1 cup creamy peanut butter
- ¼ cup unsalted butter softened
- ¼ cup powdered sugar
- ½ teaspoon pure vanilla extract
- 1 ½ cups graham cracker crumbs
- 12 ounces milk chocolate chips
- 1 tablespoon coconut oil optional
Instructions
- In a large mixing bowl, combine creamy peanut butter and softened unsalted butter until smooth.
- Gradually add powdered sugar and vanilla extract, mixing until fully incorporated.
- Fold in graham cracker crumbs until the mixture holds its shape.
- Shape the mixture into egg forms, about 1.5 inches long, and place on a parchment-lined baking sheet.
- Freeze the eggs for approximately 30 minutes to firm up.
- Melt milk chocolate chips in a microwave-safe bowl, stirring until smooth.
- Dip each egg into the melted chocolate, ensuring full coverage, and lift out with a fork.
- Return the chocolate-coated eggs to the baking sheet, spaced apart.
- Refrigerate for 15-20 minutes until the chocolate sets.
- Enjoy immediately or store in an airtight container in the refrigerator.