
Introduction
Imagine serving a warm basket of breadsticks, each shaped like a heart, to your loved ones during a special dinner. Not only do these heart-shaped breadsticks add a touch of charm to your meal, but they also symbolize love and affection, making them the perfect accompaniment for anniversaries, Valentine’s Day, or a cozy family gathering. Homemade breadsticks have a unique appeal; they offer a freshness and quality that store-bought versions simply can’t match. The joy of kneading the dough, watching it rise, and then transforming it into beautiful, heart-shaped treats is a rewarding experience that adds a personal touch to any occasion.
The heart shape is universally recognized as a symbol of love, making these breadsticks an ideal choice for expressing your feelings through food. Whether you’re planning a romantic dinner for two or a festive gathering with friends, these breadsticks will surely capture hearts and taste buds alike.
In this article, we will guide you through the process of making these delightful heart-shaped breadsticks, ensuring that you understand the importance of each ingredient and the techniques required to create the perfect batch. Let’s dive into the world of homemade breadsticks and discover how easy it is to create a dish that not only tastes great but also looks stunning on your table.
Understanding the Ingredients
Before we begin with the recipe, it’s essential to understand the key ingredients that contribute to the final product of heart-shaped breadsticks. Each component plays a vital role in the texture, flavor, and overall quality of the breadsticks.
All-Purpose Flour: The Foundation of the Dough
All-purpose flour is the backbone of any breadstick recipe. It provides the necessary structure and elasticity to the dough, allowing it to rise and hold its shape when baked. The protein content in all-purpose flour is balanced, making it suitable for a variety of baked goods, including breadsticks. When selecting flour, look for a high-quality brand to ensure consistent results.
Active Dry Yeast: Role in Leavening and Texture
Active dry yeast is the key ingredient responsible for the leavening of the breadsticks. When activated, yeast ferments and produces carbon dioxide gas, which causes the dough to rise and become airy. It’s important to use fresh yeast for optimal results. Always check the expiration date on the package before use.
Sugar: How It Activates the Yeast
Sugar might seem like an optional ingredient, but it plays a crucial role in the fermentation process. When combined with warm water, sugar feeds the yeast, helping it activate and grow. This not only enhances the flavor of the breadsticks but also contributes to their golden-brown crust when baked. You don’t need a lot; a tablespoon is sufficient to kickstart the yeast.
Warm Water: Ideal Temperature for Yeast Activation
The temperature of the water used in the dough is critical for yeast activation. Ideally, it should be between 100°F and 110°F (37°C to 43°C). Water that is too hot can kill the yeast, while water that is too cold will not activate it effectively. To test the temperature, use a kitchen thermometer or dip your finger into the water; it should feel warm but not hot.
Olive Oil: Adding Flavor and Moisture
Olive oil not only adds a rich flavor to the breadsticks but also contributes to the dough’s moisture content, resulting in a tender texture. It helps to keep the breadsticks soft and enhances the overall taste. Feel free to use extra virgin olive oil for a more robust flavor, or substitute it with melted butter if you prefer a different taste profile.
Garlic Powder and Dried Herbs: Enhancing Taste
For a little extra flavor, garlic powder and dried herbs can be added to the dough. These ingredients elevate the taste of your breadsticks, infusing them with a savory aroma that complements a variety of dishes. You can use a combination of garlic powder, Italian seasoning, or even fresh herbs like rosemary or thyme for a personalized touch.
Egg Wash: Purpose in Achieving a Golden Crust
An egg wash is a mixture of beaten egg and water or milk that is brushed over the dough before baking. This step is essential for achieving a golden, glossy crust on your breadsticks. An egg wash also helps toppings like coarse sea salt and Parmesan cheese adhere to the surface, making your breadsticks even more appealing.
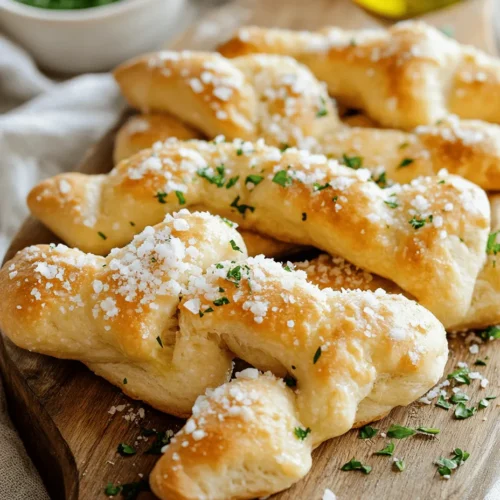
Coarse Sea Salt and Parmesan Cheese: Toppings That Elevate Flavor
Sprinkling coarse sea salt and grated Parmesan cheese on top of your heart-shaped breadsticks adds an extra layer of flavor and texture. The salt enhances the taste, while the cheese provides a savory richness that pairs beautifully with the soft, warm bread. Be generous but not overwhelming with these toppings, as you want to balance their flavors without overpowering the dough.
Fresh Parsley: The Finishing Touch for Presentation
Finally, fresh parsley is the perfect garnish to add a pop of color and freshness to your heart-shaped breadsticks. Not only does it look beautiful, but it also lends a hint of herbal flavor that complements the garlic and cheese. Finely chop the parsley and sprinkle it over the top of the breadsticks just before serving for the best presentation.
Step-by-Step Instructions for Heart-Shaped Breadsticks
Now that we’ve covered the ingredients, let’s move on to the step-by-step instructions for making heart-shaped breadsticks. This process will guide you through the preparation, from activating the yeast to kneading the dough.
Step 1: Activating the Yeast
1. Gather your ingredients: Start by measuring out your warm water, sugar, and yeast. In a small bowl, combine the warm water (1 cup) with the sugar (1 tablespoon). Stir gently until the sugar has dissolved, then sprinkle the active dry yeast (2 teaspoons) over the water.
2. Let it sit: Allow the yeast mixture to sit for about 5-10 minutes until it becomes frothy. This indicates that the yeast is active and ready to be incorporated into the dough. If your mixture does not froth, it may be a sign that the yeast is expired or that the water temperature was not ideal.
Step 2: Mixing and Kneading the Dough
1. Combine the dry ingredients: In a large mixing bowl, whisk together the all-purpose flour (3 cups), garlic powder (1 teaspoon), and dried herbs (1 teaspoon, optional). Make a well in the center of the flour mixture.
2. Add the wet ingredients: Pour in the frothy yeast mixture along with olive oil (2 tablespoons) into the well. Using a wooden spoon or spatula, start mixing the ingredients together until a shaggy dough forms.
3. Knead the dough: Transfer the dough to a lightly floured surface and begin kneading it by hand. Knead the dough for about 8-10 minutes until it becomes smooth and elastic. If the dough feels sticky, add a little more flour as needed, but be careful not to add too much, as this can lead to tough breadsticks.
4. First rise: Once kneaded, shape the dough into a ball and place it in a lightly greased bowl. Cover the bowl with a clean kitchen towel or plastic wrap and let it rise in a warm, draft-free area for about 1 hour or until it has doubled in size.
By understanding the ingredients and following these initial steps, you’re well on your way to creating delightful heart-shaped breadsticks that will impress anyone at your table. The combination of fresh ingredients and careful preparation will result in a truly memorable treat that embodies the essence of love and warmth. In the next section, we will continue with the shaping and baking process, ensuring that you achieve the perfect heart-shaped breadsticks every time.

Rising the Dough: Ideal Conditions for Fermentation
The first step to creating delicious heart-shaped breadsticks is allowing your dough to rise properly. The fermentation process is crucial as it helps develop flavor and texture. To achieve optimal results, you should create ideal conditions for the dough to rise. Start by placing the dough in a warm, draft-free area. The best temperature range for fermentation is between 75°F and 80°F (24°C to 27°C).
If your kitchen is on the cooler side, consider preheating your oven to the lowest setting for just a couple of minutes, then turning it off. Place the covered dough inside the warm oven to create a cozy environment for the yeast to thrive. Cover the dough with a clean kitchen towel or plastic wrap to prevent it from drying out. Allow the dough to rise for 1 to 2 hours, or until it has doubled in size. This slow fermentation process enhances the flavor and texture of your breadsticks, making them light, airy, and delicious.
Shaping the Breadsticks
Once your dough has risen beautifully, it’s time to shape your heart-shaped breadsticks. Start by gently punching down the dough to release any trapped air. Transfer it to a lightly floured surface and knead it briefly to smooth it out. Divide the dough into equal sections, depending on how many breadsticks you want to make. For a standard batch, dividing into 12 pieces works well.
To shape each piece into a heart, roll it into a long rope, about 12-14 inches in length. Then, create the heart shape by folding the top of the rope to form the two peaks of the heart. Pinch the ends together to secure the shape and gently taper the bottom point of the heart. Make sure the edges are well-formed so they hold their shape during baking. Repeat this process until all pieces of dough are shaped. Place the heart-shaped breadsticks on a baking sheet lined with parchment paper, leaving enough space between each one for expansion during baking.
Creating the Perfect Heart Shape: Techniques and Visuals
When forming the heart shape, visual guidance can be helpful. Think of the heart as two rounded sections at the top, which taper down to a point at the bottom. To enhance the look, you can use a rolling pin to gently flatten the edges of the dough before shaping to create a more defined outline. The goal is to achieve a symmetrical heart shape that not only looks delightful but also bakes evenly.
If you’re looking for additional techniques, consider using a cookie cutter in the shape of a heart to create uniform shapes. Simply flatten the dough and cut out the hearts. This method is especially useful if you’re making a large batch and want consistency. However, hand-formed shapes can add a personal touch that is perfect for special occasions.
Baking the Breadsticks
With your heart-shaped breadsticks ready to go, it’s time to bake them to perfection.
Preheating the Oven: Importance of Temperature Consistency
Preheating your oven is a crucial step that should not be overlooked. A properly preheated oven ensures that the breadsticks begin cooking at the right temperature, promoting even baking and browning. Set your oven to 375°F (190°C) and allow it to reach the desired temperature before placing your breadsticks inside. This consistency is vital for achieving that golden-brown crust that everyone loves.
Baking Tips for Achieving the Best Results
Here are some baking tips to ensure your heart-shaped breadsticks turn out perfectly:
1. Use Parchment Paper: Line your baking sheet with parchment paper to prevent sticking and facilitate easy cleanup.
2. Brush with Olive Oil or Butter: Before baking, brush the tops of the breadsticks with olive oil or melted butter. This step not only adds flavor but also helps achieve a beautiful golden color.
3. Sprinkle with Sea Salt: A light sprinkle of coarse sea salt enhances the flavor and gives an appealing crunch.
Time and Temperature Guidelines
Bake the heart-shaped breadsticks for 12 to 15 minutes. Keep an eye on them around the 10-minute mark to prevent over-baking. The ideal breadsticks should be golden brown on top and baked through. If you’re unsure, you can tap the bottom of a breadstick; if it sounds hollow, it’s done.
Recognizing When the Breadsticks Are Done
The visual cue of a golden brown crust is a good indicator, but there are other signs to look for. The breadsticks should feel firm to the touch and have a slightly crisp surface. If you have a kitchen thermometer, the internal temperature should read around 190°F (88°C) when fully baked.
Serving Suggestions
Now that your heart-shaped breadsticks are out of the oven and cooling, it’s time to think about how to serve them creatively.
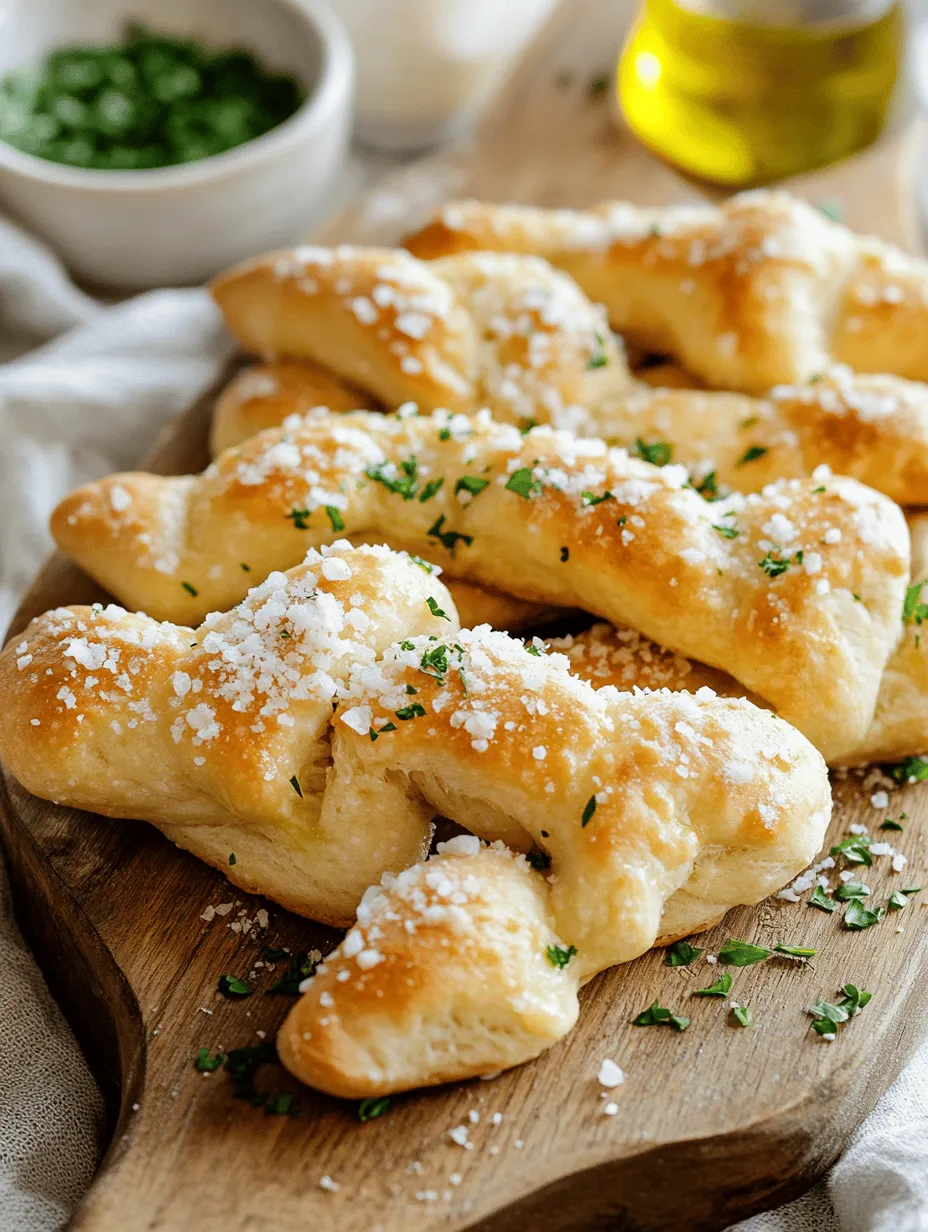
Creative Ways to Present Breadsticks
Presentation can elevate your breadsticks from ordinary to extraordinary. Consider arranging them in a vase or standing upright in a decorative bowl for a charming display. You might even weave them together in a heart shape on a platter, making them the centerpiece of your table.
Pairing Options for Dipping
Heart-shaped breadsticks are versatile and pair wonderfully with various dips. Here are a few delicious options:
– Marinara Sauce: The classic choice! The tangy flavor of marinara complements the breadsticks perfectly.
– Herbed Olive Oil: Mix high-quality olive oil with fresh herbs such as rosemary, thyme, or oregano for a fragrant dip.
– Cheese Sauce: A warm, cheesy dip is always a crowd-pleaser, perfect for those who want a rich flavor.
Suggestions for Garnishing with Fresh Herbs
Garnishing your heart-shaped breadsticks with fresh herbs not only enhances flavor but also adds visual appeal. After baking, consider sprinkling fresh parsley, basil, or chives over the breadsticks. A drizzle of balsamic glaze or a sprinkle of grated Parmesan cheese can also elevate the dish.
Occasion Ideas for Serving Heart-Shaped Breadsticks
Heart-shaped breadsticks are perfect for various occasions, including:
– Romantic Dinners: Set the mood for a special meal with your loved one.
– Valentine’s Day: These breadsticks are a unique and playful addition to your Valentine’s Day spread.
– Anniversaries: Celebrate your love story with a homemade touch.
– Family Gatherings: Serve them as a fun appetizer that everyone will enjoy.
Nutritional Information
Heart-shaped breadsticks can be a delightful addition to any meal, and understanding their nutritional value can help you enjoy them guilt-free.
Overview of the Nutritional Value of Heart-Shaped Breadsticks
Typically, one heart-shaped breadstick contains about 100-120 calories, depending on the ingredients used. They are primarily made from flour, yeast, water, and olive oil, making them a source of carbohydrates.
Healthier Options or Substitutions for Dietary Needs
If you’re looking for healthier options or have dietary restrictions, consider the following substitutions:
– Gluten-Free Flour: For a gluten-free version, substitute all-purpose flour with a gluten-free flour blend that contains xanthan gum for elasticity.
– Whole Wheat Flour: Using whole wheat flour increases the fiber content, making the breadsticks more filling and nutritious.
– Reduced Fat Options: Replace traditional olive oil with a light spray or use less butter to lower the fat content while still achieving great flavor.
Conclusion
Making heart-shaped breadsticks is not just about the delicious end product; it’s about the joy of creating something special to share with others. The process of kneading, shaping, and baking these delightful treats is rewarding and offers a chance to express your creativity in the kitchen.
Whether you’re celebrating a special occasion or simply want to add a unique touch to your meal, these breadsticks are sure to impress. The warmth of homemade treats, combined with the thoughtful shape and presentation, creates lasting memories for you and your loved ones. So, gather your ingredients, enjoy the process, and savor the deliciousness of your heart-shaped breadsticks — a delightful addition to any table.