
Introduction
As the leaves begin to fall and the air turns crisp, there’s nothing quite like the warm, inviting aroma of freshly baked cookies filling your home. These Pumpkin Spice Chocolate Surprise Cookies are a delight that beautifully merges the classic fall flavors of pumpkin spice with rich, gooey chocolate. Ideal for autumn gatherings, Halloween parties, or simply enjoying on a chilly evening, these cookies offer a perfect bite of sweetness with every morsel.
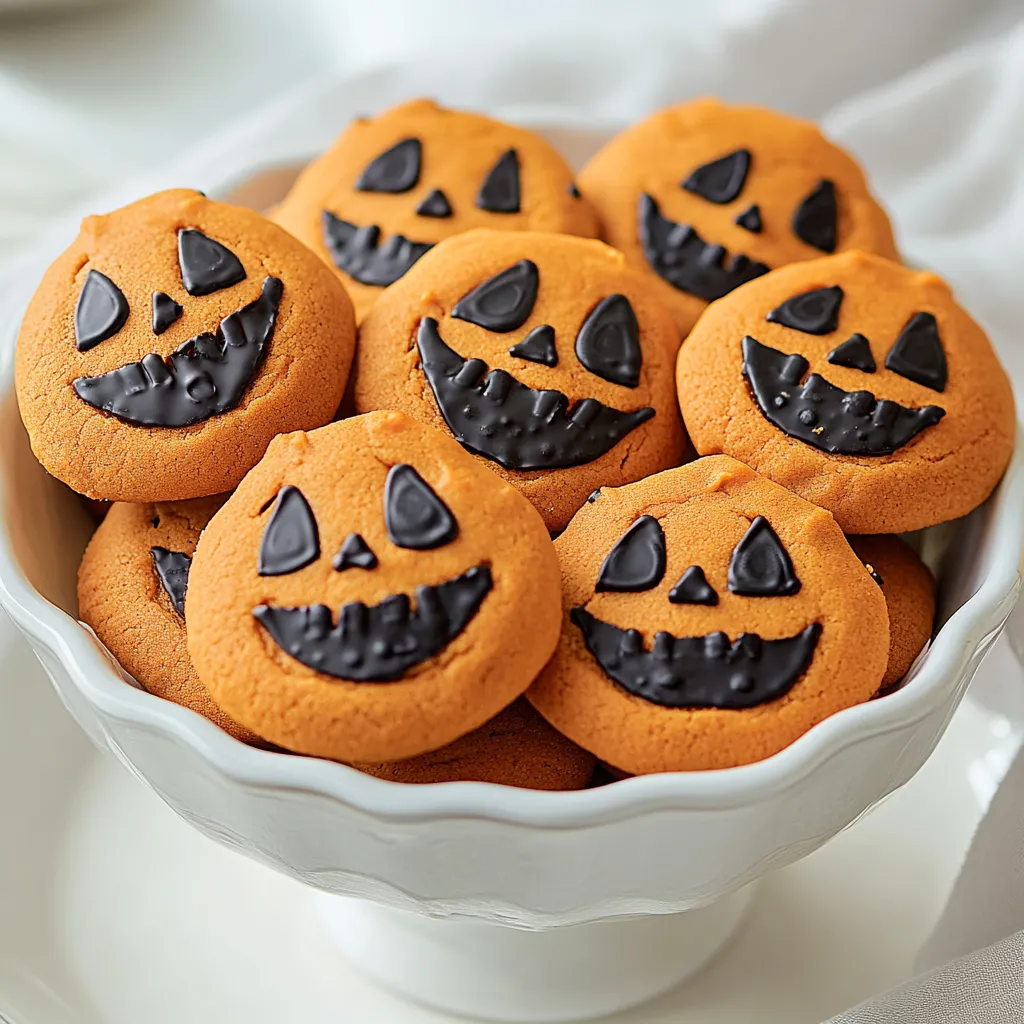
Each cookie is crafted not only to satisfy your sweet tooth but also to bring a smile with their adorable jack-o’-lantern faces. Children and adults alike will enjoy the playful element of edible googly eyes and colorful icing. These delightful cookies are not just visually appealing; they also provide a warm hug of nostalgia, reminding us of the joys of the season.
Whether you are looking to elevate your dessert table for a festive occasion or create lasting memories with your family while baking, these cookies are sure to please. Their perfect balance of spice and sweetness makes them a treat that you will be eager to share.
Recipe Overview
– Total Time: 40 minutes
– Prep Time: 20 minutes
– Servings: 24 cookies
– Difficulty: Not specified in the recipe
Description of Pumpkin Spice Chocolate Surprise Cookies
Pumpkin Spice Chocolate Surprise Cookies marry the comforting flavors of pumpkin spice with the richness of chocolate. Each cookie is soft and chewy, with chocolate chips oozing from the inside, elevated by the warm notes of spice that encapsulate the essence of fall. The cookies’ whimsical jack-o’-lantern designs, complete with bright icing and optional googly eyes, add a playful touch to their overall charm.
Occasions for Enjoying These Cookies
Wondering when to whip up these delightful treats? They’re perfect for numerous occasions! Bake a batch for family gatherings, Halloween parties, or simply as a cozy treat on a chilly autumn afternoon. They also make great gifts during this season; arrange them on a festive platter or in a lovely box to share the joy. Additionally, they serve as an excellent party favor or a fun classroom snack, bringing smiles to both adults and children alike.
Flavor Profile and Texture Analysis
Every bite of the Pumpkin Spice Chocolate Surprise Cookies offers a delightful combination of textures and flavors. The cookie itself is soft and chewy with just the right amount of crispness around the edges, while the melted chocolate chips provide bursts of sweetness. The warm pumpkin spice adds depth and a cozy aroma, invoking the nostalgic flavors of the fall season. With a well-rounded mixture of spices, these cookies are guaranteed to enchant your taste buds.
Ingredients
– 2 ½ cups all-purpose flour
– 1 tsp baking soda
– ½ tsp salt
– 1 cup unsalted butter, softened to room temperature
– 1 cup packed brown sugar
– ½ cup granulated sugar
– 1 large egg
– 2 tsp vanilla extract
– 1 tsp pumpkin spice (or cinnamon)
– 1 cup milk chocolate chips
– Orange and black icing (for decorating)
– Edible googly eyes (optional for a fun touch)
Importance of Fresh Ingredients
Using fresh ingredients is crucial for creating cookies that taste delicious and have the right texture. Freshly ground spices, like pumpkin spice, can significantly enhance the flavor profile, delivering a more aromatic and vibrant taste. Similarly, utilizing butter that is at room temperature ensures it mixes more smoothly with the sugars, leading to a better cookie consistency.
Potential Ingredient Substitutions
Though this recipe is crafted to create perfect cookies, some substitutions can be made if needed. For instance, if you prefer a lower-fat option, you could consider using unsweetened applesauce in place of butter. However, this will alter the flavor and texture. As for the sugars, coconut sugar can be a healthier alternative to granulated sugar while still giving sweetness. It’s always best to experiment with such substitutions with care, noting that they might affect the final outcome of the cookies.

Prepping the Baking Environment
Choosing the Right Baking Sheets
Choosing the correct baking sheets can influence the outcome of your cookies. Flat, rigid baking sheets are ideal as they ensure evenly cooked cookies. Avoid using warped or uneven sheets, as they can lead to cookies baking unevenly, causing some to be too crispy while others remain undercooked.
Importance of Parchment Paper
Lining your baking sheets with parchment paper is highly recommended for effortless cookie removal and a clean baking surface. Parchment paper helps prevent cookies from sticking, ensuring they maintain their shape and avoiding the need for additional fats or sprays. Additionally, it allows for a more even bake, producing uniformly browned cookies.
Understanding Oven Temperature Settings
Preheating your oven to the correct temperature is essential for achieving perfectly baked cookies. An oven that’s too hot can lead to over-baked edges while leaving the center underdone, while one that is not hot enough may prevent the cookies from rising adequately. For this recipe, setting the oven to 350°F (175°C) is crucial, as this temperature allows for thorough baking without compromising texture.
Preparing the Dry Ingredients
Importance of Proper Ingredient Measurement
Accurate measurement of dry ingredients is essential for the success of any baking project. Too much flour can lead to dry cookies, while too little can produce a gooey mess. Using a spoon to fluff up the flour before scooping it into a measuring cup, followed by leveling it off with a knife, will yield the best results.
The Role of Each Dry Ingredient
Each dry ingredient serves a specific purpose in achieving the perfect cookie. All-purpose flour provides the base structure, while baking soda acts as a leavening agent, helping the cookies rise. Salt enhances flavor, and pumpkin spice adds warmth and depth, complementing the sweetness of the sugars.
Mixing Techniques for Dry Ingredients
When combining the dry ingredients, it’s important to whisk them together adequately. This thorough blending ensures even distribution of the baking soda and salt, preventing any concentrated areas that could lead to uneven baking or off flavors. It also helps in aerating the mixture, contributing to the light texture of the cookies.
Creaming the Butter and Sugars
Significance of Softened Butter
Softened butter is a cornerstone of this cookie recipe, playing a vital role in texture and flavor. It allows for the sugars to be creamed together effectively, creating an airy, fluffy batter that holds the ingredients together without being overly dense.
Techniques for a Successful Creaming Process
To properly cream the butter and sugars, using a stand mixer or hand mixer on medium speed for about 2-3 minutes is recommended. The goal is to achieve a light-colored creamy mixture; this incorporates air, contributing to a tender cookie. If you find the butter is not sufficiently softened, you can slice it into smaller pieces, which will help speed up the softening process.
The Science Behind Butter and Sugar Creaming
The process of creaming butter and sugar is essential in baking. When you beat them together, air bubbles develop, contributing to a light and fluffy texture. This chemical reaction is essential for the cookies to rise properly when baked, ensuring they don’t become too dense.
Incorporating Egg and Vanilla
Why These Ingredients Are Essential
Eggs work as a binder in the cookie dough, helping retain moisture while providing richness in flavor. Vanilla extract is crucial for enhancing the overall taste profile, adding depth and aromatic qualities that play well with the spices and chocolate.
Tips for Achieving a Smooth Mixture
When adding the egg and vanilla to the creamed butter and sugars, make sure to mix until fully incorporated. Avoid overmixing at this stage, as this can lead to tough cookies. Aim for a smooth yet slightly thick mixture, indicating the wet ingredients are well combined.
Flavor Impact of Vanilla Extract
Utilizing high-quality vanilla extract can elevate the flavor of your cookies significantly. It’s the secret ingredient that adds a warm, sweet aroma, enhancing the overall taste. It works beautifully with the warm spices and chocolate, creating a harmonious blend of flavors in every bite.

The Importance of Not Overmixing
When it comes to cookie baking, the technique you use to combine ingredients is crucial. Overmixing cookie dough can lead to a tough and dense final product, which is not desirable. This happens because excessive mixing develops the gluten in the flour, leading to cookies that lack the tender texture we aim for. To avoid this, you should mix the wet and dry ingredients just until they are combined. You want to see a bit of floury residue; this is a sign that your dough will turn out tender once baked.
Signs of Perfectly Combined Cookie Dough
The perfect cookie dough consistency should look slightly shaggy and uneven, with specks of flour still visible. When you gently fold the ingredients together, it should hold together but not be smooth like a cake batter. Pay attention to the color; the dough should appear uniformly colored with the darker brown sugar contrasting against the lighter flour mixture. The presence of chocolate chips should be prominent, indicating you’ve achieved a good blend without overworking the dough.
Folding in the Chocolate Chips
Why Use Milk Chocolate Chips?
Milk chocolate chips are favored in this recipe for their creamy sweetness and smooth texture. They provide a pleasant contrast to the spiced cookie base, enhancing the overall flavor profile of the cookies. The softness of milk chocolate melts slightly during baking, creating gooey pockets of chocolate that complement the pumpkin spice perfectly. If you prefer a darker chocolate flavor, semi-sweet or dark chocolate chips can be used as an alternative, though this will shift the overall taste experience.
Techniques for Even Distribution
When adding chocolate chips, it’s essential to gently fold them into the dough rather than stirring vigorously. Use a spatula to cut through the center of the dough and lift it over the chocolate chips. Turn the bowl as you mix, ensuring even distribution without breaking the chips. This method not only preserves the integrity of the chips but also helps maintain the desirable texture of the cookies.
Adding Extra Chocolate for Surprise
Incorporating additional chocolate chips within the center of the cookie offers a delightful surprise when bitten into. This technique involves flattening the cookie dough ball slightly, adding a few more chocolate chips in the center, and then carefully folding the dough back around them before forming a ball. This ensures that the melted chocolate is hidden within, offering an unexpected burst of flavor and richness when enjoyed.
Shaping the Cookies
Techniques for Shaping Cookie Dough
When shaping the cookies, uniformity is key to ensuring that they bake evenly. Using a cookie scoop is an efficient method to achieve consistent sizes. If you don’t have a cookie scoop, rolling the dough between your palms can work as well. Aim for balls roughly the size of a standard tablespoon. Flattening each ball slightly, creates a larger cookie surface area that promotes better spreading and baking during the process.
Tips for Ensuring Even Sizes
To guarantee evenly sized cookies, consider weighing the dough portions on a kitchen scale. This will help you divide the dough into equal parts, promoting more even baking. Additionally, when arranging the dough on the baking sheets, leave adequate space between each cookie, as they will spread while baking. A good rule of thumb is to leave at least 2 inches of space between cookies to prevent them from merging.
Creative Ideas for Cookie Shapes
While the classic round shape is always a hit, consider getting creative! You can use cookie cutters to cut the dough into festive shapes before baking or flatten the dough balls and use a knife or fork to create patterns. This could include hearts, stars, or even thematic shapes like ghosts or bats for Halloween festivities. Variations not only make the cookies visually appealing but can also add a fun twist to a typical batch of cookies.
Designing Jack-O’-Lantern Faces
Tools Needed for Decorating
To create fun jack-o’-lantern faces on your cookies, you will need some basic decorating tools. A piping bag fitted with a small round tip is ideal for those wanting precision with their icing designs. If you don’t have a piping bag, a ziplock bag with a corner snipped off can serve as a great substitute. Additionally, a small offset spatula can help in smoothing icing or crafting shapes if you’re going for more complex designs.
Techniques for Scoring Faces
Scoring the faces on your cookie dough before baking enhances their playful look. Use a sharp knife to gently score the surface of each cookie with simple shapes—triangles for eyes, a jagged smile, or even intricate designs if you’re feeling adventurous. This pre-bake technique allows the cookies to hold their character instead of puffing up and losing their details as they rise in the oven.
Ideas for Unique Cookie Designs
Beyond traditional jack-o’-lanterns, tap into your creative side by designing spooky witches, ghosts, or monster faces. Different colors of icing (like green or purple) can create a variety of mythical creatures or eerily cute characters. Using edible decorations like sprinkles, chocolate vermicelli, or candy eyes can further embellish these designs and elevate the cookie’s visual appeal for seasonal gatherings.
Baking the Cookies
Timing and Temperature Guidelines
Maintaining the proper baking temperature is crucial for achieving the desired texture. Baking these cookies at 350°F (175°C) allows for even cooking, ensuring they remain soft inside while developing a slight crispness on the edges. When setting your timer, begin with 10-12 minutes, as the exact time may vary based on your oven’s calibration.
How to Know When Cookies Are Done
The telltale signs of done cookies include lightly golden edges and a center that appears set. Although the centers may look slightly poofy and not fully baked, it’s important to remove them from the oven at this stage—they will continue to cook as they cool on the baking sheets. Pushing the cookies slightly with your finger can help determine doneness; if they spring back, they are likely ready.
Tips for Preventing Overbaking
Keep a close watch on your cookies in the last couple of minutes of baking. Set a timer for a minute or two before the total baking time is expected to end. If you notice that the cookies start browning too quickly, consider rotating the baking sheets halfway through baking to promote even heating.
Cooling and Decorating the Cookies
Importance of Cooling Period
Allowing the cookies to cool is vital; this helps them firm up and become easier to decorate. After removing them from the oven, let them sit on the baking sheets for about 5 minutes before transitioning them to a wire rack. If they are moved too soon, they may collapse or break apart.
Decorating Techniques with Icing
Once completely cooled, take a moment to decide how you want to decorate your cookies. For simpler designs, a drizzle of icing can create an elegant finish. For more elaborate designs, take your time with the piping bag to create finely detailed faces and patterns. If you prefer a smoother finish, using a technique to flood the cookie with a batch of thinned icing can create beautiful, polished results.
Creative Uses of Edible Googly Eyes
Edible googly eyes add whimsical fun to your cookies. After the icing has set, carefully position them on the cookie using a dab of icing as adhesive. This not only adds personality to each cookie but also engages the imagination, turning each cookie into a unique character.
Serving Suggestions and Presentation Tips
Best Ways to Serve These Cookies
These cookies can be enjoyed on their own or paired with other seasonal treats like pumpkin spice lattes or apple cider. Placing the finished cookies on a decorative platter adds a festive touch, especially during Halloween gatherings or autumn celebrations.
Seasonal Presentation Ideas
Enhancing the cookie presentation can elevate the experience. Consider using white or colorful linens and adding seasonal elements, such as small decorative pumpkins, twinkling lights, or autumn leaves around the platter. These elements contribute to a cozy, festive atmosphere.
Pairing Cookies with Beverages
In addition to seasonal drinks, these cookies can be enjoyed alongside a glass of milk, tea, or coffee. The warm spices of the cookies will complement chai or spiced teas beautifully, while the sweetness of the milk or coffee balances the rich flavors.
Conclusion
The Pumpkin Spice Chocolate Surprise Cookies provide a delightful medley of flavors, merging the sweetness of chocolate with the warm notes of pumpkin spices. Their soft, chewy texture, combined with the charming jack-o’-lantern designs, make them a perfect festive treat. With a total preparation time of about 40 minutes, these cookies are quick to make and sure to enchant anyone who tries them.

Pumpkin Spice Chocolate Surprise Cookies Recipe
Ingredients
- 2 ½ cups all-purpose flour
- 1 tsp baking soda
- ½ tsp salt
- 1 cup unsalted butter softened
- 1 cup packed brown sugar
- ½ cup granulated sugar
- 1 large egg
- 2 tsp vanilla extract
- 1 tsp pumpkin spice
- 1 cup milk chocolate chips
- orange and black icing
- edible googly eyes
Instructions
- Preheat your oven to 350°F (175°C) and line two baking sheets with parchment paper.
- In a bowl, whisk together flour, baking soda, salt, and pumpkin spice.
- In a large bowl, cream together butter, brown sugar, and granulated sugar until light and fluffy.
- Add the egg and vanilla extract, mixing until smooth.
- Gradually mix in the dry ingredients until just combined.
- Fold in the milk chocolate chips evenly into the dough.
- Scoop dough, flatten slightly, and place extra chocolate chips in the center before rolling into a ball.
- Score jack-o'-lantern faces on each cookie before baking.
- Bake for 10-12 minutes until edges are golden and centers are slightly underbaked.
- Cool on baking sheets for 5 minutes, then transfer to a wire rack to cool completely and decorate.