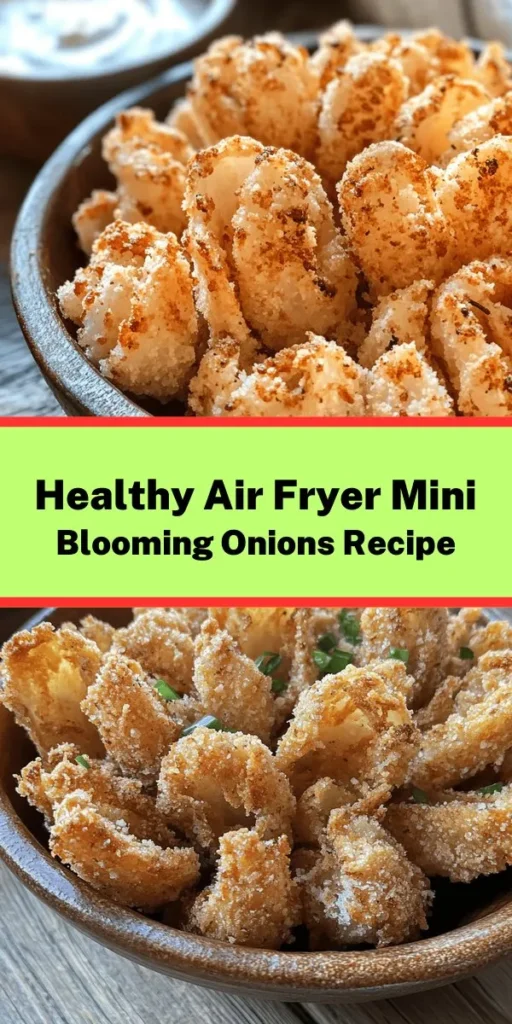
Introduction
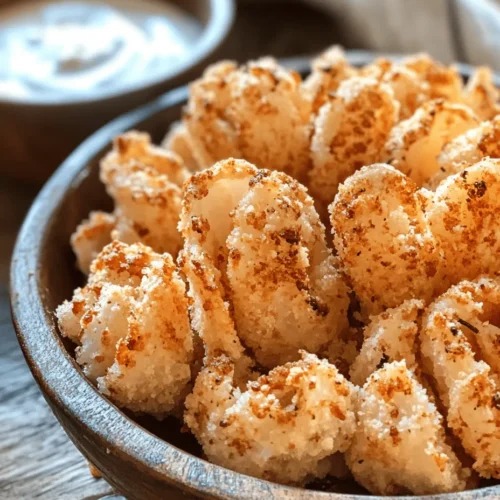
There’s something undeniably appealing about blooming onions. With their intricate, flower-like shape, these savory treats have become a popular snack and appetizer across restaurants and gatherings. Their crispy outer layers give way to tender, flavorful onion rings that are perfect for dipping into a zesty sauce. Traditionally, blooming onions are deep-fried, which can make them a guilty pleasure; however, the advent of the air fryer has transformed this classic dish into a healthier alternative that doesn’t compromise on taste or texture.
In this article, we’ll explore how to create crispy mini blooming onions in an air fryer, providing you with a delicious recipe that’s perfect for any occasion. We’ll delve into the preparation steps, highlight the ingredients you’ll need, and offer serving suggestions to elevate your dish. Whether you’re hosting a party or simply craving a unique snack, this recipe is sure to impress.
Understanding Blooming Onions
So, what exactly is a blooming onion? Originating from the United States, this dish features a large onion that is cut to resemble a flower, allowing the petals to bloom while being cooked. The most famous rendition of this delicacy is the Outback Steakhouse’s Blooming Onion, which has contributed to its popularity across the nation. The unique presentation, combined with the satisfying crunch and rich flavor, makes blooming onions a standout choice for those looking to indulge.
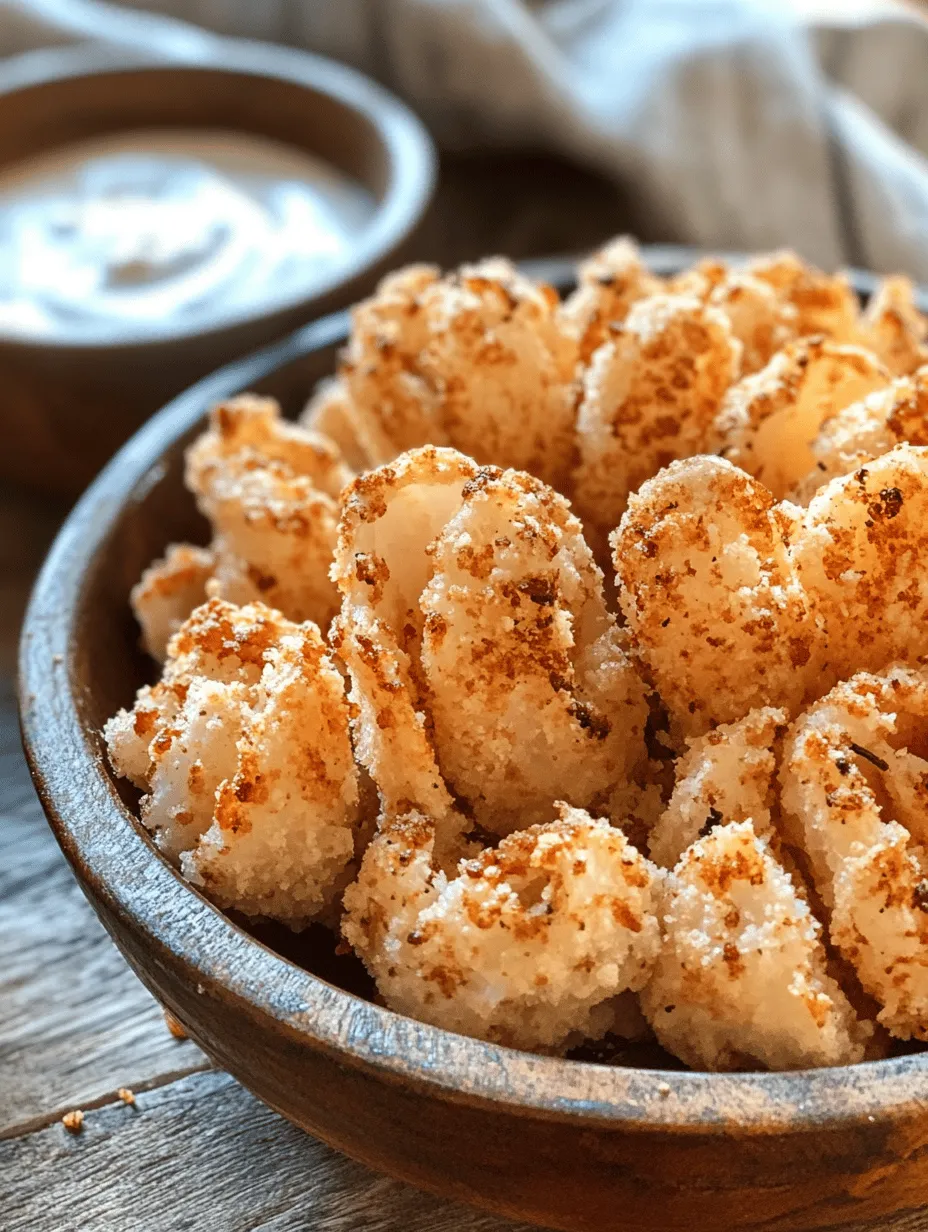
When you take a bite of a blooming onion, you’re greeted with a delightful contrast of textures. The outer layer is crisp and golden brown, while the inner rings are tender and juicy. The flavor profile is a harmonious blend of savory onion sweetness, enhanced by a mix of seasonings that can range from mild to spicy, depending on your preference. This combination of taste and texture is what makes blooming onions a favorite at restaurants and social gatherings alike.
Benefits of Using an Air Fryer
The traditional method of preparing blooming onions involves deep frying, which can lead to excess oil and calories. Enter the air fryer—a revolutionary kitchen appliance that uses hot air circulation to create a crispy exterior similar to fried foods, but with significantly less oil. Here are some key benefits of using an air fryer for your blooming onions:
1. Healthier Cooking: Air frying requires significantly less oil than traditional frying methods. This means you can enjoy the crispy satisfaction of blooming onions without the guilt associated with deep-fried foods. With air frying, you can significantly reduce the fat content while still achieving a satisfying crunch.
2. Convenience and Ease of Use: Air fryers are user-friendly and often come with preset cooking functions. This allows you to set the temperature and time with ease, freeing you from the constant monitoring needed when frying in oil. Plus, many air fryers come with non-stick surfaces, making cleanup a breeze.
3. Flavor and Texture Retention: One of the best things about air frying is that it retains the natural flavors and textures of the ingredients. The hot air circulation ensures that the onions cook evenly, achieving that desirable crispiness without the sogginess that can sometimes occur with oil frying. You get all the benefits of fried food without the drawbacks of excess grease.
Ingredients Overview
Now that we’ve set the stage for our crispy mini blooming onions, let’s take a closer look at the ingredients that will bring this dish to life.
– Yellow Onions: The star of our recipe. Yellow onions are ideal for blooming onions due to their sweetness and ability to hold their shape when cooked. When selecting onions, look for firm ones with a papery skin, avoiding any with soft spots or blemishes. The size of your onions will affect the final presentation, so opt for medium-sized onions that can easily bloom.
– Buttermilk: This tangy ingredient serves two primary purposes: tenderizing the onion and adding rich flavor. Marinating the onion in buttermilk not only enhances its taste but also helps the coating adhere better during the cooking process. If you don’t have buttermilk on hand, you can make a quick substitute by mixing one cup of milk with one tablespoon of vinegar or lemon juice and letting it sit for about five minutes.
– Seasonings: The secret to a flavorful blooming onion lies in the seasoning blend. A combination of garlic powder, onion powder, paprika, cayenne pepper, salt, and black pepper adds depth and complexity to the dish. Adjust the amounts based on your spice preference—more cayenne for heat or more paprika for smokiness.
– Flour: All-purpose flour is used to create the crispy coating on the onion. The flour binds to the buttermilk and seasonings, forming a crunchy layer that envelops each bloom. For a gluten-free option, you can substitute the all-purpose flour with a gluten-free flour blend.
– Cooking Spray: While air frying requires less oil than deep frying, a light coating of cooking spray can enhance the crispiness of the final product. It helps the flour mixture brown evenly and adds that extra crunch that makes blooming onions so irresistible. Look for an olive oil or avocado oil spray for a healthier option.
Step-by-Step Instructions
Preparation of Onions
To get started on your crispy mini blooming onions, follow these initial preparation steps:
1. Peel the Onions: Begin by peeling the outer skin off the yellow onions. This will expose the tender layers inside, which will bloom beautifully during cooking.
2. Cut the Onions: Place an onion on a cutting board with the root end facing up. Using a sharp knife, slice the onion vertically into quarters, ensuring that you do not cut all the way through the root. This will help keep the onion intact while allowing the petals to separate and bloom. For mini onions, you can cut the onion into eighths, which will create smaller blooms that are perfect for snacking.
3. Soak in Buttermilk: After cutting, place the onions into a bowl or a large zip-top bag and pour in the buttermilk. Ensure that the onions are fully submerged. Let them soak for at least 30 minutes; this will allow the flavors to penetrate the onion while also tenderizing it.
4. Prepare the Coating: While the onions soak, mix your dry ingredients. In a separate bowl, combine the all-purpose flour with the garlic powder, onion powder, paprika, cayenne pepper, salt, and black pepper. This blend will provide the onions with a flavorful and crispy coating.
5. Coat the Onions: Once the soaking time is up, remove the onions from the buttermilk, allowing any excess liquid to drip off. Dredge each onion in the flour mixture, ensuring that every petal is well-coated. For an extra layer of crispiness, you can repeat the dredging process by dipping the coated onions back into the buttermilk and then into the flour mixture again.
6. Prepare the Air Fryer: Preheat your air fryer according to the manufacturer’s instructions. This step is crucial for achieving that coveted crunch. Once preheated, lightly spray the air fryer basket with cooking spray to prevent sticking.
With these initial steps completed, you’ll be well on your way to creating a batch of crispy mini blooming onions that are perfect for any occasion. Stay tuned for the next part of this article, where we’ll delve into the cooking process and serving suggestions that will make your blooming onions a hit at your next gathering.
Trimming and Peeling Onions for Optimal Blooming
To create the perfect crispy mini blooming onions, the first step is to select the right onions. Choose smaller, firm onions, such as sweet onions or Vidalia onions, as they have a milder flavor and are easier to bloom. Begin by trimming the onion:
1. Trim the Onion: Cut off about 1/4 inch from the top of the onion, leaving the root end intact. This helps the onion stay together during the blooming process.
2. Peel the Onion: Carefully remove the outer skin. You want to ensure that the inner layers remain intact, as these will separate and create the “bloom” effect. Be gentle to avoid breaking the onion apart.
3. Make the Cuts: Place the onion root side down on a cutting board. Make vertical cuts from the top of the onion down towards the root, approximately 1/4 inch apart. Ensure you don’t cut all the way through to the root; this is crucial for maintaining the onion’s structure. Aim for 8-12 cuts, depending on the size of the onion.
Importance of Soaking in Buttermilk
Soaking the onions in buttermilk is a vital step in achieving a flavorful and crispy result. The buttermilk not only tenderizes the onions but also helps the coating adhere better.
1. Soaking Time: Allow the trimmed and cut onions to soak in buttermilk for at least 30 minutes. For best results, extend this time to about 1 hour. This soaking process will enhance the flavor and ensure a crispy texture.
2. Why Buttermilk?: The acidity in buttermilk helps to break down the onion’s fibers, making them sweeter and less pungent. Additionally, the moisture from the buttermilk creates a sticky surface for the coating to cling to, resulting in a crunchier finish after air frying.
Creating the Coating
The coating is crucial for achieving that signature crunch. Follow these steps to create a well-balanced and flavorful flour mixture.
1. Mix the Dry Ingredients: In a large bowl, combine 1 cup of all-purpose flour, 1 teaspoon of garlic powder, 1 teaspoon of onion powder, 1 teaspoon of paprika, and salt and pepper to taste. Adjust the seasoning according to your preference. This blend will bring a nice flavor to the outer layer of the onion.
2. Achieving Uniform Coating: For an extra kick, consider adding a pinch of cayenne pepper or a splash of hot sauce to the buttermilk before soaking the onions. This will infuse the onions with flavor and add a bit of heat.
Coating the Onions
Once the onions have soaked, it’s time to coat them properly for that delicious crunch.
1. Draining the Onions: Remove the onions from the buttermilk and let any excess liquid drip off. You want them to be moist but not dripping wet.
2. Dredging Process: Dip each onion into the flour mixture, ensuring even coverage. Shake off any excess flour. For optimal adhesion, consider using your hands to press the flour mixture into the cuts of the onion gently. This will help the coating stick better during cooking.
3. Double Coating (Optional): For an extra crunchy texture, you can repeat the soaking and dredging process. After the first coating, dip the onion back into the buttermilk and then back into the flour mixture for a second layer. This will create a thicker, crunchier crust.
Preheating the Air Fryer
Preheating your air fryer is a crucial step that should not be overlooked.
1. Why Preheat?: Preheating ensures that the cooking environment is hot enough to create that crispy exterior right from the start. This helps in reducing cooking time and achieving a better texture.
2. How to Preheat: Most air fryers have a preheat function. Set your air fryer to 375°F (190°C) and allow it to run for about 3-5 minutes before adding the onions. This simple step can greatly enhance the final result.
Air Frying Process
Now it’s time to cook your crispy mini blooming onions!
1. Placement in Air Fryer: Carefully place the coated onions in the air fryer basket. Ensure they are not overcrowded; this allows for proper air circulation and even cooking. If necessary, cook in batches.
2. Cooking Instructions: Set the air fryer to 375°F (190°C) and cook for 12-15 minutes. Halfway through cooking, gently shake the basket to ensure even browning. If you notice that one side is browning faster, you can turn the onions over to achieve a uniform color.
3. Monitoring Cooking Time: Keep an eye on the onions as they cook. Cooking times may vary depending on the size of the onions and your specific air fryer model. Check for doneness when the onions turn golden brown and are crispy on the outside.
Serving Suggestions
Crispy mini blooming onions make a fantastic appetizer or snack, and they can be served in various ways.
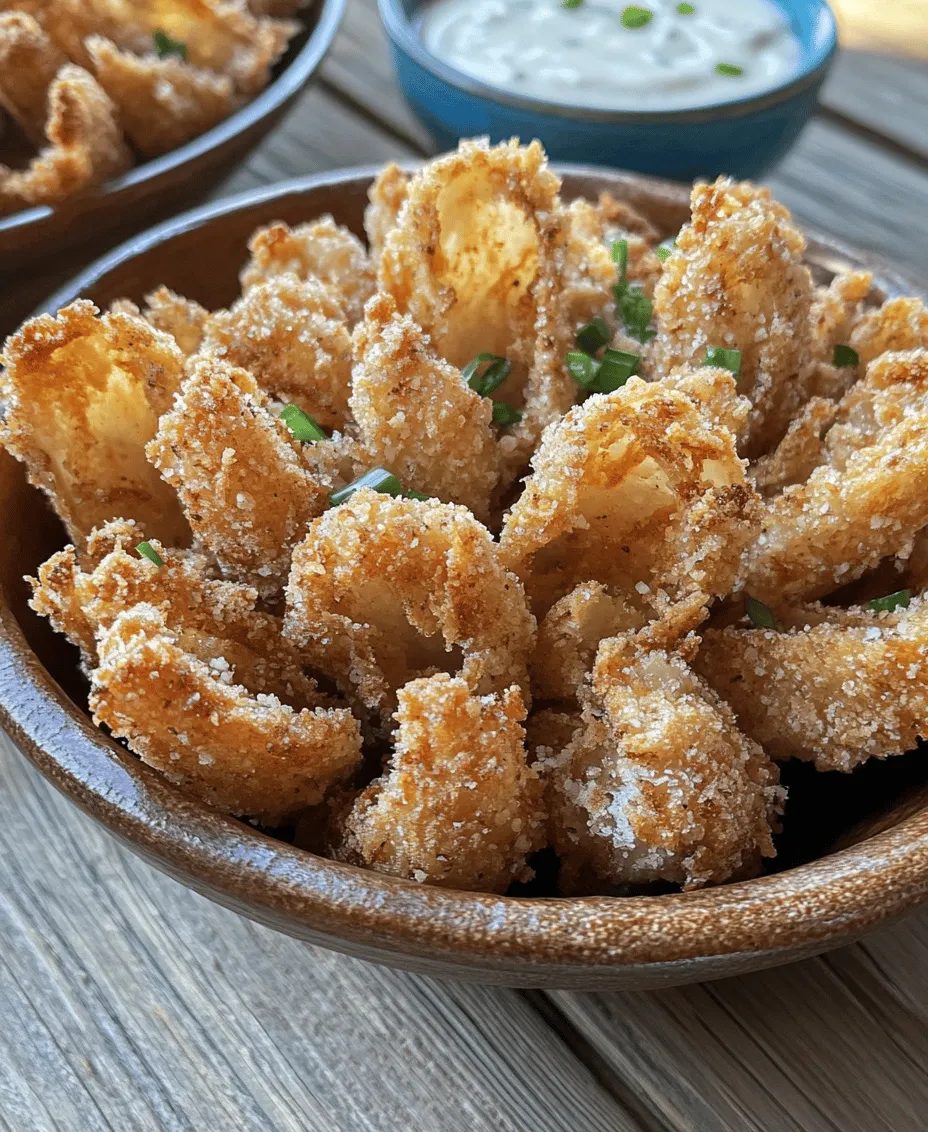
1. Dipping Sauces: Pair your blooming onions with a selection of dipping sauces. Traditional options include ranch dressing, spicy aioli, or a tangy barbecue sauce. For a healthier alternative, consider serving with a yogurt-based dip or a zesty salsa.
2. Presentation Tips: To elevate your presentation, arrange the blooming onions on a large platter, garnished with fresh herbs such as parsley or cilantro. You can also serve them with lemon wedges for a burst of freshness and a pop of color.
Nutritional Information
Understanding the nutritional content of your crispy mini blooming onions can help you enjoy them guilt-free.
1. Caloric Breakdown: Each serving (approximately two mini blooming onions) contains about 150-200 calories, depending on the size of the onions and the amount of coating used.
2. Health Considerations: This recipe is a lighter alternative to traditional deep-fried blooming onions, making it a healthier choice for those watching their calorie intake. The use of an air fryer significantly reduces the amount of oil needed, while still delivering that satisfying crunch.
Conclusion
Crispy mini blooming onions in the air fryer are not just a delicious treat; they are also a convenient and healthier alternative to a beloved classic. The process of creating these flavorful bites is straightforward and rewarding, making them an excellent choice for your next gathering or as a fun snack for movie night.
Encouraging your friends and family to try this recipe will surely impress them with the delightful taste and the ease of preparation. The versatility of the air fryer allows you to enjoy classic fried flavors without the guilt, making it an essential kitchen appliance for any home cook.
Whether you’re serving them as an appetizer at a party or simply enjoying them at home, these crispy mini blooming onions are sure to be a hit. So, gather your ingredients, follow the steps, and get ready to indulge in a crunchy, flavorful experience that’s both satisfying and fun!